Thursday, July 1, 2010

More Painting

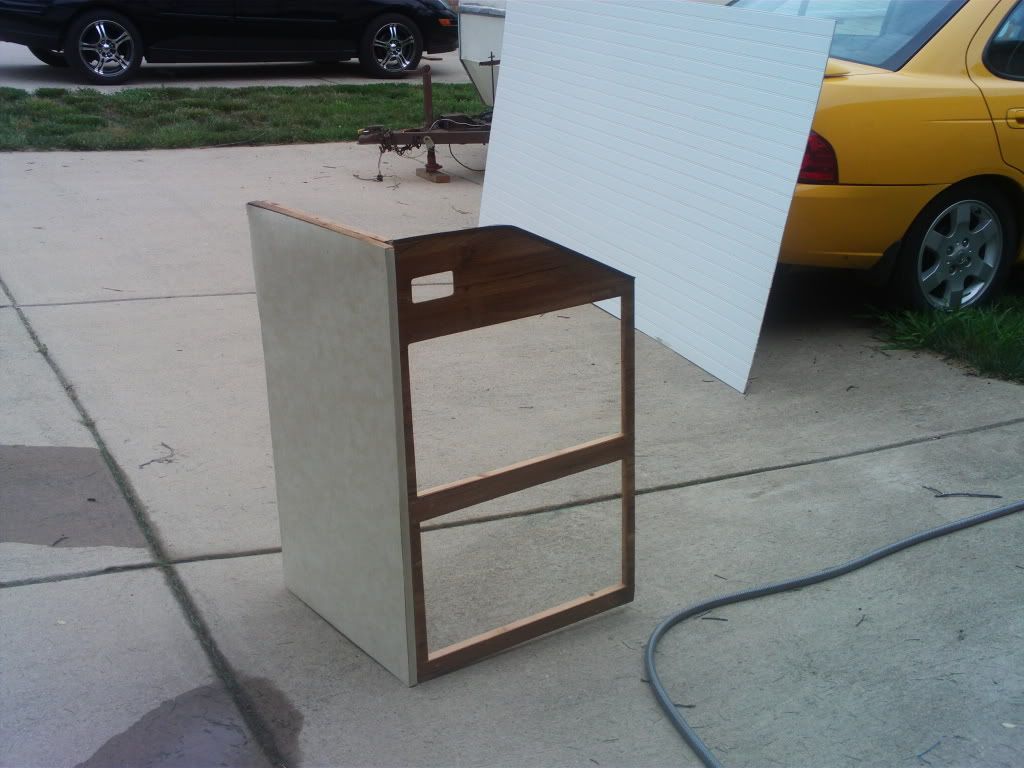
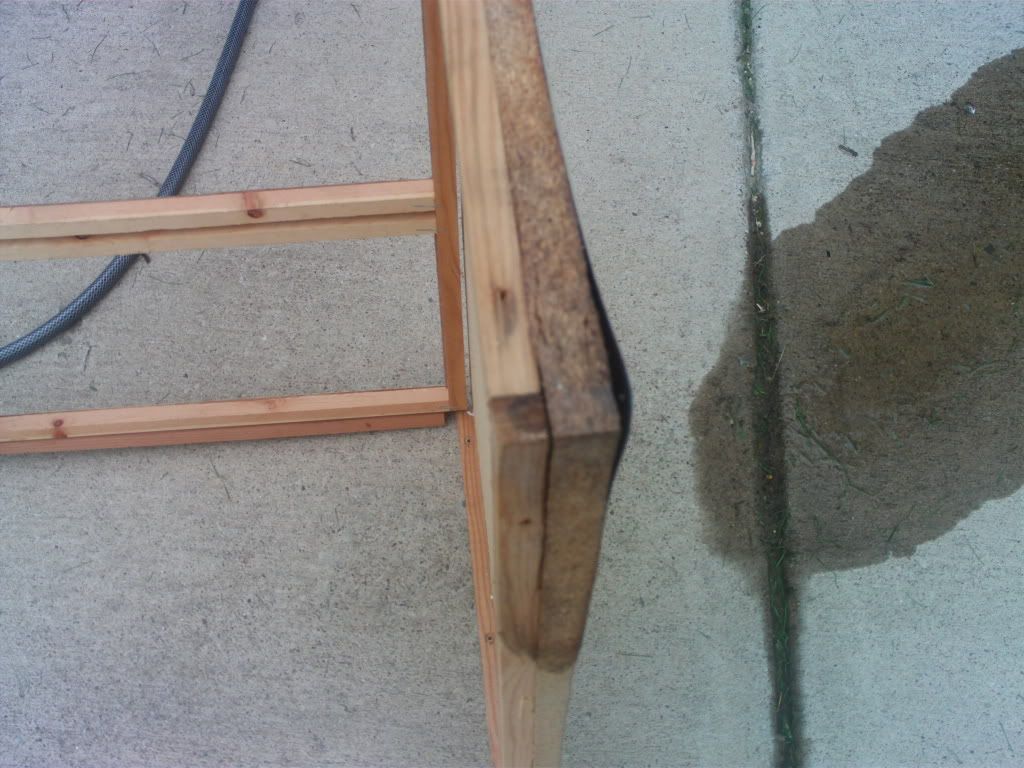
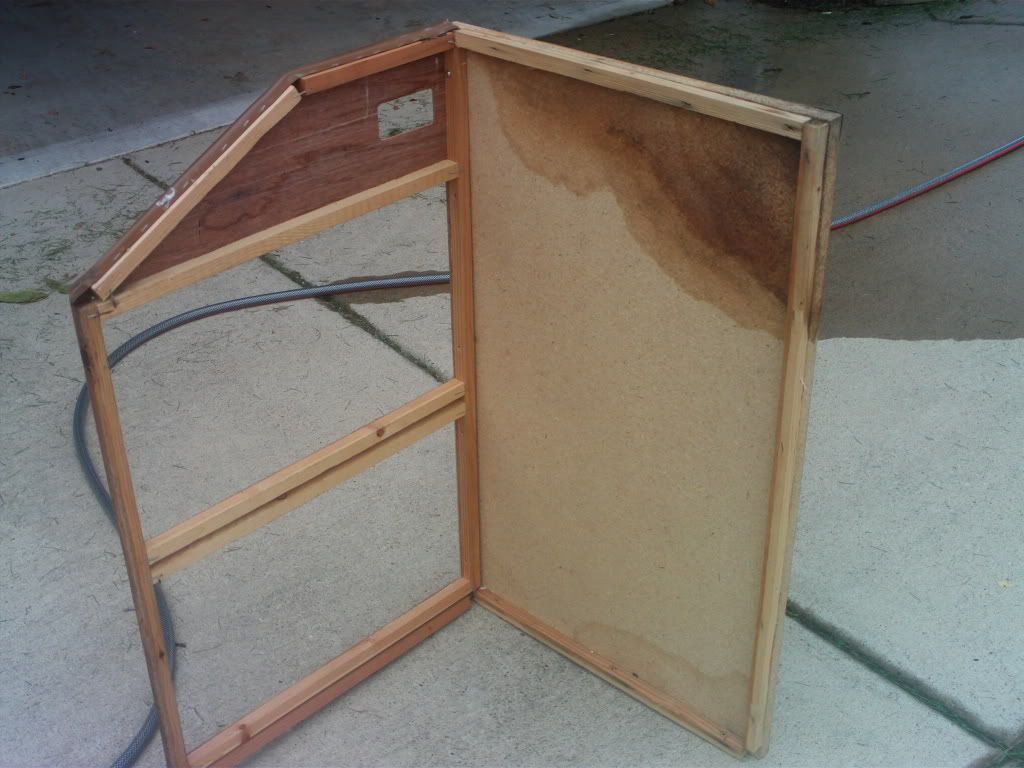
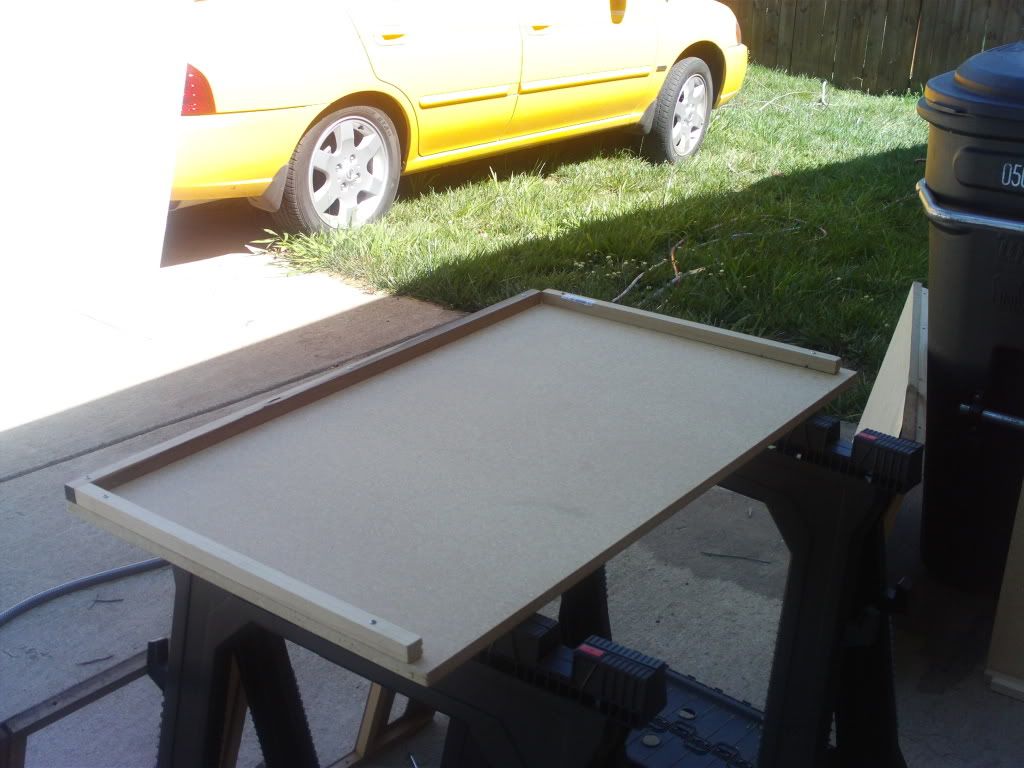
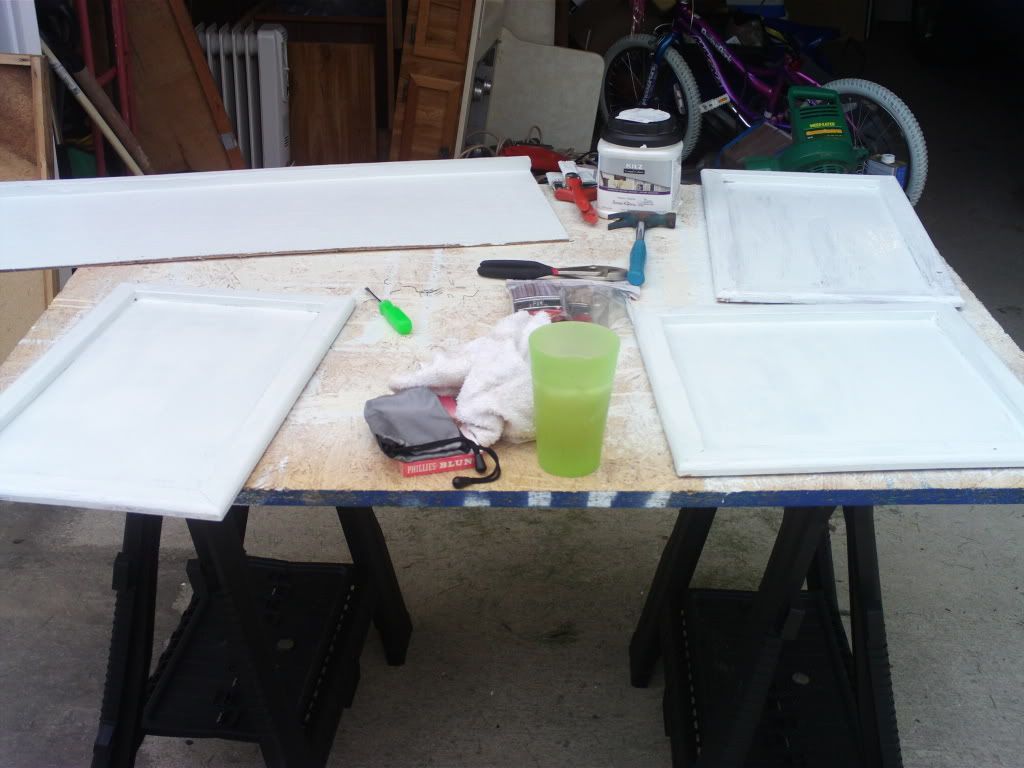
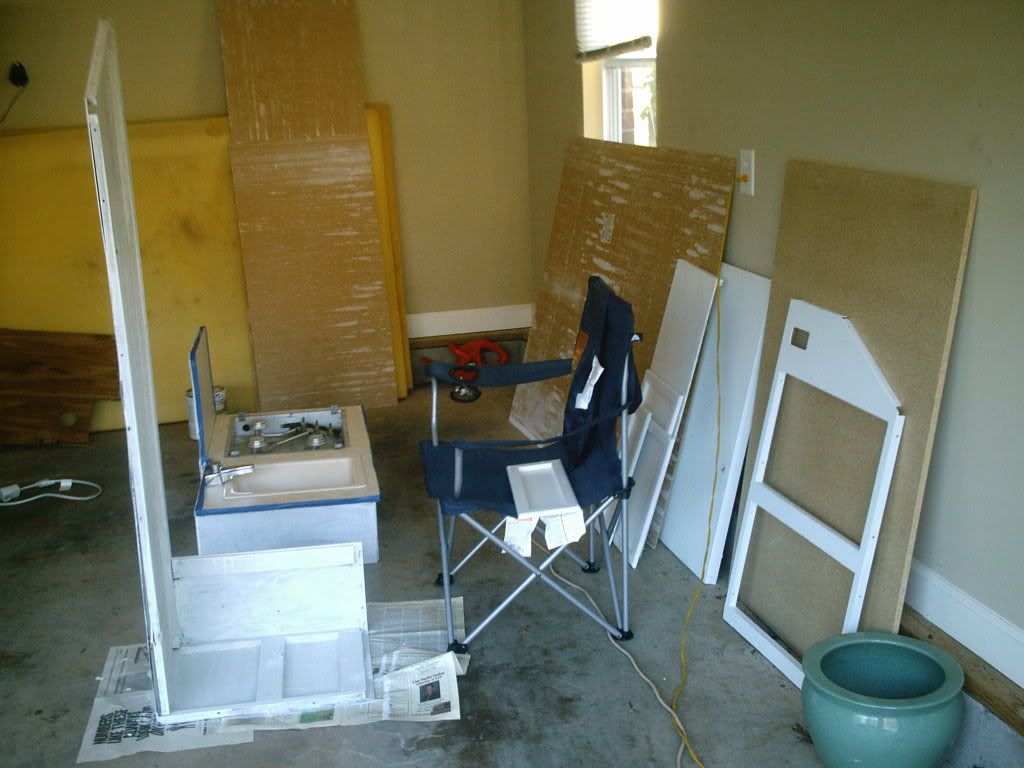
The past couple of afternoon/evenings have been spent painting panels, cabinet doors, and boxes.  I've been putting on 3 - 4 coats on each piece and they generally look pretty good when they are done.  I also rebuilt a 2nd water damaged cabinet top.

My goal is to start putting the boxes back together in Frostbite this weekend starting early tomorrow.  I took tomorrow (Friday) off and Monday is a holiday (4th of July) so this makes for a nice long weekend.  Could it be possible that the inside of Frostbite could be done (or at least functional) by the end of the weekend?

Yes, it possible (of course, it is also possible that magic fairies will finish the work for me while I sleep.)

I still have one box, the most complicated one, of course, that needs the front paneling replaced with bead board due to water damage.  I might address that as early as this evening.

While waiting for paint to dry, I might even muster up the energy to take my fancy drill wire brush attachment and scrub the rust off the metal trailer frame and remove all the Starcraft decals from Frostbite.

Then I can paint the frame black and the outside box white.

Wish me luck.

Here are some pictures of the painting progress so far:


Tuesday, June 29, 2010

Still working, mainly painting

Still working away on Frostbite trying to get the boxes ready to go back in.  I've been painting away at the pieces for a week or so.  I've even comandeered the garage since I need room to lay the pieces out so they can dry.  Both Bluebell and Sonny are spending the nights outside. 

This past weekend I did manage to take out the paneling I put in on one bunkend that turned out to be the wrong paneling to use since it absorbs water and replaced it with beadboard. 

I took pictures and trust me, it looks pretty good.  I can't post the pictures yet as I had to take out the batteries in my camera and put them in a Wii remote for my daughter and her friend and the photos have not been downloaded from the camera yet.

I really need to pick up some batteries at the store!

I've identified two boxes that will need the front paneling replaced due to water damage.  Unfortunately, one of those boxes is the main galley box and it is the most complex of all of them.  I've taken pictures of the boxes before I took any of them apart and will make sure to capture this one from multiple angles as I will need to refer to them so I will know how to put this back together.

Another irritation is my stupid $15 jigsaw.  I used it to cut the beadboard for the replacement panels underneath the bunkend and the blade stopped moving.  The engine revs up but the blade doesn't move.  If I hold the jigsaw upside down, it starts going up and down again.

Hopefully, something just needs tightened or adjusted.

I'll have to have this thing working because I will need to cut square holes in the beadboard for the cabinet openings.

I also had a great idea about the cabinet doors.  There is a rounded edging around each of the doors.  I've already bought shiny new silver cabinet handles and hindges but I thought this edging would look cool if it was painted blue since everything else is glossy white.  I thought about taking an extra floor tile to Lowes and having them match the blue color and give me a small can of paint to paint the edging.

I'm pretty sure they can do this.  I saw this in a TV commercial so it must be true.

I'm going to try and get some batteries today so I can post some updated pictures of my progress.  I'm planning to spend the week painting and rebuilding the boxes and will strive to start putting the boxes back inside by the weekend.

Thursday, June 17, 2010

Frostbite has got some new shoes!

On Saturday, we drove Frostbite to Dickson to Dickson County Oil and Tire so she could get some new tires and wheel bearings put on.  I had originally intended to do this myself.  However, I decided that a professional having a look at the wheel and axel would be a safer bet this first time.  I would be unable to notice serious problems like the axel being close to breaking in half or something like that so I opted to play it safe.

We had to leave her on Sat. because they did not have a mechanic working that day but they promised to get to it on Monday and we could pick her up anytime the next week.

I went to get her after work yesterday.  The owner told me that everything looked good (a big relief for me!) and that they put on new wheel bearings, gaskets, and some other jibber-jabber that I didn't commit to memory.

I went ahead and got three tires so the spare is brand new as well.

Better safe than sorry, I suppose.

I drove her home and, after a long series of cussing and steering wheel spinning, managed to get her backed up into our driveway.

Now, there is literally nothing preventing me from finishing her up.  I did more painting since last post as well and will include some pictures in my next entry.

Wednesday, June 9, 2010

Rebuilding the first box

OK, I chose a fairly simple box to start with. I will not be rebuilding every box. Fortunately, some are in good shape and those will only be repainted. A few, however, have some water damage and I will be replacing those pieces.

Here are some "before" pix of Box #1:


It doesn't look so bad at this angle.  The piece with the cutouts for the cabinet doors is in fine shape.


As you can see there is some water damage to the counter top.

I measured and sawed up the new top which was made much easier by the purchase of a couple of sawhorses.  I think it turned out pretty well.


A Masterpiece!

I then started painting the box pieces and will put them together once complete.  Right now, I'm hoping I can reinstall the boxes one at a time back in Frostbite.  That way I'll have a greater chance of remembering how they all fit together.


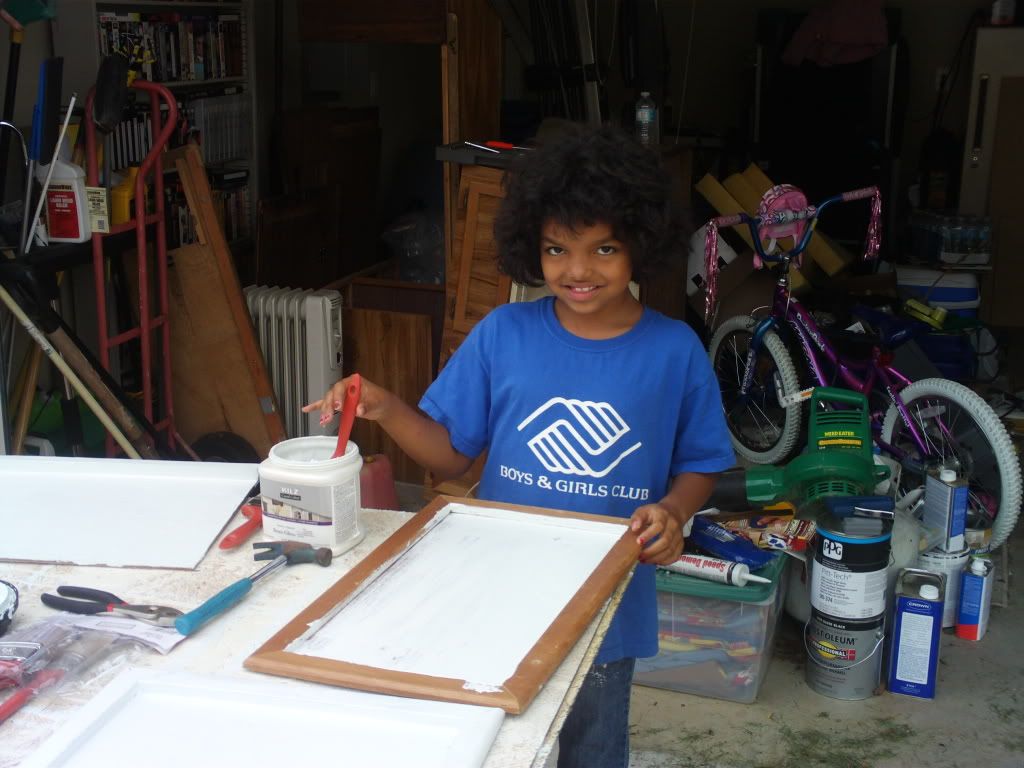
My daughter helped me paint a bit.  Notice that Boys and Girls Club T-shirt she is wearing?  Well, that, as my wife later informed me, is most definately NOT a shirt for painting.

It is now, though.


They all need another coat of paint which I'll have to do later this week.  Today it is raining.  I'd like to put on a coat or two of clear coat on the outside facing parts.  I bought a small can but wish I had gotten a few cans of the spray stuff.  That would be easier. 

Tuesday, June 8, 2010

No, my blog is not broken

I realize that this past month my blog has not seen a lot of action. This correctly reflects the fact that there has not been a lot of action on Frostbite last month either. I won't bore you with all the excuses I have collected which include sickness, wife's surgery, floods, rain, lack of $, etc. I can say, however, that I now have the funds and time necessary to complete Frostbite.

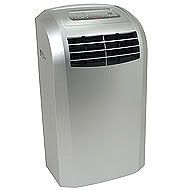
First, I'm happy to report that I ordered an air conditioner for Frostbite yesterday. I chose this one:


EdgeStar Extreme Cool 12,000 BTU Portable Air Conditioner and Heater

I spent a large amount of time shopping online trying to pick out the just the right AC.  I was trying to match several options such as size, BTU, and whether or not it was also a heater.  I discovered that my initial dream to permanently install an AC cannot be realized.

First, the unit had to be short, under 25in.  There are a few that were short enough but I then realized that the short ones were also deeper, I needed it to be about 21".  So the short ones would fit inside the cabnets ok but I would not have enough room to vent the air which, on those units anyway, came out of the back of the unit.  Also, these units were a good bit more expensive $100+.

I finally resigned myself to NOT permanently installing the unit and instead will place it on the cabinet next to the sink.  The exhaust hoses will be run through the cabinet top and out the floor of Frostbite. 

This will be a bit easier anyway since I will not have to do as much customization of the boxes except for a hole to run the exhaust hose through.

I went ahead and purchased the 2 year extended warranty ($40) and also what they call a "turtleneck" which is an insulation sleeve that covers the exhaust hose.  I have read in numerous places that the exhaust hose gets really hot and can be counter productive to the AC trying to cool the inside.

I also intend to make reflectix shields for the bunk end canvas tops which, from what I've read, contributes greatly to keeping a popup cool.  I have found instructions for making these out of the silver safety blankets you find in first aid kits.

The AC I bought was far cheaper than equivalent ACs at walmart, lowes, best buy etc. and had a better warranty so I feel good about the purchase.  The difference between the AC and the AC with the heater was only $20 so I opted to get the one with a heater which makes one less appliance to tote around in spring and fall both might be needed.

I also made a supply run to Lowes to get what will hopefully be the last of the building supplies I need to finish the inside. 

Next up: rebuilding the first box

Wednesday, May 19, 2010

I need a rain free weekend!

Not much in the way of updates however I've come to a grim realization.  The paneling I purchased and used to repair the bunkend wall is also what I intended to repair some of the water damaged edges of some of the inside boxes.  This paneling was purchased on the cheap.  It looked perfect.  Nice and shiny white.  However, it also primarily consists of cardboard which, as I've come to realize, is not appropriate for my needs.

First, after popping up Frostbite following the weekend flood causing rain two weeks ago, I noticed some discoloration around the corners where some water leaked in through the tailights which I stupidly forgot to caulk around.  Second, and this was even more stupid, I noticed when screwing them onto the frame that the screws wouldn't tighten fully.  The cardboard wouldn't hold tight around the screw because, well, it's cardboard.

I'm going to have to scrap the cheap paneling and using something actually made of wood or, at least, something stronger than cardboard.  Fortunately, my neighbor, Kerry, after listening to my problems during a regular conversation, volunteered that she has some beadboard left over from repaneling her dining room.  She has one full panel and another half panel that she is going to give me.  Thanks to her, my paneling problems are solved.

I will make a trip to Lowes this weekend because I need to pick up table and counter top material.  I also need some table edging of some type.  If the stupid weather gives me a break this weekend, I can actually start rebuilding the inside.

I've decided not to paint until I get a fitted cover for Frostbite which I'll have to mail order once I get the money.

No work planned for this week as my afternoons today and tomorrow are already booked.  I'm hoping for nice weather on Fri. and plan to get started redoing the bunkend paneling with the beadboard.

Monday, May 10, 2010

New Floor Install - The Final Chapter

I realize that it's been a week or so since I last posted but that week has been very eventfull.  We has a thunderstorm that lasted an entire weekend last week and flooded many areas of Nashville.  My wife has eye surgery.  Plenty of things to keep me distracted from working on Frostbite.

Yesterday I did manage to get Frostbite popped up and finish putting down the floor.  I think I might have bent the stupid safety hook again.  As I was cranking her up, about halfway, I hit a wall.  Trying to be careful not to crank it too hard I pulled against the blockage and it wouldn't budge.

I lower her back down and tried again.

Same thing.

I had been meaning to hook Frostbite up to Bluebell and pull her up a few feet as she has been ever so slowly slipping down the hill since I've been working on her.  Now, when I pull out the bunkend at the end of my driveway, the tent hits my pear tree.  Since I was getting nowhere with cranking her up, I decided to hook her up and move her back up the driveway a bit.  I was hoping the problem would magically fix itself as I did this.

Once Frostbite was moved and unhooked, I tried to crank her up again.  This time, success.  However, the safety bar was definately not the same as before.  It still hooked but I had to push it down with my hand.  I also suspect that this is causing the roof not to close all the way as I had to push down on a corner to latch it when I was done for the day.  I'm afraid that I will need to remove it again and use my metal bending technique to straighten it out again.  This time, I will figure out some way to keep the thing from getting stuck when it is being raised.

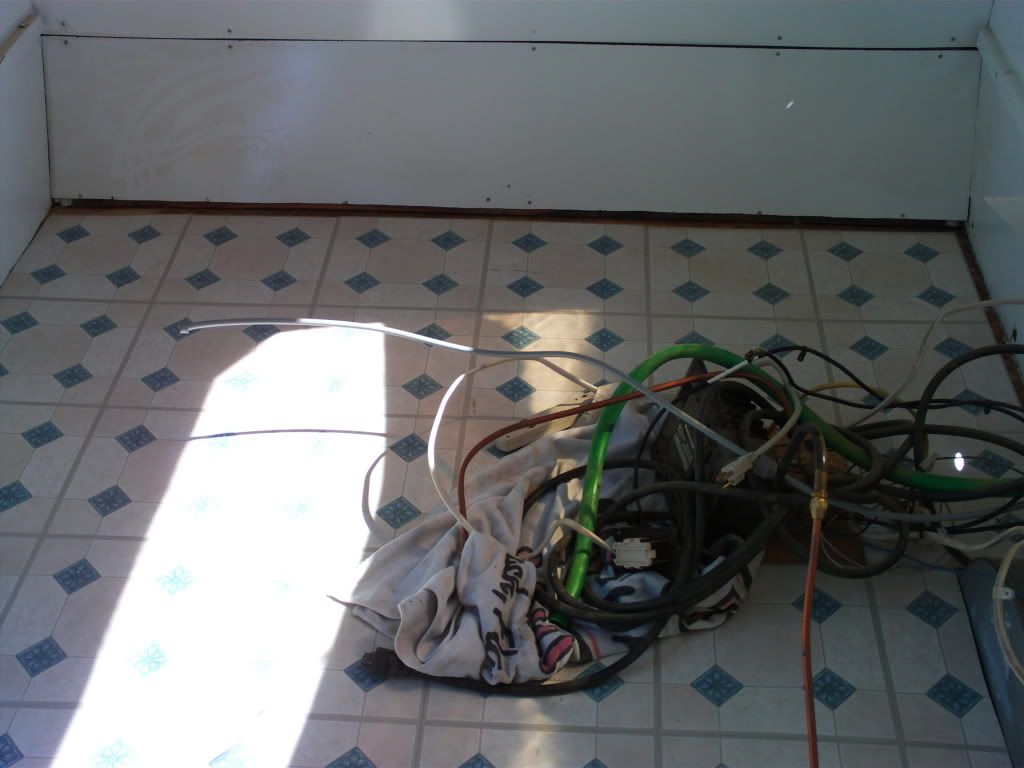
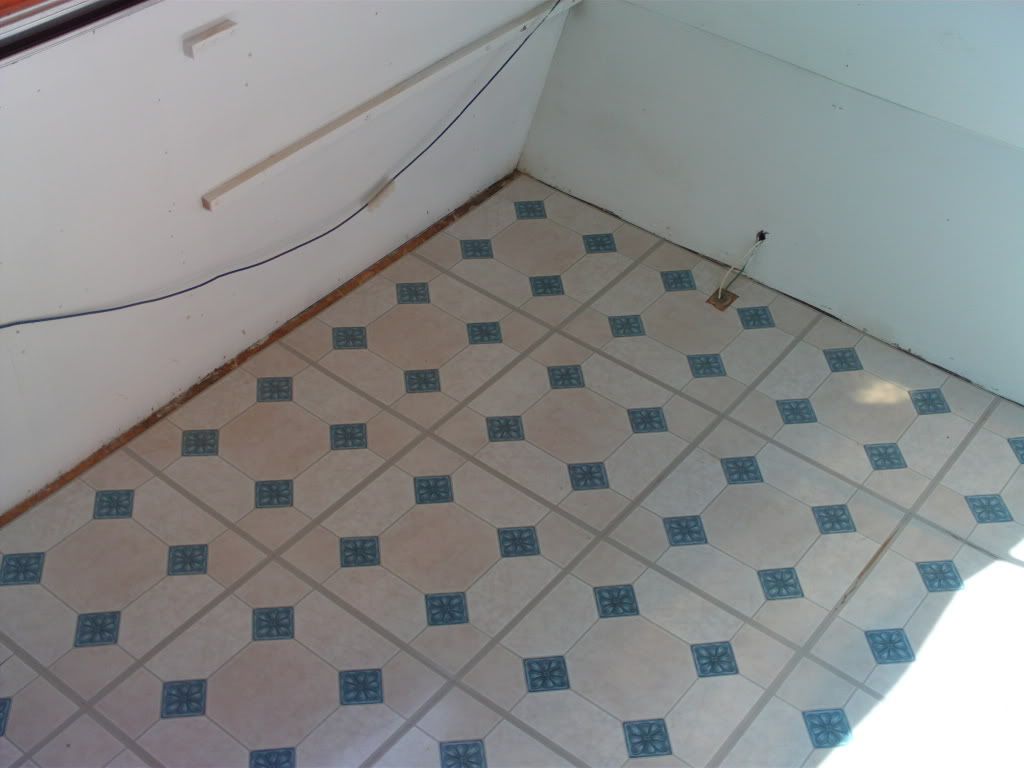
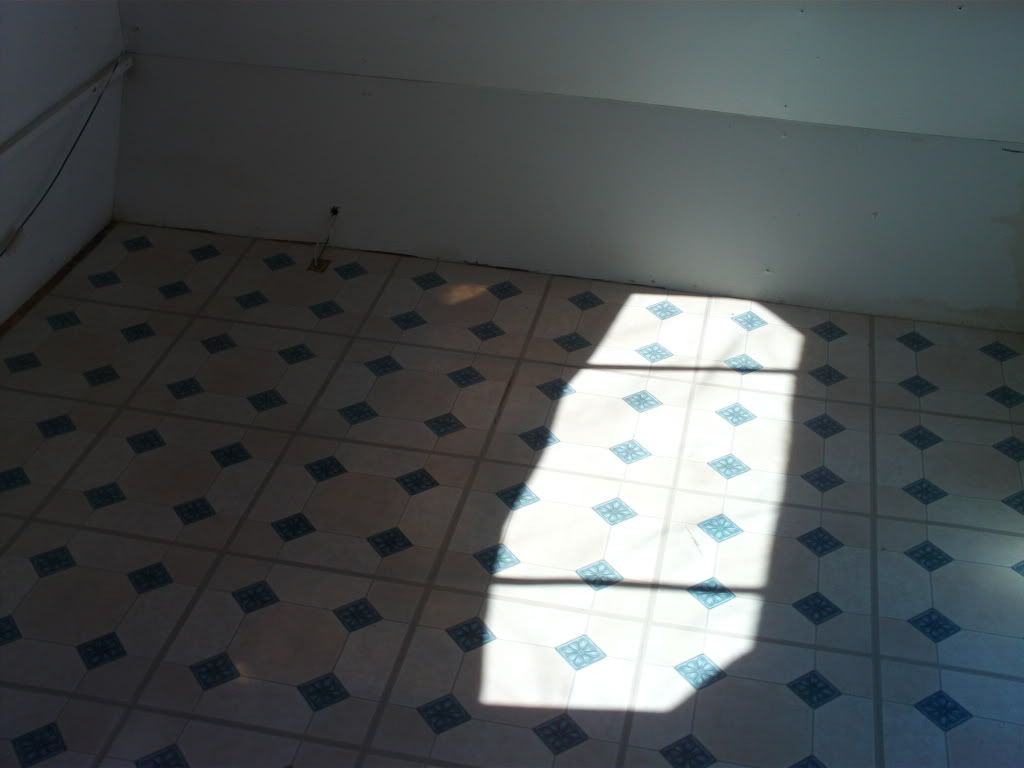
Despite all that, I got the floor in and, at least I think so anyway, it looks great!

That mess of wires is the gas and electric that comes in from the floor.


Yes, there is a small gap against the wall but it will be underneath the galley and noone will know it is there but me.  Just accept it!


I will find some edging to install over the gaps under the bunkends once the boxes are installed.


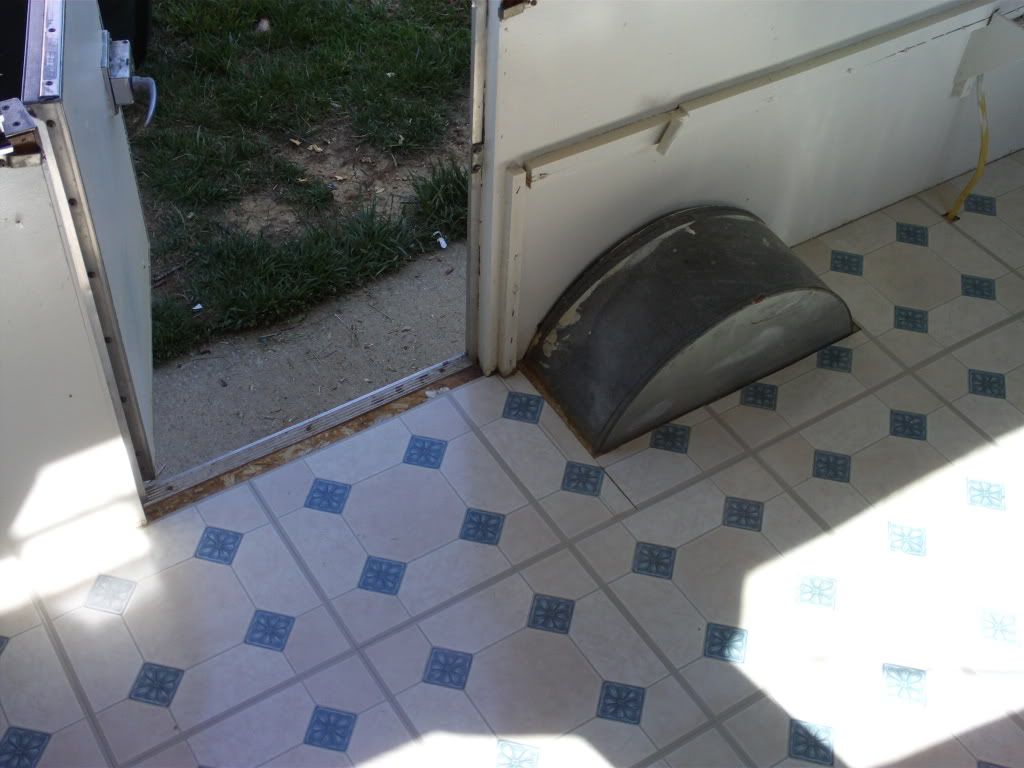
Notice that there is a 1 inch gap between the tile and the door threshold.  I plan to get a wider threshold that will cover the gap and put it down on top of the current threshold.  I checked and there is enough of a gap between the door and the floor to do this.  * I hope* anyway.  I didn't measure. 

Taking the current threshold off would be a major pain as it is underneath the door jamb hardware and all of it would have to come off first.

Now it is finally time to start painting and reinstalling the inside boxes.  Some parts of the boxes will need to be repaired and rebuilt and I already have the wood and paneling necessary to do this.

I also went by the Tool Box and picked up my $40 per gal special paint for the outside.  I'll need a full day to paint that so maybe next Saturday.  We'll see.  Hopefully, I can get started painting the boxes this week in the afternoons.