Tuesday, August 3, 2010

Locked up tight

I managed to get the new door latch installed yesterday afternoon.  It took me 3 hours to complete.  I still need to paint but I did get it installed and working; even the key lock which is just short of a miracle.

Here is what I started with:
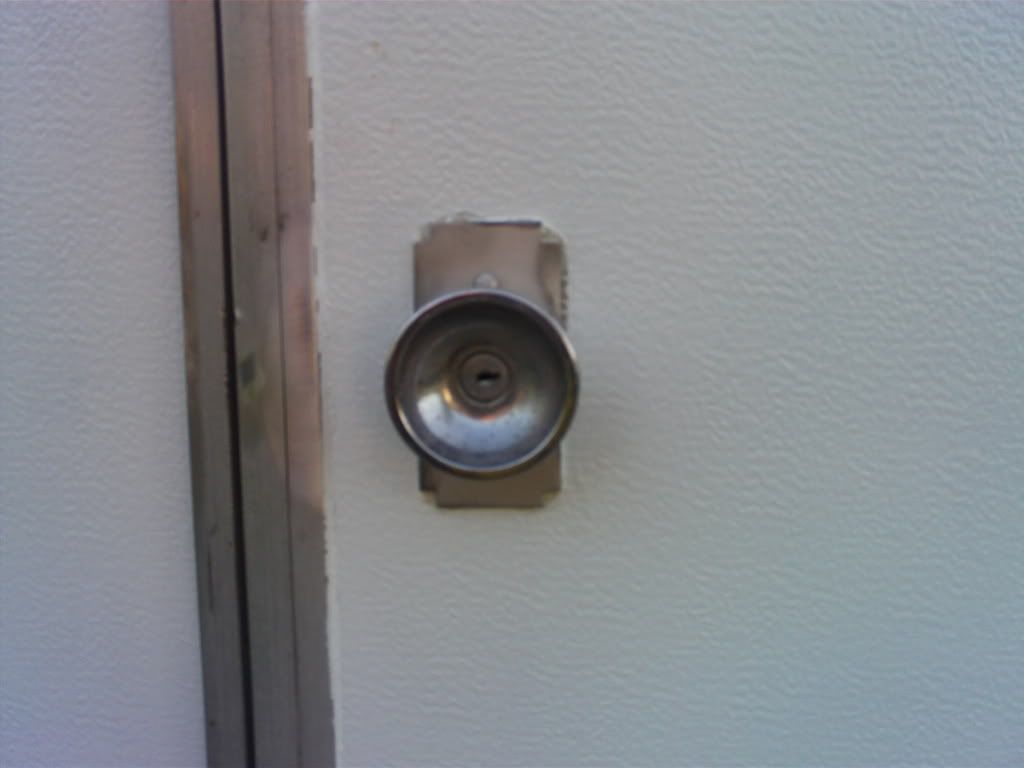
outside
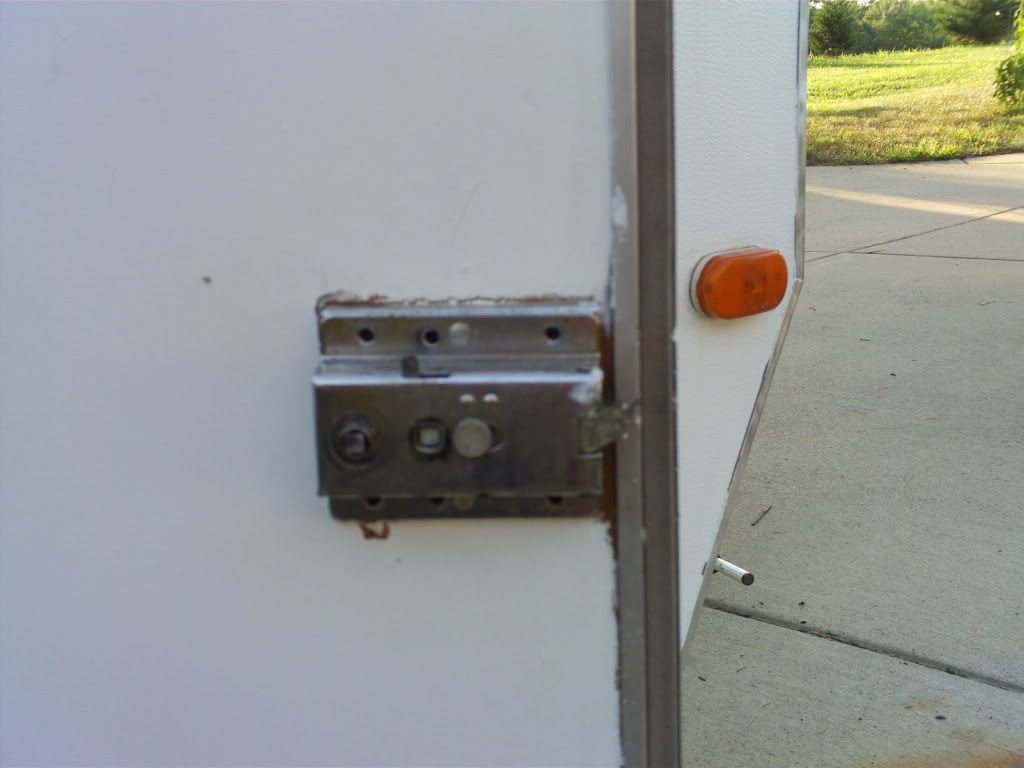

inside

There used to be a latch on the inside but it fell off.  Why is there such a large mechanism for the inside lock?

No idea.

Does it do anything special that any other lock wouldn't do?

Nope.  In fact, it didn't even lock anymore.

Removing the old latch was pretty easy.
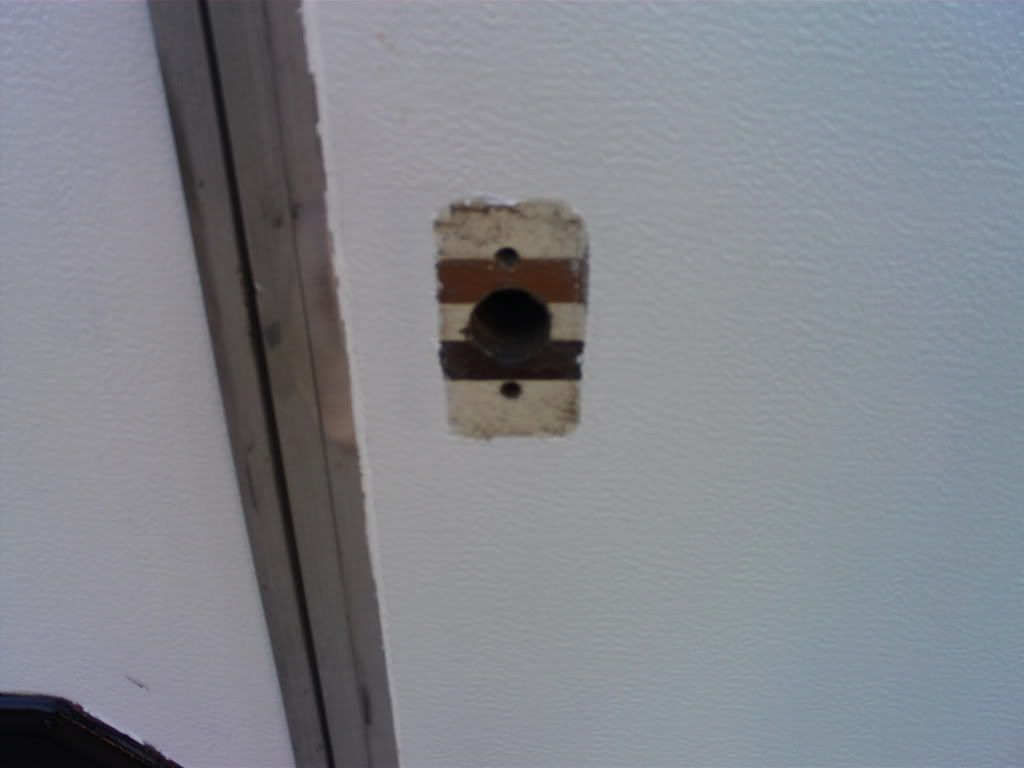

outside
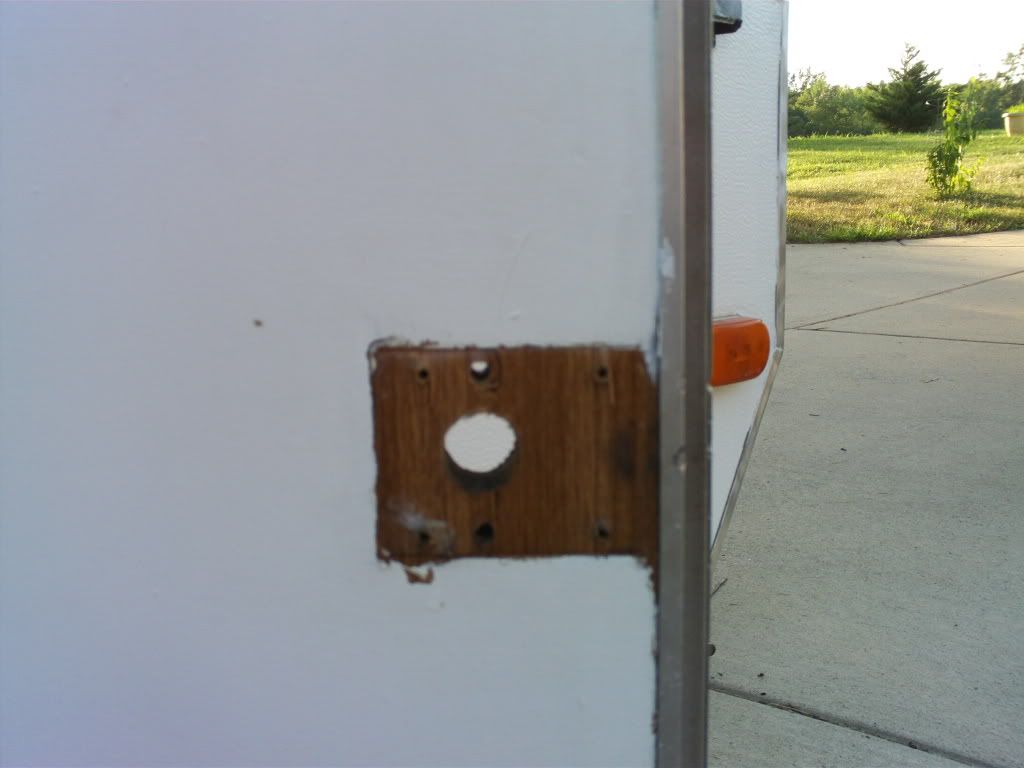

inside

Notice how far away the hole is from the door edge.  Is there a good reason for this?  Nope.  It does mean that there are no known latches or knobs made in the world today that will fit this stupid design.

I went to Lowes on Sunday and picked up a couple of push plates which are just thin pieces of metal.  I intended to drill new holes in these plates and new holes in the door.  The plates would serve to cover up the old holes.

That was the idea anyway and it seemed simple enough.  Just to be safe I picked up a couple of drill bits that claimed to be able to drill through metal.

After much frustration and many failed attempts, I ended up with this:
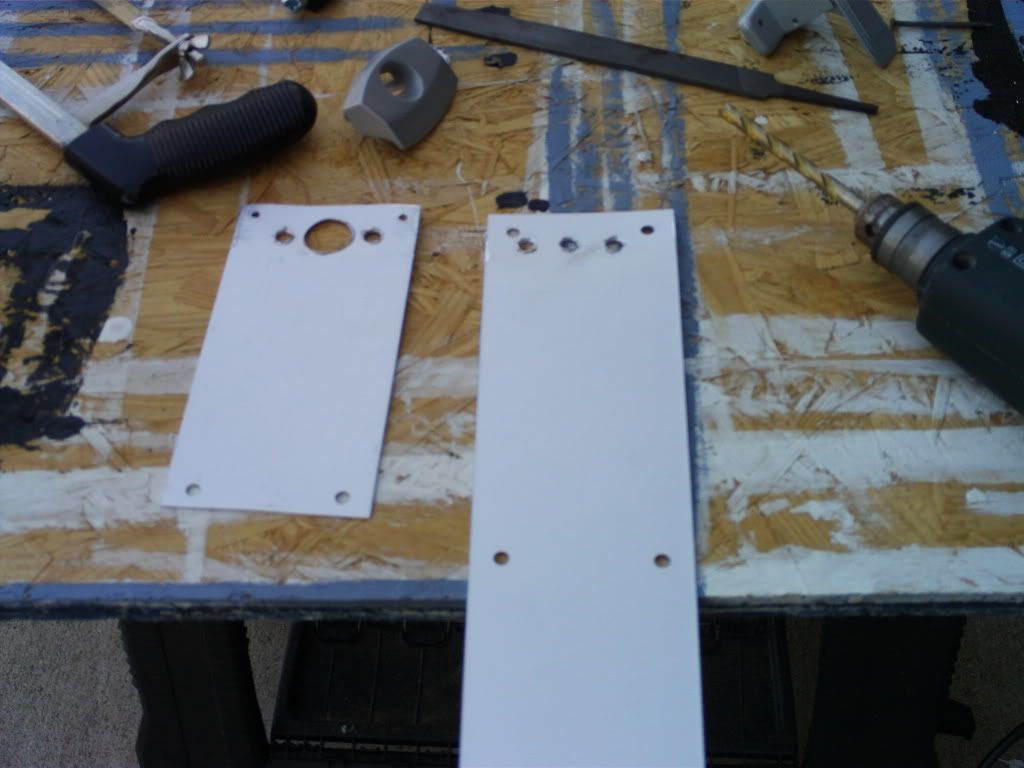


Those drill bits I purchased sure didn't seem to be very good at drilling holes in metal.  I used a large nail and hammered a hole/dent in the metal where the holes should be and still it was very difficult to keep the stupid drill from running all over the face of the metal.  What I ended up with sure isn't perfect but it is by far the best I will ever do with this as I was quickly losing patience.  I was starting to contemplate a hook latch at this point. 

I'm sure I only needed a single plate but it was a good thing I bought two because there were numerous screwups that were hacksawed off.

Another challenge was drilling the holes in the door itself.  The outside hole was to be larger due to the lock mechanism and "countersinked."  To be honest, I don't really know what that means.  After studying all the pieces, I took it to mean that the larger hole wasn't intended to go all the way through the door.  How deep should it be?  I guessed half way and kept drilling deeper until the thing seemed to fit ok.

Eventually, I got it all together.
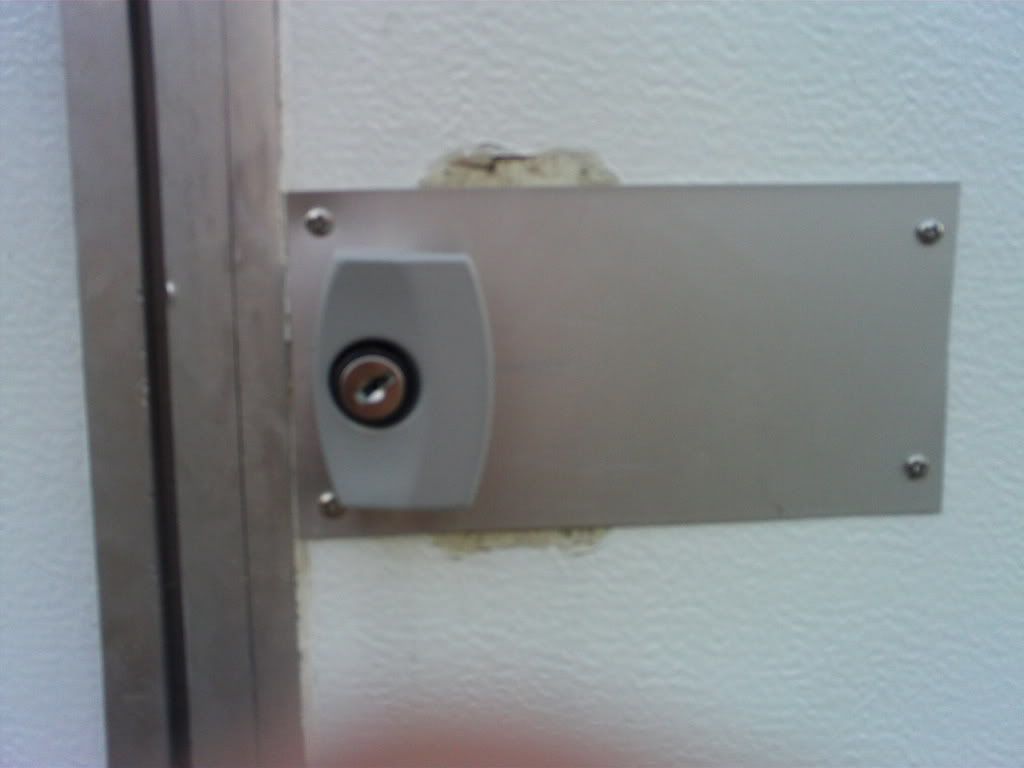

outside
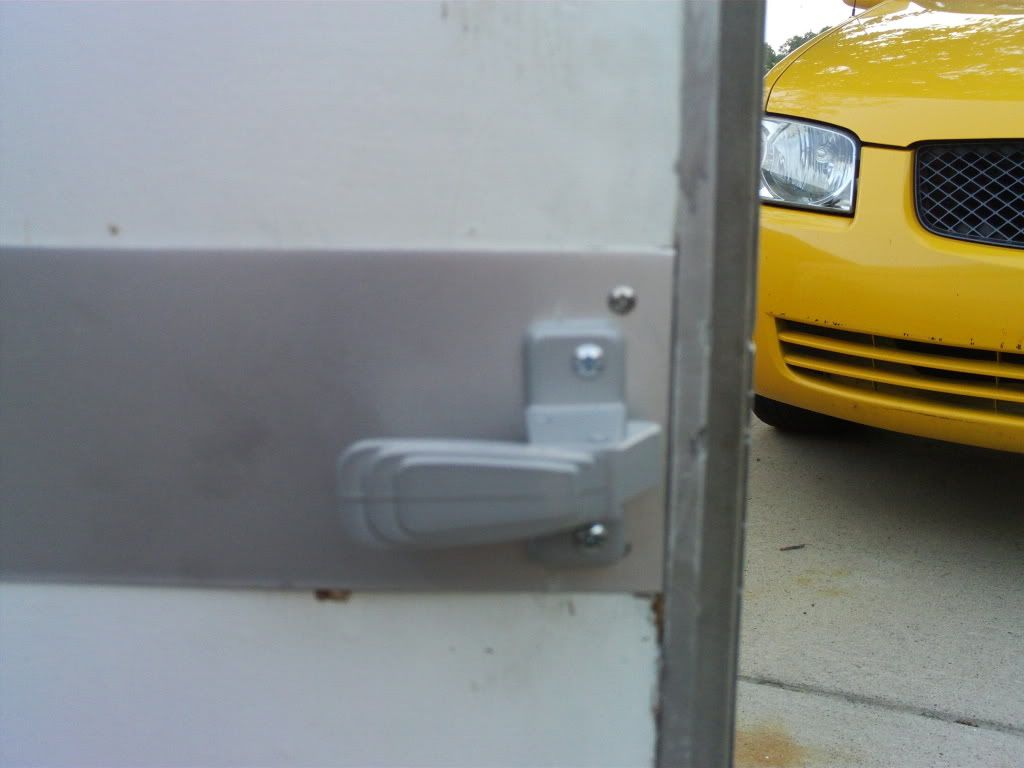

inside

I went to the trouble of making sure the key locked worked.  Inserting and turning the key sure enough made the push latch lock.  I closed the door, pulled, and it came right back open.  You guessed it.  The stupid inside latch didn't reach the metal latch on the outside of the door.  Not only would it not lock, it would not even latch and stay closed. 

I had anticipated this mishap already since it was near impossible to get the latch as close to the edge of the door as the original so I wasn't surprised.  This stuff is par for the course with me.

I studied it a bit and came up with this:
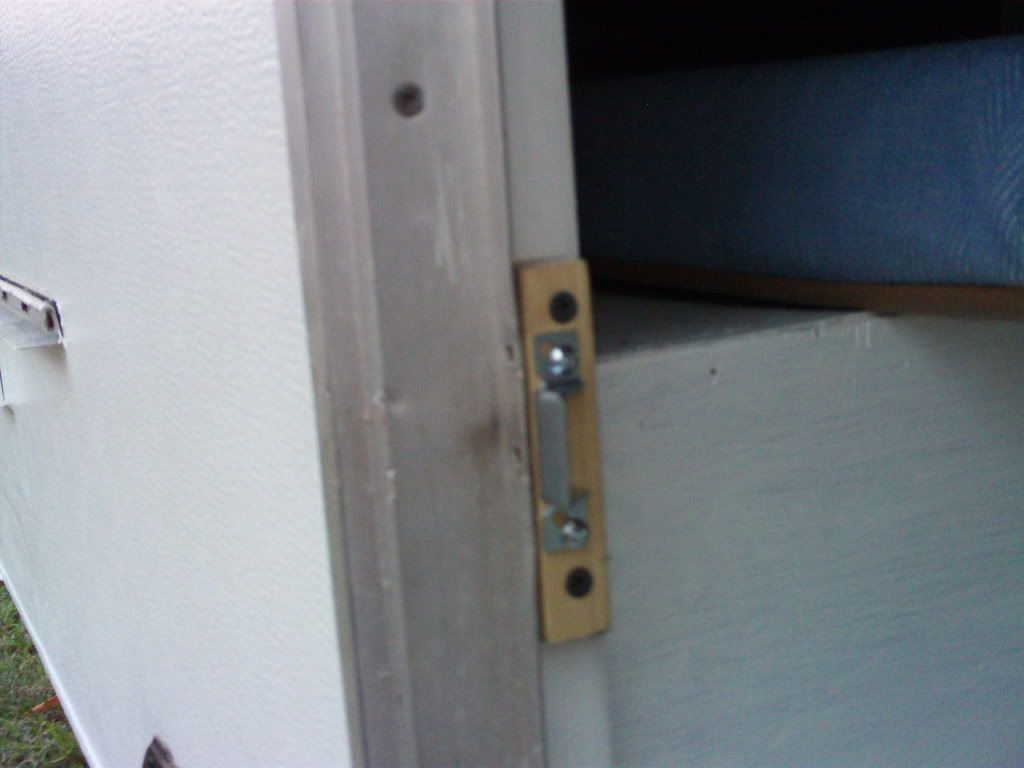

Now we're cooking with gas!

It was starting to get dark so I had to stop.  Later this week I will take everything apart and paint over all the exposed wood and metal except for the grey latches themselves.  It should look pretty good.  I locked her up for the evening and called it a night.
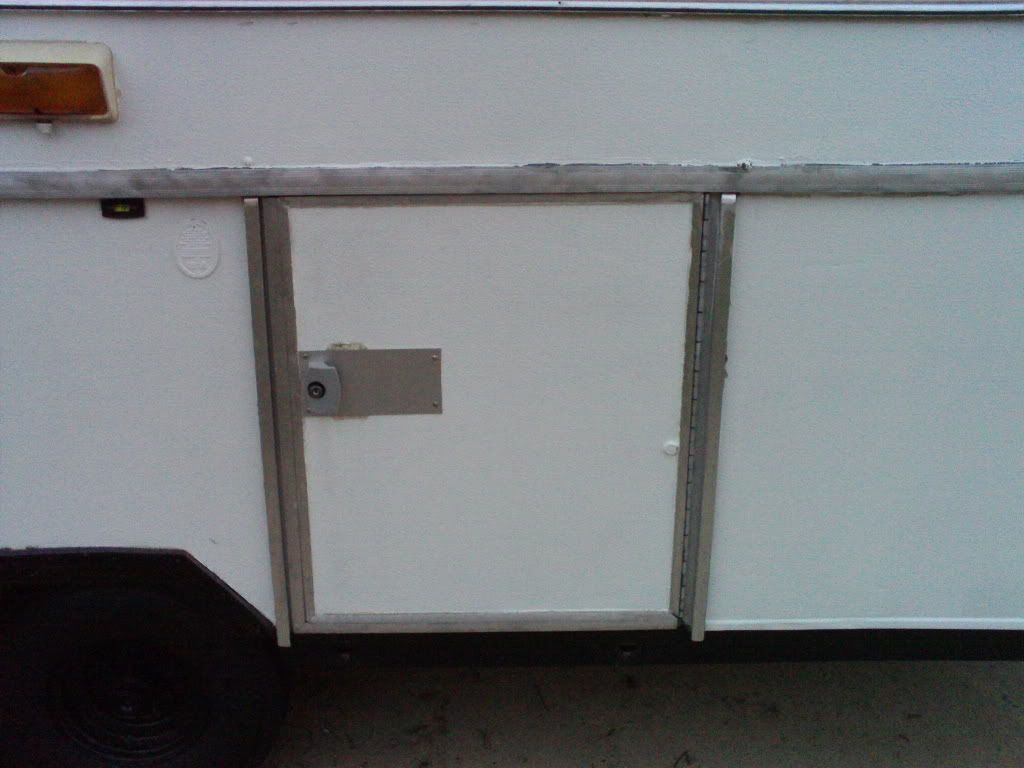

locked up tight!

Tuesday, July 27, 2010

Damn you, Starcraft!

Well, my new door latch arrived yesterday.  It looks pretty nifty.  As I feared, it will not fit exactly into the holes that the current door latch uses.  This means that I'll have to drill new holes in the door and install this latch literally from scratch.  I'll also have to find some type of thin metal or something to cover up the current installation holes from the current broken latch.  Which brings up a question for me about this whole silly process:

Why, oh why, did they build a completely custom RV latch that uses a design that has never been used on doors in the entire history of doors?

I just don't get it.  This camper is not THAT old!  You can get "standard" RV door latches for campers made in the 40's and 50's.  Not Starcraft campers.  1983 must have been a special year for them.  Older starcrafts don't use this latch.  Newer starcrafts don't use this latch.  The @#$%ing factory they used burned down 10 years ago so finding and buying spare parts for this thing is almost impossible.  What were they thinking?  Let's take the wayback machine back to 1982 when my camper was being designed and built at the Startcraft headquarters:

Junior Starcraft Exec:  Hey boss!  It's time for us to decide about the latches on the new 83 Starcraft popup.

Senior Starcraft Exec:  Great!  Let's come up with something groundbreaking new that no other camper will have.

Junior Starcraft Exec:  Umm, it's just a latch.  Wouldn't something simple be easier?

Senior Starcraft Exec: Easier?!?  Screw that, we need something that is distinctly Starcraft.  It keeps the competition of their toes.

Junior Starcraft Exec: But, that means that the customer can only get replacement parts from us

Senior Starcraft Exec: That's the idea.  There is a whole revenue stream there.  We don't want to miss out on that extra money.  Plus, we want people to buy NEW campers.  Who cares about the old ones?  Personally, I wish we could make them self-destruct after 10 years.

Junior Starcraft Exec: So, this will be the new official Starcraft door latch that we'll use from now on

Senior Starcraft Exec: No, just this year.  We'll come up with something extra special next year.

Junior Starcraft Exec: Doesn't that overcomplicate things unnecessarily?

Senior Starcraft Exec: No, we call that keeping things fresh, new, and exciting.

Junior Starcraft Exec: I see.  What about the color?  It's 1982, techno music is being invented.  The kids are starting to wear bright neon colors everywhere.  Shouldn't we offer some more colors for our 83 camper line.

Senior Starcraft Exec: Hell no, campers love our patented crap-brown and puke-orange color scheme.  This bright and attractive color thing is just a fad.

Junior Starcraft Exec: OK, what about the curtains?  The sew-in tabs for curtains have been pretty standard for over 30 years.  What if we do something fresh and exciting there by turning them sideways instead of vertical like every other camper made?  Next year we'll do something different.  That way anyone silly enough to still be trying to use the camper thirty years from now will never find replacement tabs and they will be forced to buy a new Starcraft camper, haha.

Senior Starcraft Exec: You're going to go far here, kid.

Stupid Starcraft!

Monday, July 26, 2010

Welcome to Camp Holder!

With Frostbite all checked out and working fine, I started loading her with with stuff we would need for the evening.  The fridge was working well; nice and cool.  I put in some water and the summer sausage for the jambalaya.  I lugged out a couple of laptops and got them plugged in.  One of them will be showing the movie.

I cooked the jambalaya on the stovetop along with a can of spinach.  Everything was wonderful.  My wife came out to eat with us.

This evening also gave me a chance to check out the curtains and how well they can be seen through at night.  Fortunately, you can't see through them.  Nice and private.

After dinner, I got a movie going on the laptop.  At some point during this process, my daughter moved into a bunkend and went to sleep.


It's a little hard to see her since the light there was not so good.

My daughter's friend and I pressed on and watched the 2nd Twilight movie.  He had to catch me up one who folks were and such throughout the movie but didn't seem to mind.


This is a rotten shot but it's the only one I took.


Another blurry shot of the stove in action.  Man, not much cabinet space in these things!

I know it's hard to see but that bottle in the above 2 pics is olive oil, not booze.  We finished the movie and got the lights off around 12:15pm.  I pushed my daughter over and laid out my sleeping bag on the bunkend.  Her friend was on the other side.  The temp on the AC read 72 degrees.  I tried to take a picture but it came out too blurry to read.  As you can see, I stink at taking photos in low light because you have to hold the camera still longer.

All in all a great success!

Lessons learned:

  • get sheets and light blankets for summer camping.  Even with the AC, I thought that the sleeping bag was too much.  We'll wait until cooler weather in the fall to break those out again.

  • get a mat of some type to put under the AC unit.  The AC left dirt and black marks on the counter top where it sat.

  • attach a power strip near the table to plug in laptops easier

  • turn down the temp in the fridge.  The next morning, the water bottles I put in the fridge door the night before were completely frozen.

  • I made a nice list of supplies that need to be stored in Frostbite all the time like trash bags, paper towels, etc

  • remember to remove the stupid sink drain so that we can brush teeth, wash dishes, etc.

  • get DVD software reinstalled on my laptop.  I installed a new OS and lost the player I had.  We had to use my daughter's laptop to watch the movie.

  • keep dishrags in the galley to wipe things down when cooking.

  • get a set of plastic containers to store leftovers in the fridge and keep them in Frostbite all the time

  • get a mat of some type for the entry way into Frostbite.  Even just in the driveway, things kept being tracked in.

Preparing for Camp Holder

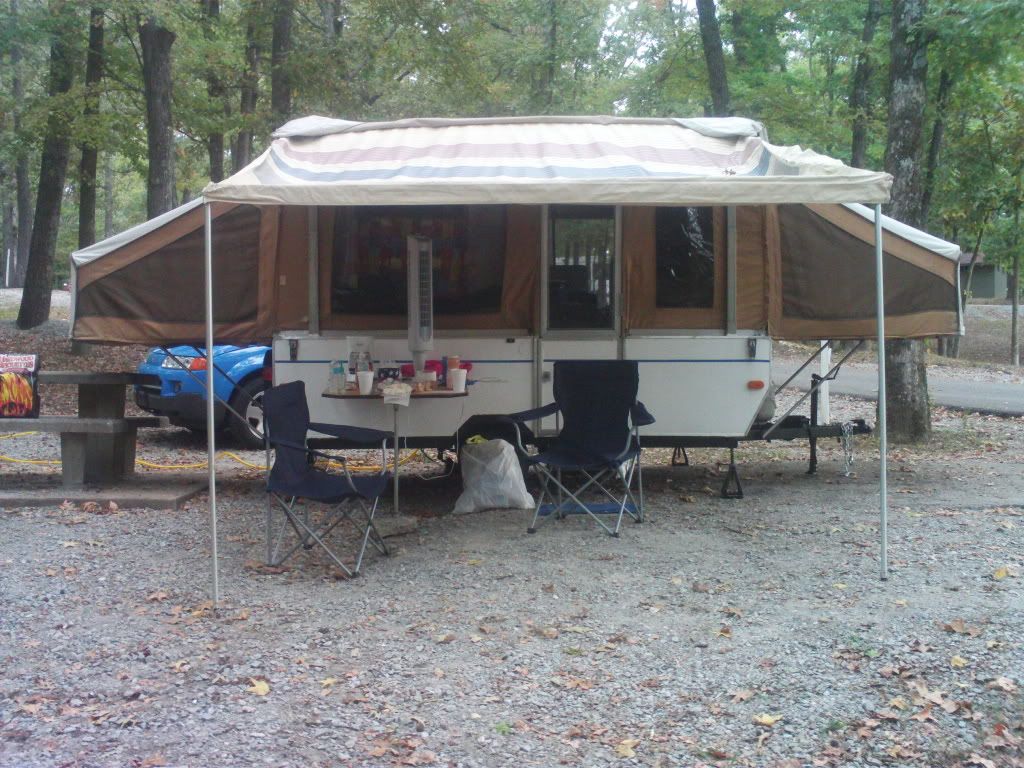
It seems customary to call camping in your camper at home "Camp Driveway" so I'm bucking the tradition by calling mine "Camp Holder."

I had a great test run of this since I did pack Frostbite all the way up Saturday morning so that I could more easily paint the frame with the bunkends pushed in.  Another reason for doing this is that I've spent the last several months setting up and taking down the camper when she is completely empty.  No matresses on the bunkends and no boxes inside.  This makes is very easy to take the thing down.  I wanted to be sure that she went down ok with everything back in her.

With the matresses in the bunkends, you have to be more careful to fold the tent properly as the roof is lowered otherwise it could bunch up in the corners and make the roof hard to latch once the roof is down.  Fortunately, it went fine for me and I had no problems.

Once the paint dried and I took off the tape, it was time to set her back up.  I waited until the evening since I couldn't turn on the air until then anyway.  Once she was up, I got the AC on and vented out the side.  This time I attached the "turtleneck" insulation sleeve that fits over the AC vent hose.

I started with the gas.  When I bought Frostbite, there was a gas tank on her.  She has a tank holder on the tounge that is capable of holding 2 tanks but she only came with the one.  It seemed to be about half full.

When I hooked it all up I went inside (alone!) to try to light the stove.  I turned a burner all the way up and tried to light it.  A thin barely burning flame circled the burner.  I made sure that the gas was all the way on for the burner and tried all three of them with the same effect.  The flame was so low that the slighest breeze would blow it out.  I turned off the burners and went outside to think about it.

I decided to try the gas tank for my grill.  It was about half full as well but I knew that it worked and I could at least rule out the old tank as the source of the problem.  I hooked up the new tank and turned it on.  I went back inside the camper and thought "Man, it stinks in here!"  No, I didn't make the connection right away. 

I tried to light one of the burners and Poof! I had a nice strong pretty flame going.  Not on the burner but on the joint where the gas line connects to the gizmo that controls the burners.  I quickly blew the flame out and only then did the bad smell make sense.

Looking closer I realized that the connection between the gas lines inside the stove was screwed in crooked.  Once I corrected this and turned the gas back on the smell magically disappeared.  I lit the burners and all three burned fine with a nice strong frame.  The leak appeared to be fixed.  Don't worry, I plan to only turn on the tank outside when we are going to be cooking and will turn it off afterward.  I have no intention of waking up dead in the camper one morning.

Reconnecting the old gas tank resulted in the same problem.  Very small flame that barely stayed lit.  I decided to eventually return this to the Blue Rhino thing at our local grocery store and get a new one.

With the gas working fine I turned my attention to the water.  I reconnected a small hose that runs from the water intake valve to the water storage tank.  I then connected my new white fresh water hose to the outside water.  I went inside to watch all the hose connections under the galley side bench in case water started spewing and had my daughter slowly turn on the water.

No leaks!  I tested the sink faucet and got a nice stream of clear water running in the sink.  I did notice that it wasn't draining.  I goofed with the drain hose figuring it was kinked somewhere but was unable to get a drain going.  As it turned out the drain was fine.  I didn't realize this until Sunday when I was taking the camper down but there was a drain stopper in the sink and the water drained once I removed it.  In my defense, it wasn't an obvious stopper since I thought it was a drain filter.  It did have holes at the bottom.

For some reason, the ceiling lights didn't work.  All the 110 plugs inside worked fine.  I thought it might be because I have yet to reconnect the wire that runs from the floor to the ceiling in one of the canvas corners.  Hopefully this will fix that problem and it's not because I haven't hooked up a 12v battery.  I should have fixed that wire by now but I keep forgetting.

The camper by all appearances seemed ready for Camp Holder.  My wife was not feeling well so she chickened out of the affair but we asked my daughter's friend who lives next door to camp out with us and we proceeded to collect the food, laptops, and sleeping gear and pile into Frostbite for the evening.

More on that next post.

Painting the frame

Managed to paint the frame thie weekend.  A couple of months ago I purchased a gallon of high-gloss black rustolium paint for this purpose.  It was $37 per gallon but claimed to be good at covering and preventing rust.  The frame had plently of that.  However, it was painted brown anyway so it was sort of hard to tell.

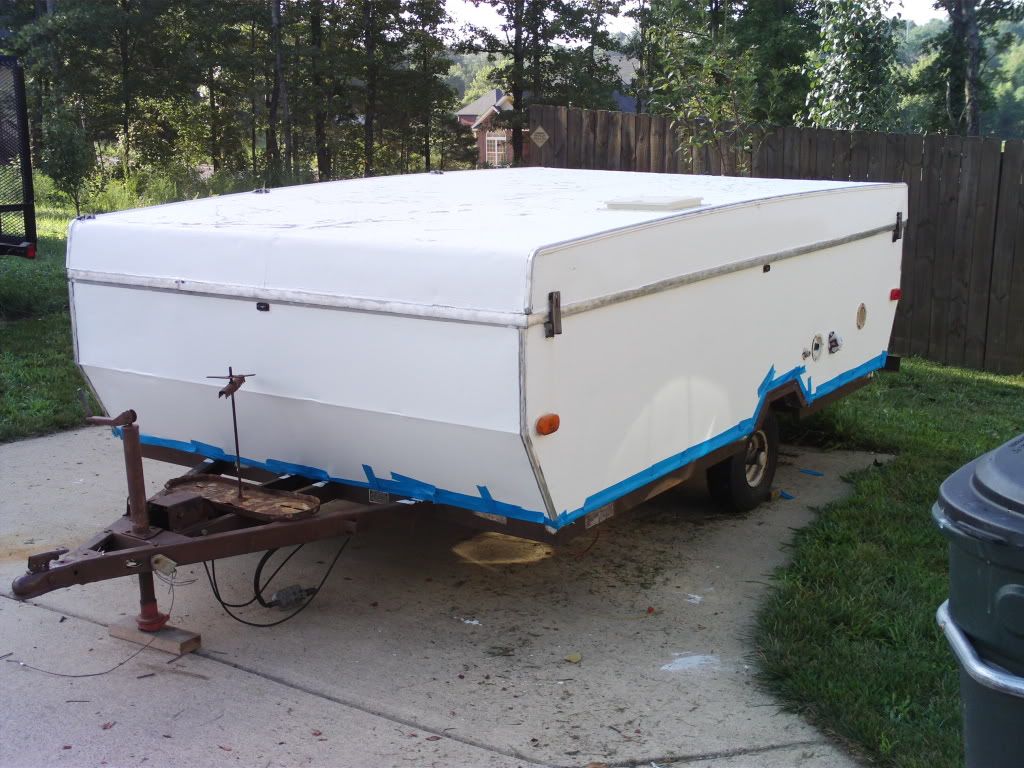
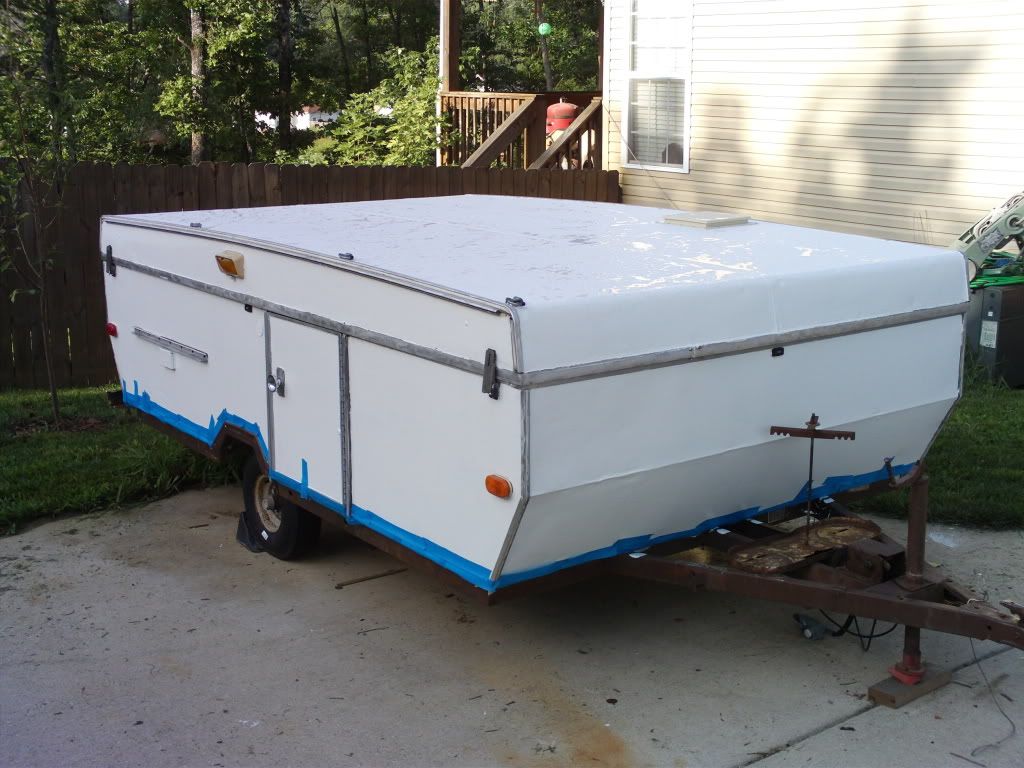
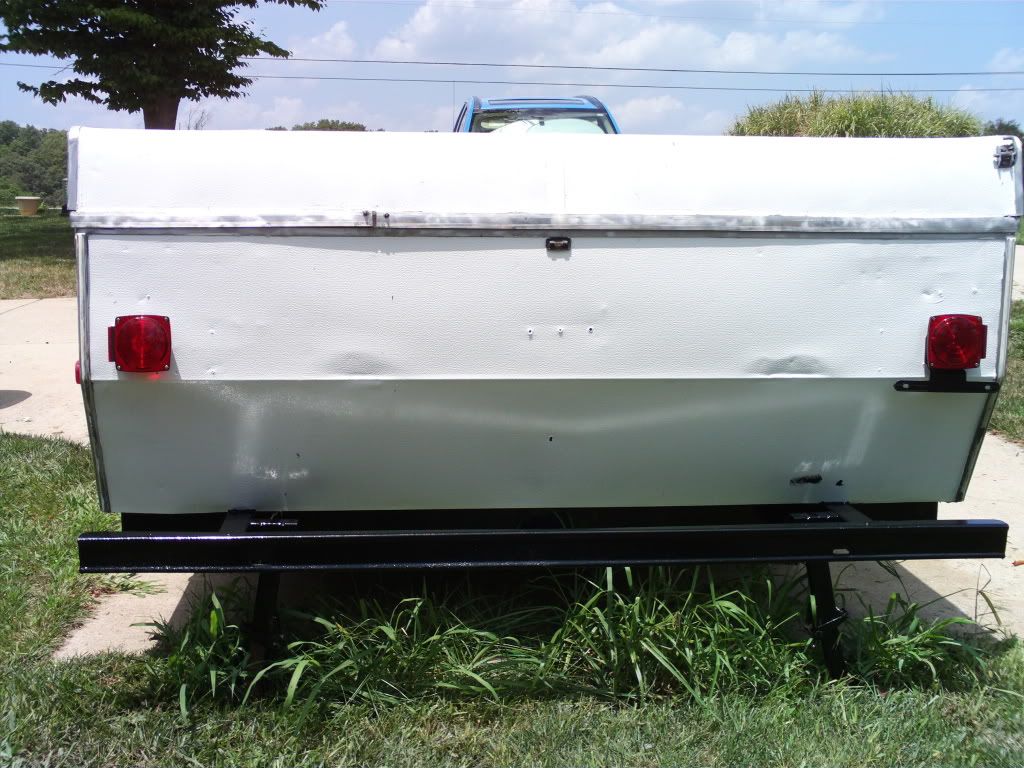
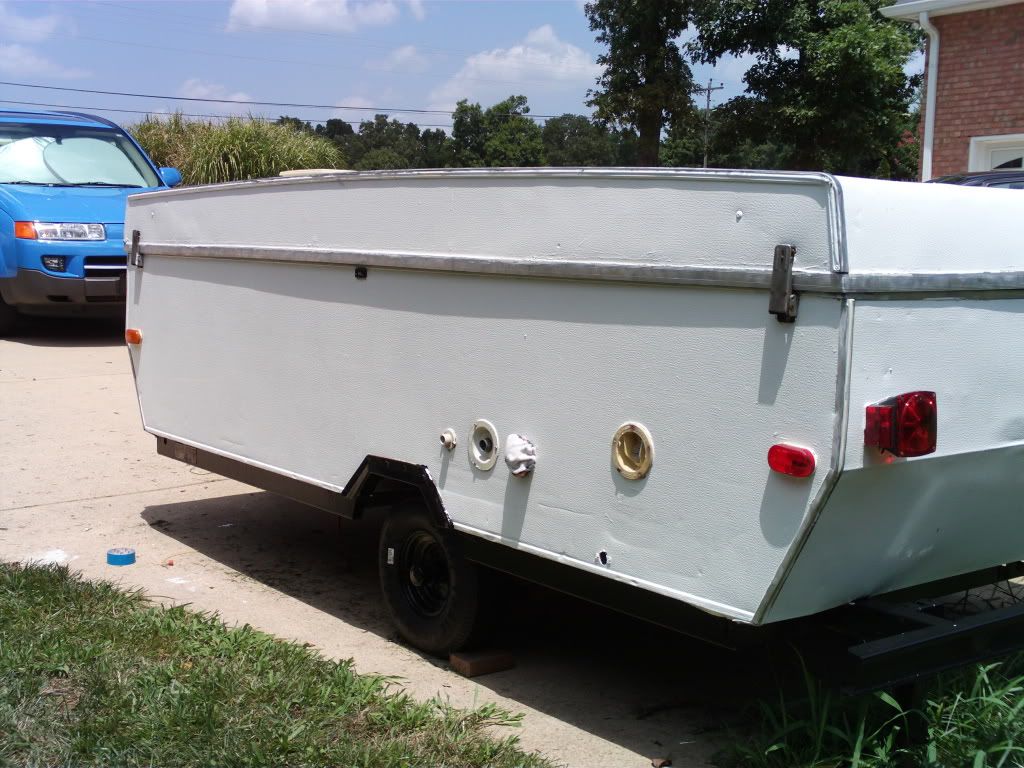
Friday evening I got out my trusty drill with the wire brush attachment and proceeded to scrape off as much rust as I could.  I rinsed off with the hose afterward.  It actually worked pretty well.  Here is a shot of Frostbite taped up and ready to be painted.


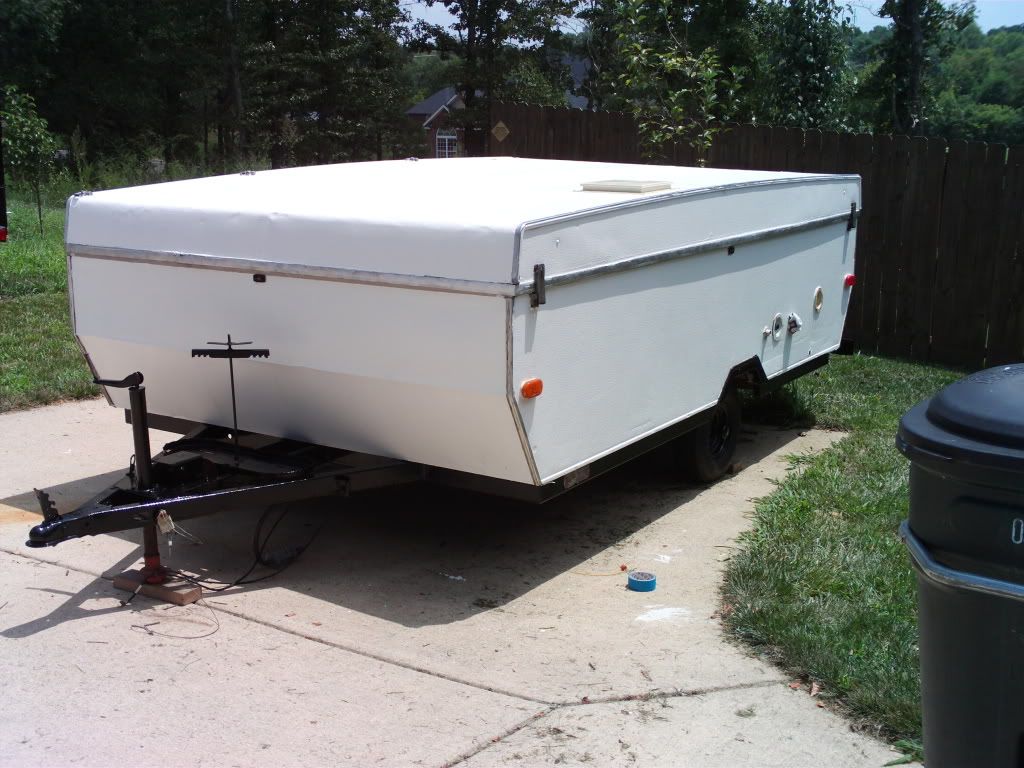
The opposite side

Taping her up was a challenge because the painter's tape barely wanted to stick to the frame.  I realize now after the mishap with taping the last time I painted that this is so that it can be removed easily after painting is complete.

This time I opted to make do anyway and hope it stayed attached enough to paint.

The next morning, I sat out in the hot sun and put on a coat of paint.  Man, that rustolium is tough stuff.  It will stick to anything and, not being a latex paint, once it was on something it was on there forever.  I actually had to get paint thinner just to get the stuff off my hands.  Fortunately, my daughter didn't try to help me with this one.

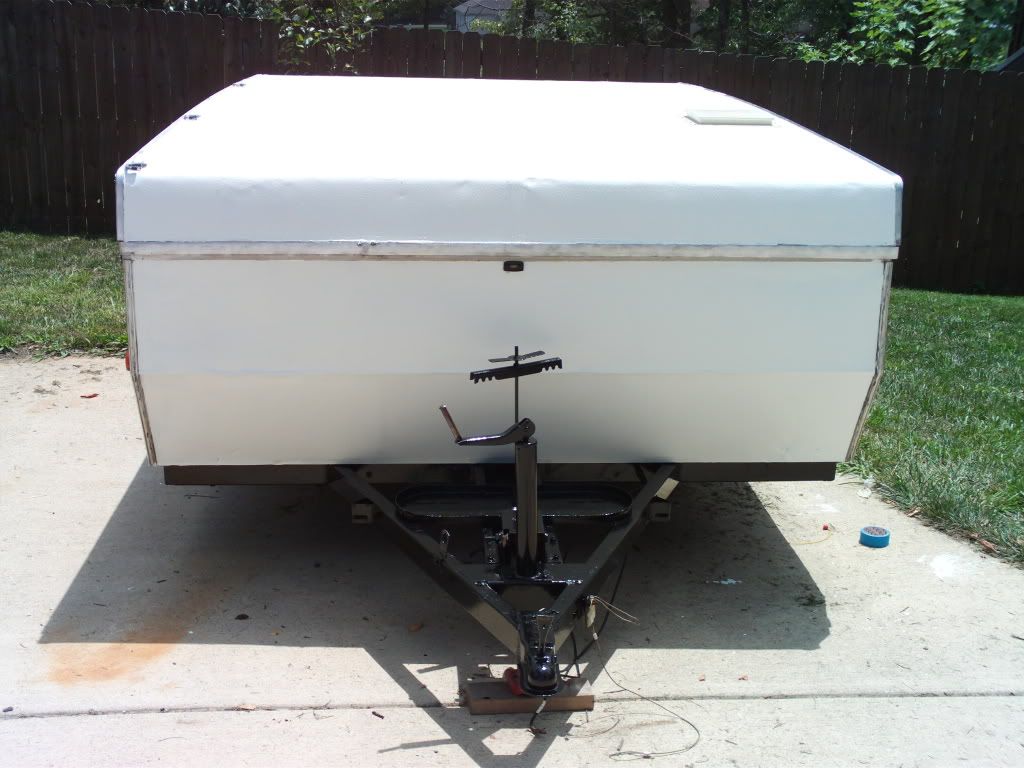
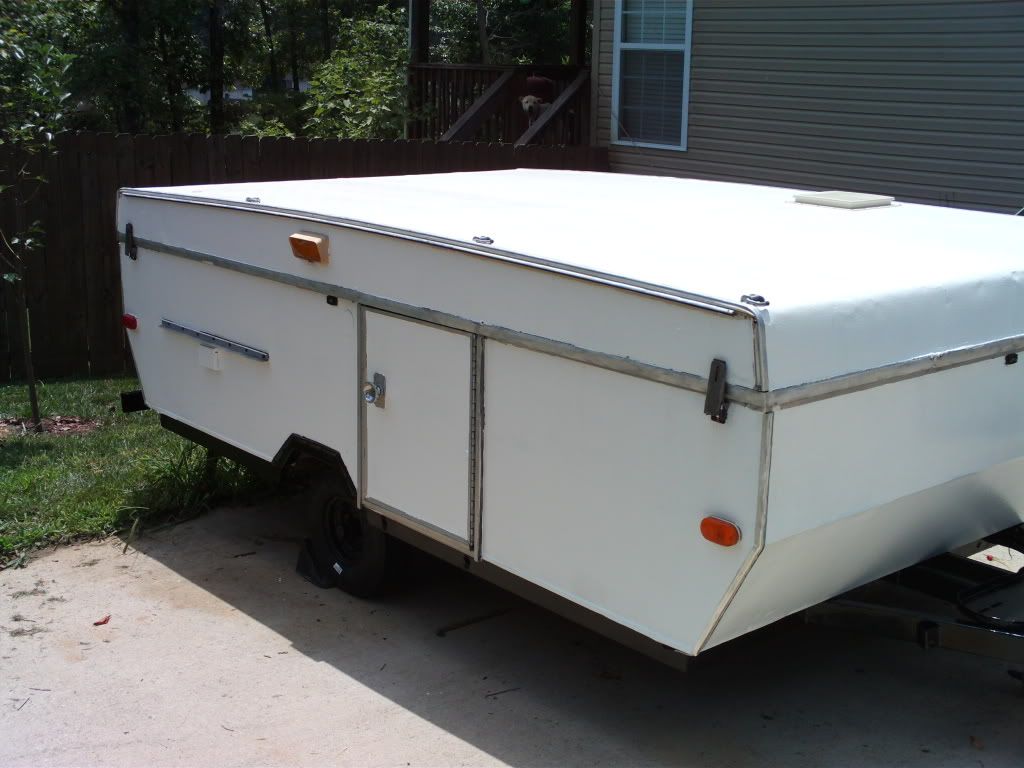
Here are some photos after the paint dried and the tape was removed.  One coat, it turned out, was enough.  Still a bit of touch ups to do but I think it turned out pretty well.


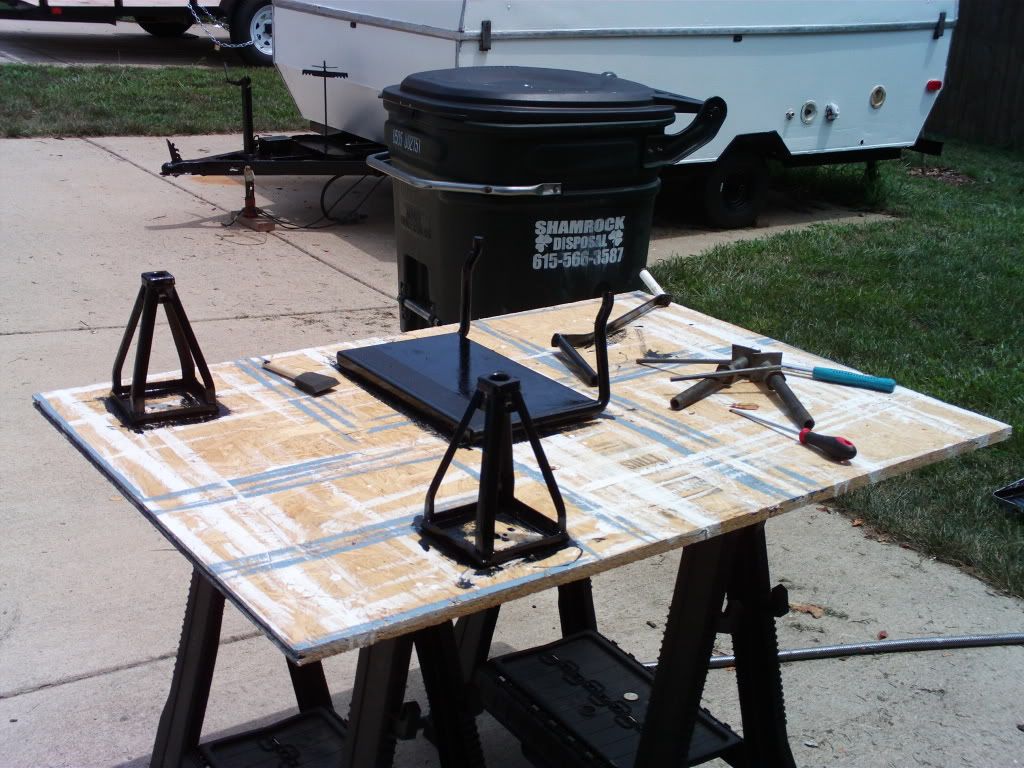
I painted the accessories also.

I did forget to paint the metal piece that holds the spare tire on.  Also forget to paint the wheel of the spare.  I'll get to that when I do the touch ups.

I only used like an inch of paint from the 1 gal can so I'm going to be able to paint things shiny black for years to come.

We did do the overnight in the driveway on Sat.  I'll detail our adventure in another post.

Friday, July 23, 2010

A Wasted Evening

Man it was hot yesterday!  The temp gauge in my car reported 101 degrees.  When I got in from work and changed into my Frostbite work clothes, I headed outside with great intentions.  I turned on the air and then went into the garage to fetch the paint, brushes, and paint bucket.  I spent several minutes searching for the stupid tool that strips wires, couldn't find it, got frustrated, and gave up.  When I returned to the camper, the air was off.

It had popped the circuit breaker.  No big deal, for the past couple of weeks to keep the breaker from popping I have been running an extension cord from inside the house to power the freezer I keep in the garage.  I originally thought that my wife had ditched the cord and plugged it back up in the garage.  She hates the extension cord running through the kitchen.

She didn't, though.

I thought, what the heck?, and unplugged the freezer.  It could sit for a couple of hours unpowered.  I tried the AC in Frostbite again and the breaker popped as soon as the condensor turned on.

I ran another extension cord to our deck to try another outlet.

No luck.

I realized that my taking so long to fix up Frostbite had taken me deep into the hot hot summer and I probably won't be able to run the camper AC in the afternoons anymore which is perfect timing as I have spent the last two weeks working outside painting and sweating in the hot sun desperately waiting for the time when I could work inside Frostbite with the AC. 

That figures!

I decided to wait until the sun started going down and things cooled off a bit.  About an hour later, my neighbor came home.  I showed him Frostbite, and we talked for over an hour in the driveway.

I tried the Frostbite AC again and now it was able to stay on without popping the breaker.  However, it was now 7:30pm.  To be honest, I didn't feel like starting work that late.  The sun goes down about 8:30.  Remember I don't have any lights yet in Frostbite.

I decided to try again tomorrow.

I went in the now much cooler Frostbite to turn off the air and it wasn't running.  I went to flip the breaker again but that wasn't it.  Curious, I went back to Frostbite and noticed a flashing red light on the AC.  The water tank was full.  The AC shuts off automatically when the water tank gets full.

When I install the air vent for the AC, I'll also need to install a drainage hose for the water so I won't have to empty the tank over and over.  It is supposed to have "evaporative technology" or some such nonsense but mentioned that it *might* not work as well in very humid environments.

That figures too.

I opted to push this chore off till tomorrow as well.

Today, I have a new method of attack.  I will start with scraping the rust from the frame and, if that goes smoothly, start touching up the paint job using my new rotary tool.  I will test the electric and see if I can get some lights on and, once the evening has cooled things off, run the AC inside and do some painting.

Thursday, July 22, 2010

What's left?

Ok, you are now all caught up on the latest work I've done on Frostbite.  It rained a bit yesterday afternoon so no work for me.  I decided to draw up a list of what is remaining to do on her.  We've scheduled her maiden voyage for the 1st weekend after school starts.  We are going to Montgomery Bell State Park whch is about 20-25 miles from our house.  This Saturday we are going to cook dinner, watch a movie, and sleep in Frostbite in the driveway.

I'll break the list up into two parts: inside work and outside work.

Inside:

* some curtains are missing.  I need to get my seamstress to somehow find the right material and make them for me.

* there are some small holes in the canvas.  I need to get a patch kit and fix them.

* there is a wire that runs up the canvas by the front lift pole on the door side of the camper that I had to cut to remove the box there.  I just need to remember to splice it back together.

* there is a shelf in the cabinet underneath the sink that I need to attach to the inside box walls

* there are some shelving runners that hold 2 drawers that I need to attach to the inside walls of one of the storage boxes

* I need to hook up some smaller water hoses that go between the water intake and the water tank and finally test the water to make sure there are no leaks.

* I need to fill and hook up the propane tank and make sure that the stove works.  I'll try very hard not to blow myself up in the process.

* The counter tops need another coat of white paint.  I would also like to put on 1 or 2 coats of clear coat.

* I need to find a good place for a power strip to be installed near the table so that multiple laptops can be plugged in.

* I bought a new wide threshold for Frostbite's door that I need to cut to size and install.  This will cover the inch wide gap between the new floor and the old threshhold.

* Once the new door latch comes in, I will install that.

* I need to find something I can use for moulding for such places as where the floor meets the wall and between the boxes.  The old Frostbite has brown rubber type stuff that was stapeled in place.  I have been unable to find anything I can use at Lowes.  Quarter round might come to mind for the floor but remember that the wall that is connected to Frostbite's floor is at an angle greater than 90 degrees so quarter round would still leave a gap.  Any ideas would be welcome here. 

* eventually, I need to permanantly install the exhaut hose from the AC.  It is usuable right now as I am just unzipping the corner in the canvas, running the hose through, and zipping it back as much as possible around it.  It looks pretty redneck like that though.  I need to think about where exactly I want it to run down to the floor, cut a hole in the box and the floor, and attach a dryer vent underneath Frostbite.

* finally, I need to get a tiny paint brush and thouch up the paint on the cabinet doors where the tape let me down.


Outside:

* I need to use my wire brush drill attachment and run it around the frame to try to remove as much rust as possible

* I need to paint the frame, spare tire holder, and door step with black rustolium paint.

* I then need to run my rotary tool's wire brush attachment and run it around the outside where the masking tape let me down.

* I bought a cool racing stripe decal (blue) that I would like to run on both sides of Frostbite.  I have found plenty of outside decals that I like but I'm not willing to spend the $100-$150 they cost right now.  The potential for goofing this little project up is great.

* I need to take the old 12-v battery and get it tested.  It probably needs replacing as well.  I won't hook it up without the battery box though.  The one that came with the camper has a large hole on the top rendering it useless.

* I need to obtain an RV battery box for the 12-volt battery to attach to the trailer tounge.  I'm sure I'll have to order this online and it probably costs $20-50.  I don't think it will keep anything from working if I don't install the battery right away.  We don't plan to camp anywhere without electric hookups.  I'll just have to determine if the electric will still work without the battery being hooked up.

* Eventually I plan to get a transmission cooler for Bluebell.  I called our local transmission shop and he told me that he would have to look at Bluebell to make sure Saturns have enough room for one to be added.  He also said that it might cost $200-300 which sucks!

* I really need to test the awning on Frostbite.  Right now it is still in the garage.  The bag is separating from the piece of hardware that attaches to Frostbite so I need to use an upholstery needle and sew it back up with fishing line.  It's sounds simple so I have my fingers crossed that it will be.  Note that I have never opened the awning so I've no idea what shape it is in or even if all the poles are present and in good shape.  I've got my other fingers crossed on that one too.

Just a few of the above tasks are needed before we can camp in her though.  My goal lately was to get Frostbite up and campable as soon as possible before this summer slips away.  I will continue to work on her as necessary to get her officially "finished" between camping trips.

Hopefully, I can get in her this afternoon after work.