Thursday, April 1, 2010

A Caulking We Will Go

I was worried about caulking since I first realized that this renovation would require a lot of it. My prior caulking experience involved projects that were borderline functional and verifiably ugly. The special tool I used to smooth and even the caulk once I managed to squirt it out of the gun in the general direction of the area to be caulked was my finger.

I truly hoped I could find a way to do a better job in the future. I noticed at our local Fred's a couple of months ago that they had a collection of caulking "tools" for lack of a better word. They were really just square pieces of plastic with edges cut into the corners at various sizes. This was one of those "As seen on TN" type things. The commercials were quite impressive but I admit I'm easily convinced by these things.

These tools were $20 and the cheapskate in me screamed louder than the "this would be cool" voice (yes sometimes that happens with me) and I resisted the urge to purchase them.

Two weeks ago, back in Fred's, I noticed that there was only one box of these caulking tools left and they were on the clearance shelf for $9.95. I thought, jeez, that's less than 10 bucks! (I know it's not really but I'm easily mentally fooled by the 5 cent difference.)

The "this would be cool" voice told the cheapskate voice to kiss it's butt and I bought it.


This is pretty cool!

I promptly started the caulking process.  After permanently destroying a towel and getting 90% of the caulk on myself, the ground, my tools, and most everything else present in my general work area, I managed to get the other 10% of the caulk in the right place. 

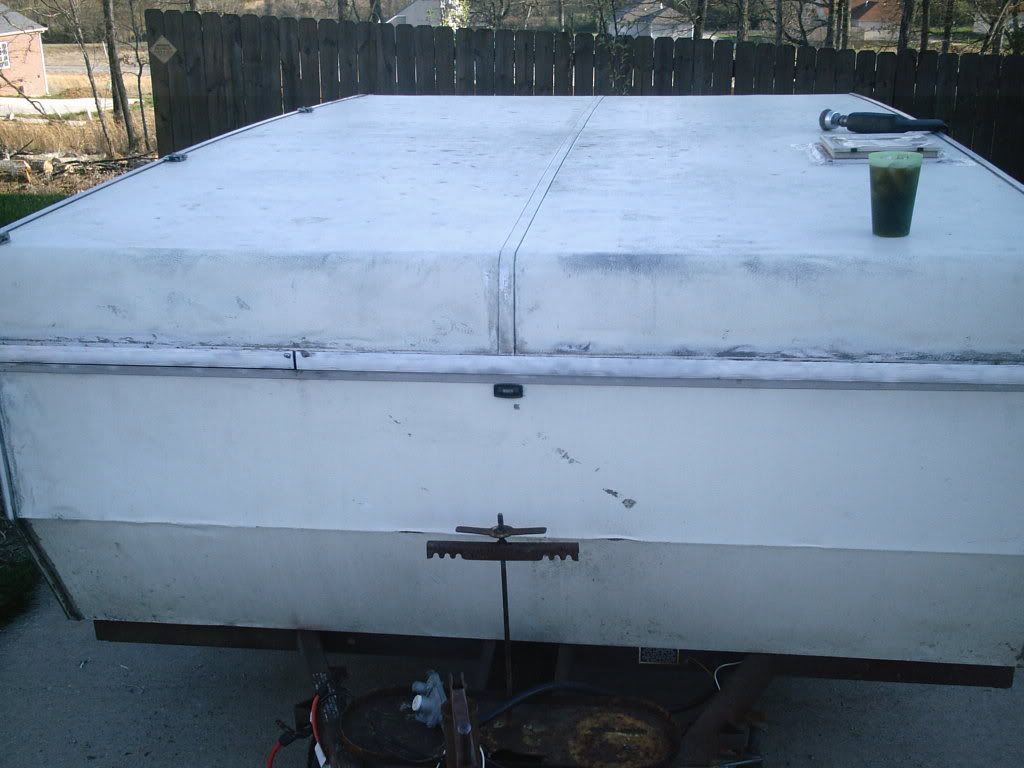
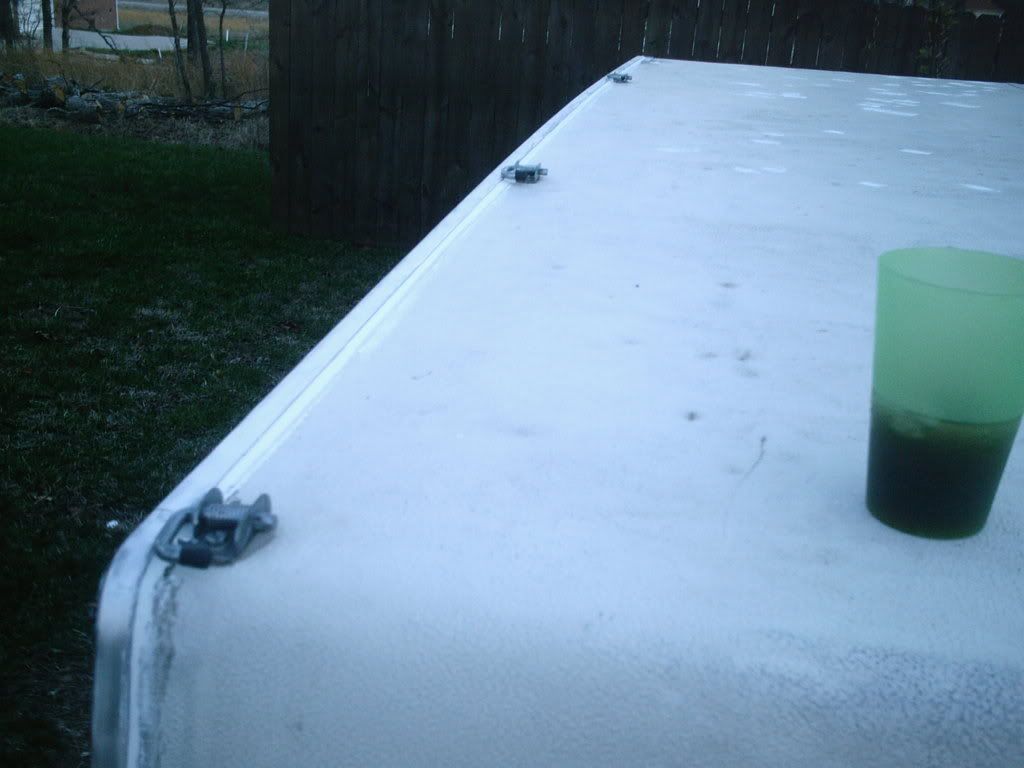
Here is the left roof seam:

And here is the right seam:
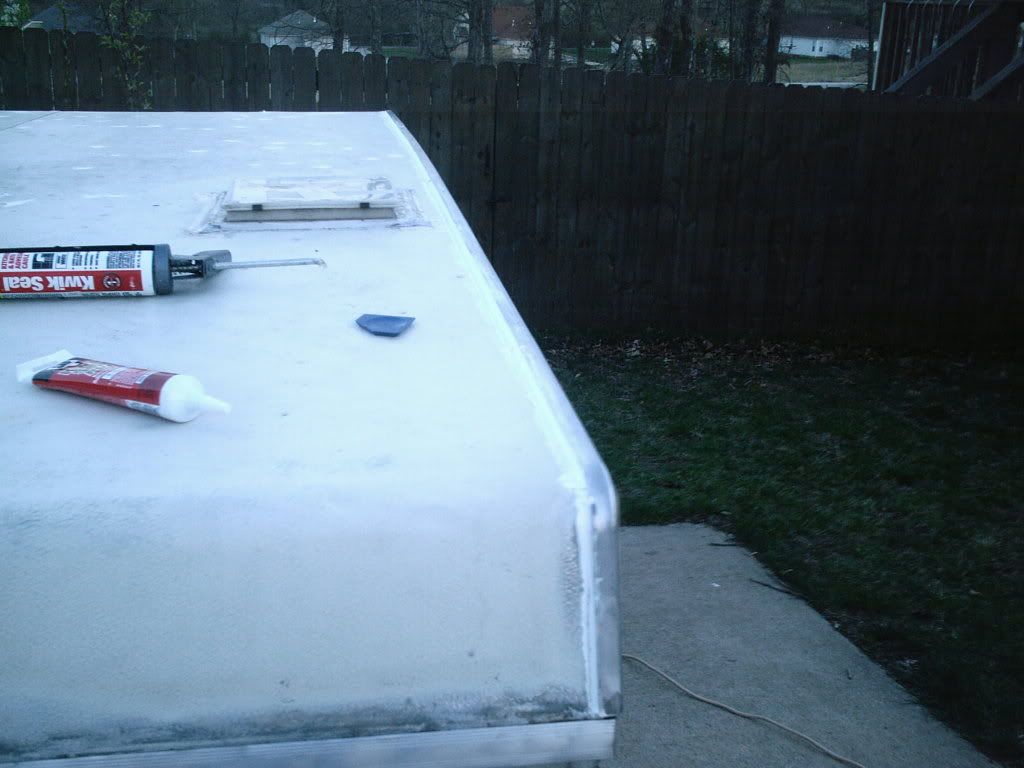

Ok, now I would never claim that this is the best caulking job in the world but I can say that this is the best caulking job I have ever done and probably will ever do so it's best to just be happy with it.  Personally, I was quite pleased.

I already mentioned the excess caulk being a problem (I realize now that the hole I cut in the caulking tube was far too big) and I thought of a clever way to get rid of it.  I have mentioned in previous posts about  how much hail damage was done to the roof.  It looks like it spend the night outside when it was raining golf balls.  I started dumping the excess caulk in these holes and scraping it smooth across the top.  The caulk I used for this is "paintable" (at least that is what is printed on the side of the container) so I'm hoping that there is a chance for the roof to at least appear flat again once it is painted.  Here is a shot of my craftiness:
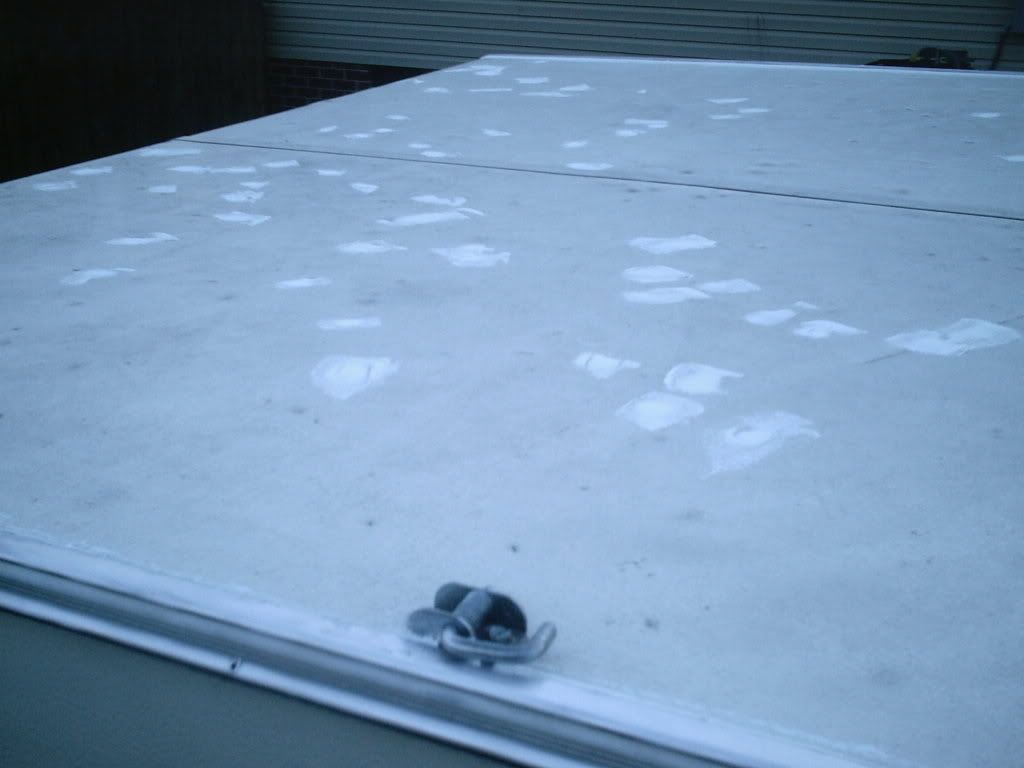
Pretty crafty

I still have the center seam to caulk which will be a particular challenge since I can't reach it from the sides and I know that my big butt has no business actually getting on top of the roof.  The current hail damage would pale in comparison to the boulder sized dent I would probably make in it.

I also need to caulk the edges where the roof comes over the sides, front, and back.  I'll have to get to these another day though since it was starting to get dark by the time I finished two seams.

My go-to-girl at the Tool Box is currently researching what type of waterproofing goo would be best to paint the roof with.  I intend to have her "special order" me some and then maybe, just maybe, we'll have this thing licked.

I'll be ready for another thunderstorm test at that point.


Long Time No Work

I realize that it's been a bit longer than usual for me to post but there were at couple of factors in addition to my own laziness that kept me from Frostbite until yesterday.  First, a rainy cold snap hit us here in mid-TN.  Second, I went to Memphis last weekend to visit family.

I did get back in the swing of things yesterday which was beautiful, by the way, 83 degress and sunny when I arrived home from work.  I started by finishing the caulk removal with the magic wire brush drill attachment.  This, I have come to realize, it one of man's greatest inventions.

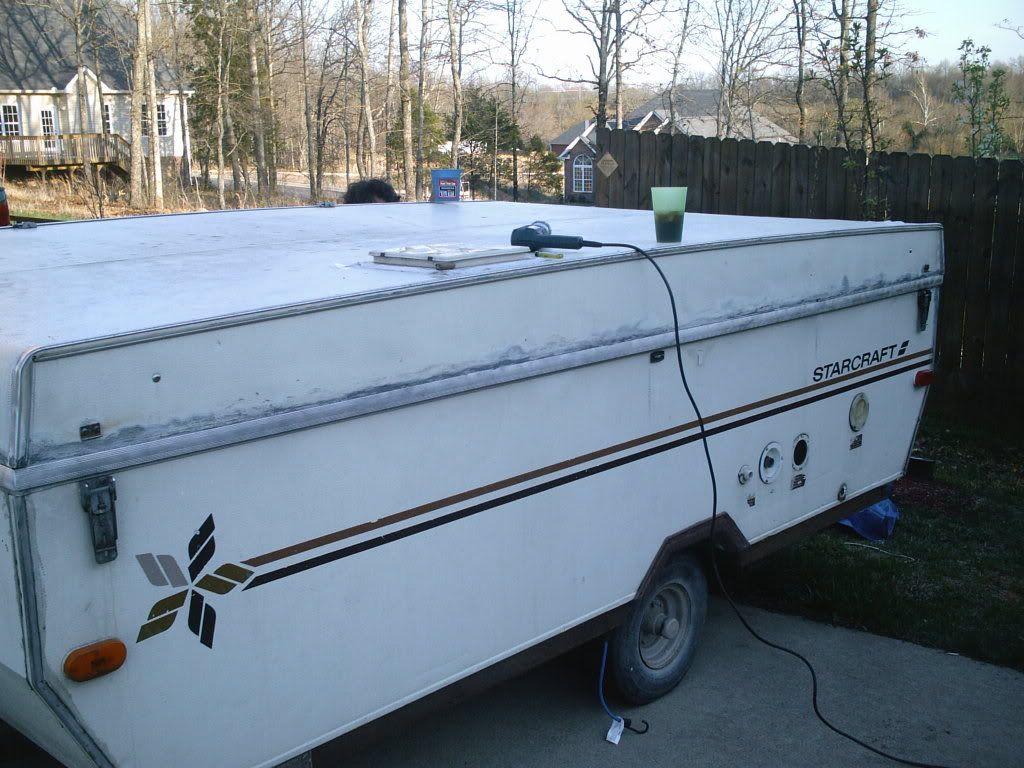
I finished the front edge:


I also finished the right side of the roof:


After this I enlisted my daughter who, believe it or not, was bugging me about helping and got her started cleaning the seams with soapy water so I could caulk them.  She did a fine job.  The strange tuft of hair you see on the opposite side of the camper in the above pic is her.

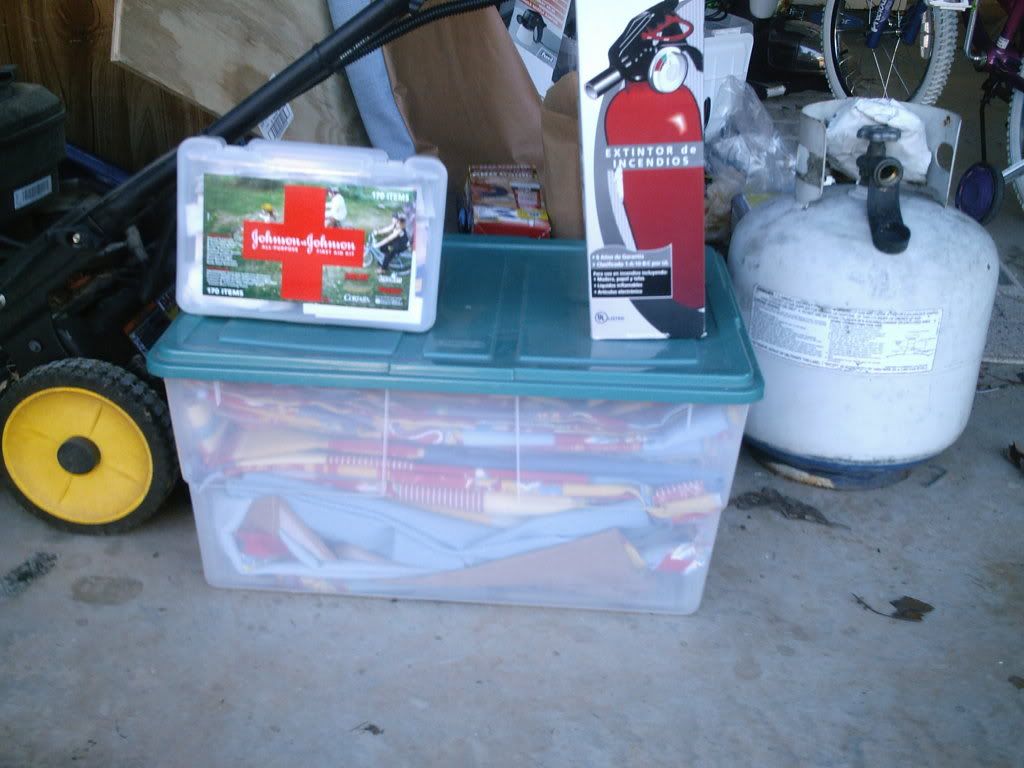
During our Memphis visit my parents and sister gave me some birthday presents that were Frostbite related and very much appreciated: A fire extinquisher and a first aid kit.


What this says about my tendency to be accident prone I'm not sure.  However, once I saw off a finger or set the camper on fire, these will sure come in handy.

The plastic container they are setting on contains all the new curtains, matress covers, and seat covers that I enlisted my seamstress to create earlier this year.  She finished way before I expected her to and have yet to set aside the money I promised to pay her so she got stiffed on this one.

I will send the money when I get it and, of course, after I ascertain that all measurements are scientifically accurate and every single stich is aligned properly.

I'm not going to put these in yet since the damn roof still leaks. 

Thursday, March 25, 2010

Stars and Stripes Cleaning Services, Inc

It's raining today so no work this afternoon.  It wasn't raining yesterday but I still didn't manage to get out to work on Frostbite.  However, I did want to give a plug to a business who came to our home and cleaned our carpets on Saturday.

Stars and Stripes Cleaning Services Inc
www.starsandstripescleaning.com

4521 Highway 70
White Bluff, TN 37187-9237
(615) 797-3027
Open Mon-Sat 8am-5pm

A tech arrived on Sat. and spent a good couple of hours on our carpet.  This was no easy task as 4 years, 1 8 year old, 2 cats, and 1 slob (me) have taken their toll on our poor carpet.  We hope to eventually put in hardwood floors but thought we would try to delay this by trying the carpet cleaning route.

I have to say that the tech was able to remove EVERY single horrible stain in our house.  The carpet looked brand new.  It was chemically treated and came with a warranty that is good as long as we still have the carpet in our house.

I was very pleased with the price and extremely pleased with the service.  They serve the Middle Tennessee area and I highly recommend them to everyone needing this service.

Wednesday, March 24, 2010

Old Caulk Begone!

One thing leads to another

Last Friday was sunny and warm.  When I got home from work, I decided to get a jump on my Frostbite work.  Remember, I had planned to recaulk the roof this weekend.  I started scraping off the old caulk on the room seam and edges and it came up pretty easily.  Stepping back to admire my work, I realized that the "roof" actually came down about a half foot on the edges and the seams on these edges were in rough shape.  No offense to the previous fix-it guy but it honestly looked like it was caulked by a caveman with his bare hands.

No problem.  Armed with my scraper, rubber gloves, denatured alcohol, and some rags, I set to work.  I quickly realized that this was going to be much tougher than I initially thought.  I decided to improve my arsonal by getting a plastic brush like those used to clean dishes.

A little better but not much.

I increased my arsonal again.  I had previously purchased some small wire brushes about the size of tooth brushes at Big Lots for $1.  I had much better success.  Working diligently, I managed to clean about six inches worth of caulk on the front seam.  Unfortuntely, when I checked my watch, I realized that it had taken me a half hour to do this.  It was getting dark so I decided to sleep on it.

The next morning I had a better idea.

I opened a large wire brush, again purchased at Big Lots, and managed to double my progress.  I had originally gotten these wire brushes so I could scrape the rust off the frame before I painted it.  After an hour or so, I needed a break and decided to visit my go-to girl at the local hardware store to see if there was any goo that was stronger than what I was using.  I described my problem to her and, as usual, she didn't let me down.  She suggested I get one of these:

At $3.50 each, I bought two

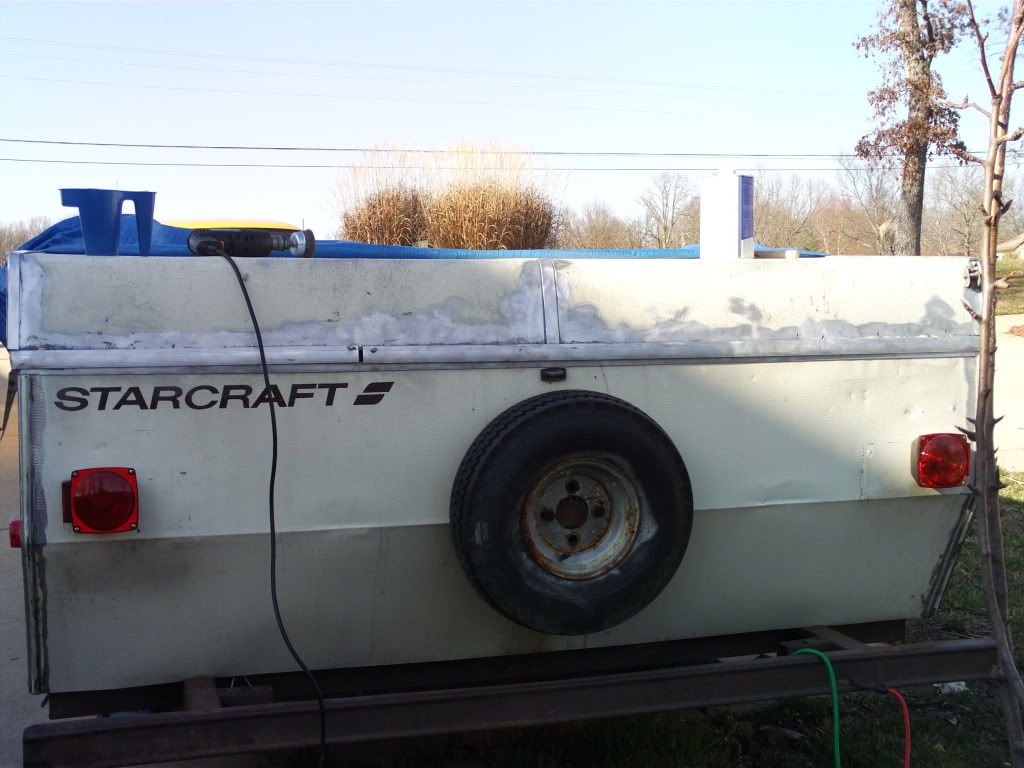
The drill is mine.  I'm referring to the wire brush attachment attached to it.  NOW I was cooking with gasoline!  Haha!  Man, this thing not only removed the caulk but it shined the metal stripping so that it looked brand new.  Yes, it removed the paint also but that doesn't matter as I intend to repaint anyway.  I am very, very pleased with the result.  Here is a before and after pic of the back end:


Before


After

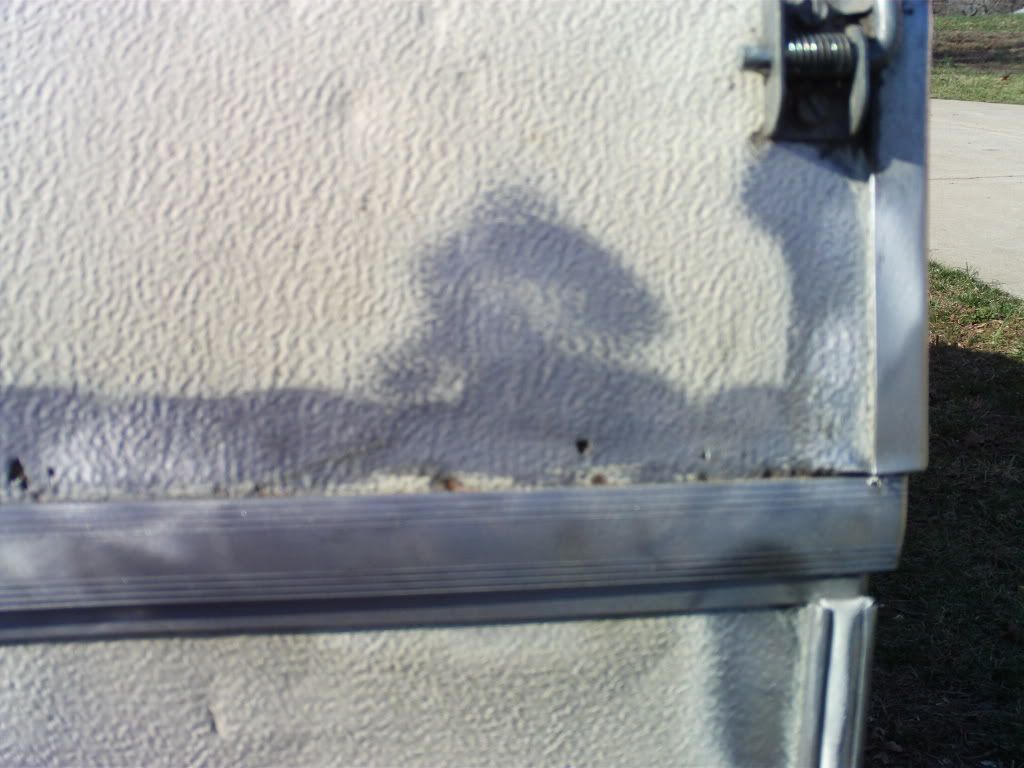
Now I realize to the "untrained" eye, it might look like I simply spray painted silver paint on the edge but, trust me, I didn't.  The metal edge is shiny and new and you can see every groove clean as a whistle.  Here is a closer view:


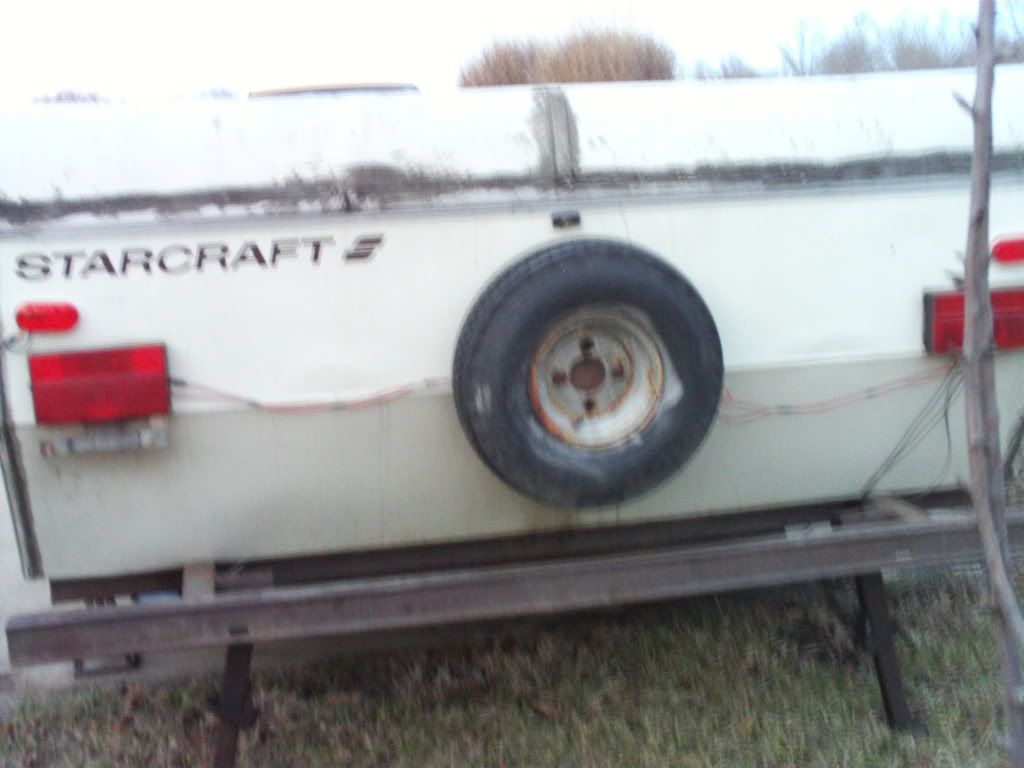
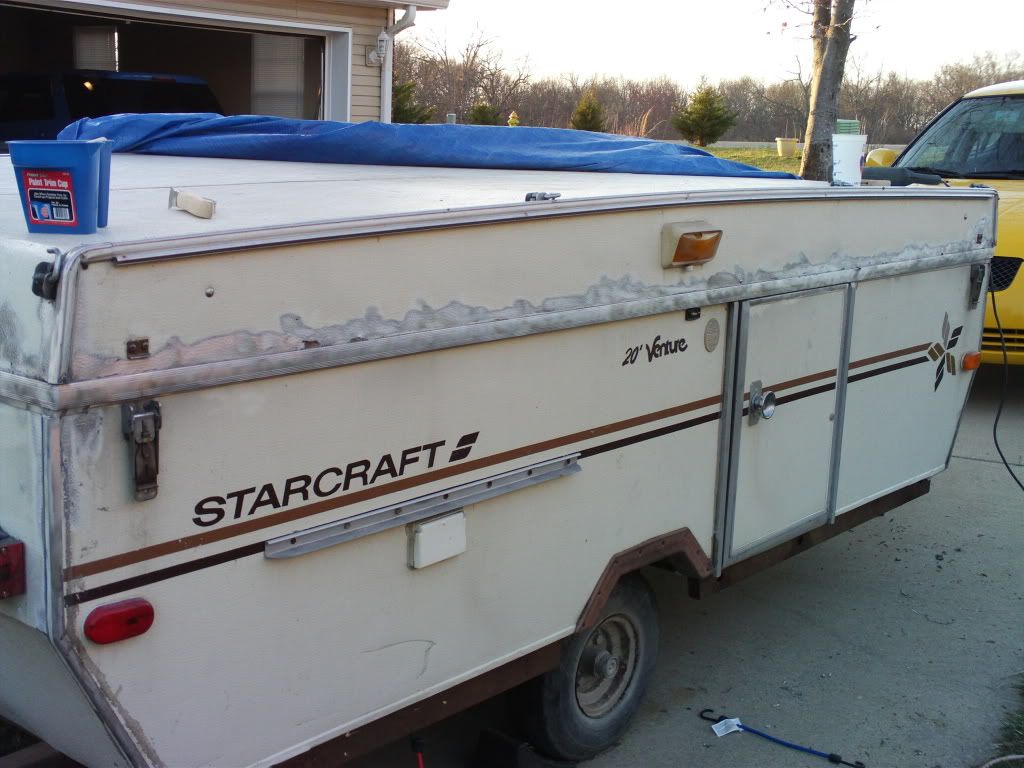
This was no easy feat as I am still working on it.  However, I finished the back end and one of the sides yesterday afternoon after work.  Here is a pic of the door side of the camper:


Again, I realize to the untrained eye that this is not beautiful just yet.  However, if you can picture new, even caulking along the edges and a shiny new while paint job, you will realize that this is just the first step towards a thing of beauty.

I hope to finish removing all the caulk the next couple of days now that I have about 3 hours of sunlight in the afternoons after work.  With that job completed, I will recaulk all the edges and seams of the roof which *should* have already been done but, as I've discovered with Frostbite, one thing almost always leads to another.

Monday, March 22, 2010

Dogs and Fish Don't Mix

Saturday was *almost* wonderful.  It didn't get quite as warm as advertised but it was sunny and rain free.  I did get a heap of work done on Frostbite.  I knew that it was supposed to rain on Sunday but it was supposed to be "scattered" showers so I thought I would be able to finish the work and take pictures on Sunday.

Sunday morning @ 7:00AM it was already starting to rain.  I managed to get the tarp back on Frostbite.  I didn't not actually get to caulk the roof fortunately since it would not have had enough time to set before the rain anyway.  I'll describe what I did do to Frostbite in another post when I get some pictures.

The rain was hard and steady ALL DAY so further work on Frostbite had to be postponed.

Nevertheless, there was another project I had been putting off for better weather.  We decided to move our deck pond from our covered back deck to the front porch.  We have a half whisky barrel that has a liner and some fish in it.  The fish are outside fish and the tank runs outside year round.  We've had this little pond for about three and a half years on our back deck and everything was fine.

Last year we got another junkyard dog, a Sheltie.  The current junkyard dog, a Mutt, did not bother the deck pond at all.  The new one, however, was obsessed with it.  She continually chewed up the air hoses, pulled out the heater, and knocked around the fountain attached to it.  All this despite us putting up a physical barricade of chairs and other objects around it which, of course, ruined the visual beauty of having the thing in the first place.  This weekend she managed to pull out the main filter and chew it up.

It was starting to get expensive.

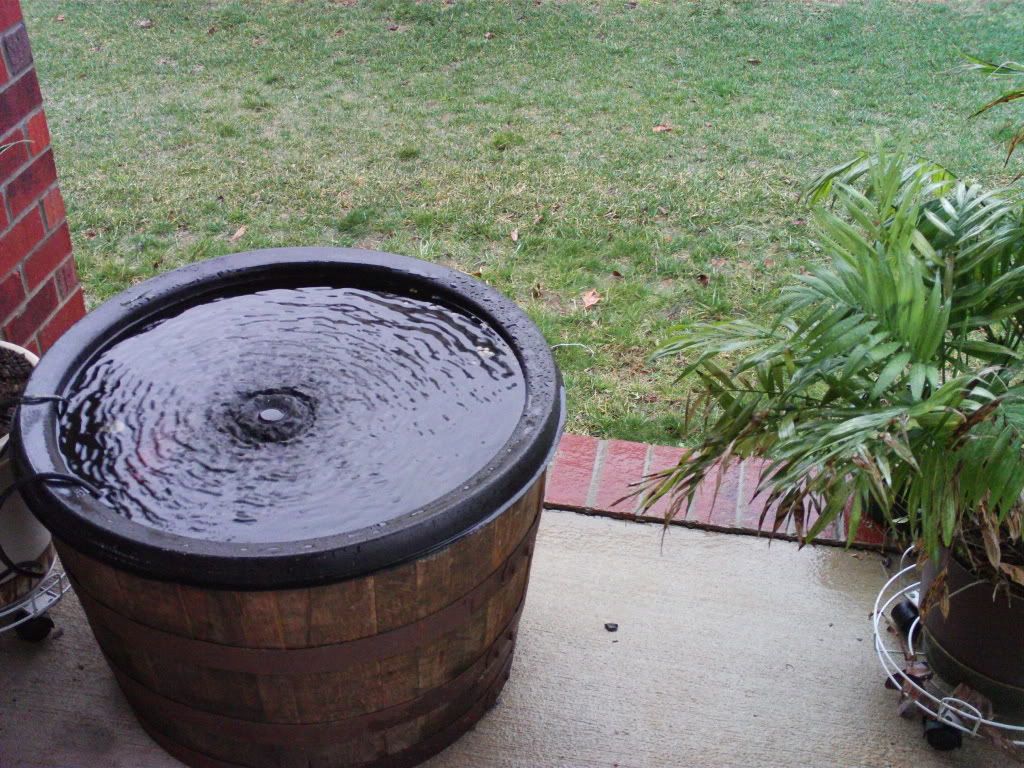
We decided it was time to move the pond to the front porch and out of the reach of curious little knucklehead mutts.  This is actually a little better location as it will get a little more sun and we can grow some water plants in it and arrange some plants around it.  When we got the new dog, we quickly learned that we couldn't keep plants within her reach either.

We made a trip to Lowes to get new equipment.  I managed to scoop the fish up into a large bowel.  We originally populated the tank with feeder goldfish three years ago and some of them have gotten quite large.  I emptied the water, cleaned the rocks, moved all the stuff to the front porch and set the tank up again.  All this was done while it was pouring rain outside.  Our front porch is fairly large and covered but, at times, the rain blew in and drenched us since the wind was raging pretty good.

Despite this, I think it turned out pretty well.


We are going to place some of our plants around it on stands and get a few water plants growing inside it.  Come spring it should look really nice. 

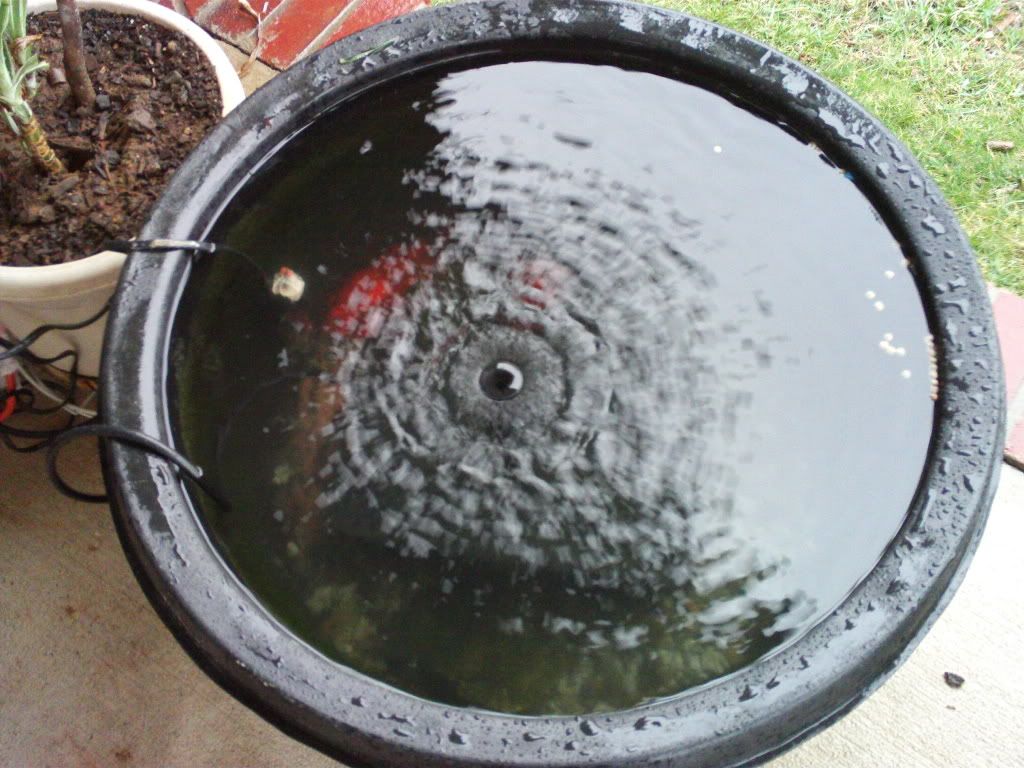
I tried to get a picture of our fish but it was cloudy out and they were hard to see.  I'll post another pic once we get it landscaped a little better.  Here you can just make out one of the large goldfish.  There is another white fish that is larger but he is not visible in the photo.  The smaller goldfish were also out of site among the large rocks at the bottom.


We also took all of our plants outside that were "wintering" inside the house so they all look a little rough.  Probably did this too early as another freeze is inevitable before the Spring is over but they will do better in the long run since they get sort of neglected by us inside.  If I have to move all of them into the nook of the front door prior to a cold night, so be it.

A productive Sunday but no work on Frostbite today and I was unable to get pictures of yesterday's work.  I'll tackle that later this week when the weather gets better.

Friday, March 19, 2010

Another great weekend coming!

Should reach into the 70s today and tomorrow here in TN.  I'll have no excuse to fall back on for not working on Frostbite tomorrow. 

My plan of action is this:

1. Caulk the seam and edges around the roof.

2. Remove one of the brake lights and attach the gizmo that holds a license plate which I neglected to do when I first installed it.

3. Caulk around the new outside lights.

4. Paint the inside ceiling and side walls with my nifty new paint sprayer.

Why, you might ask, am I going to do work on the inside when I know the roof still leaks?

Because I'm completely and stupidly confident that re-caulking the entire roof will fix the problem. 

. . . at least it better.  I don't have any more tricks up my sleeve for that one.

Moving ahead blindly as usual.

Thursday, March 18, 2010

Well, This Sucks

Despite my doctor's appointment which involved minor surgery and three stitches, I managed to open up Frostbite to check for leaks.

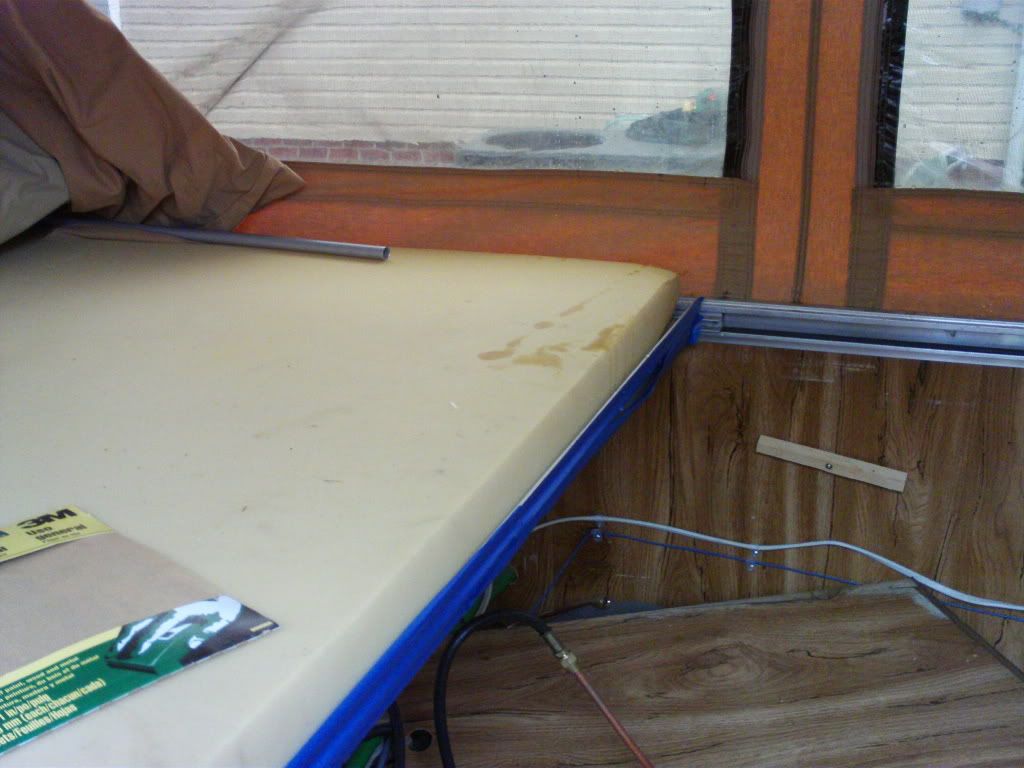
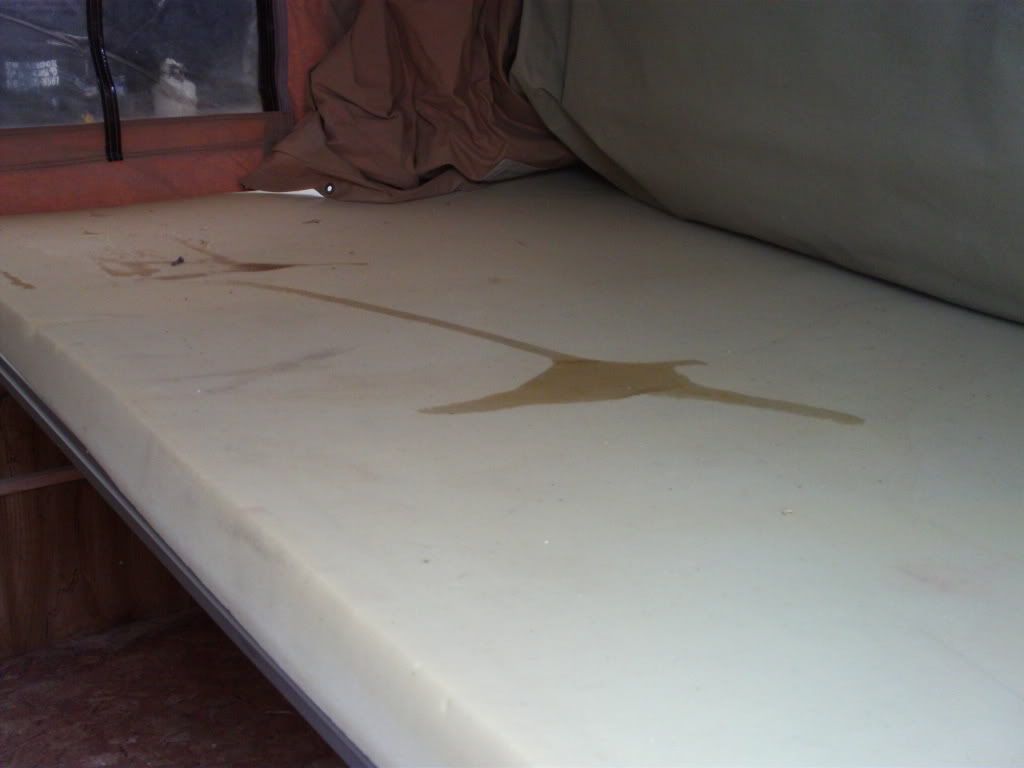
I found this on one bunk:


And this on the other:


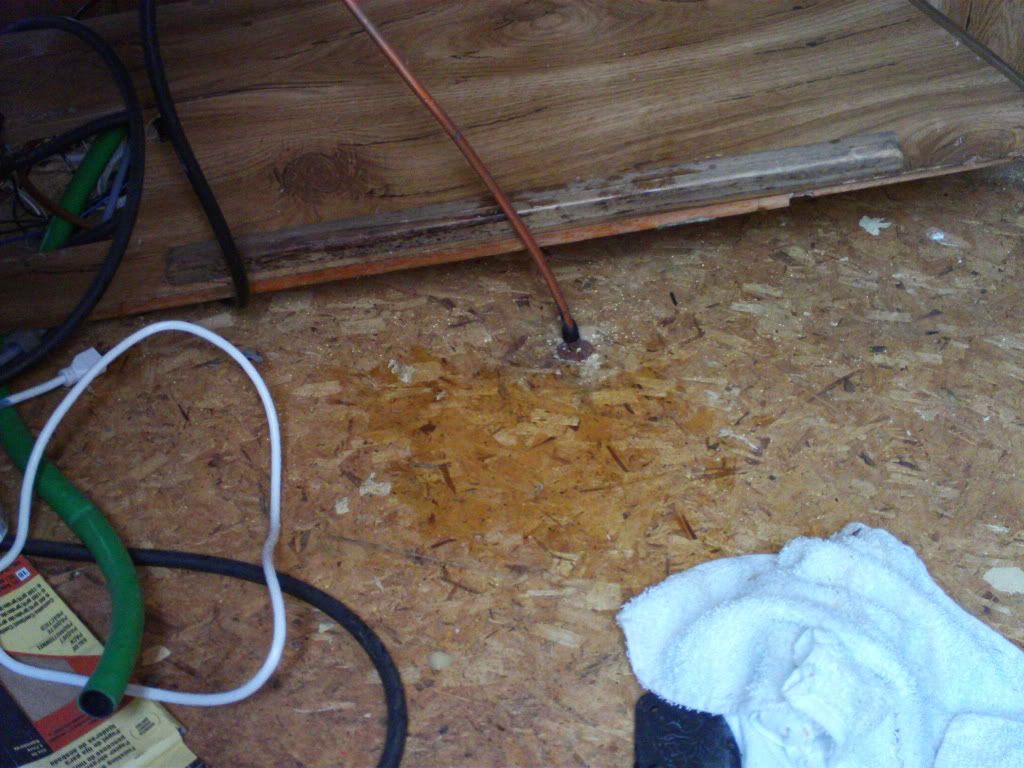
And this on the floor:


Now this leak is still in one place I figure.  Frostbite was down and the bunkends were pushed in so it only appears to be in three different places.  I suppose it could be much worse.  Remember that we had 2 or 3 days of thundershowers not just a little Spring rain.

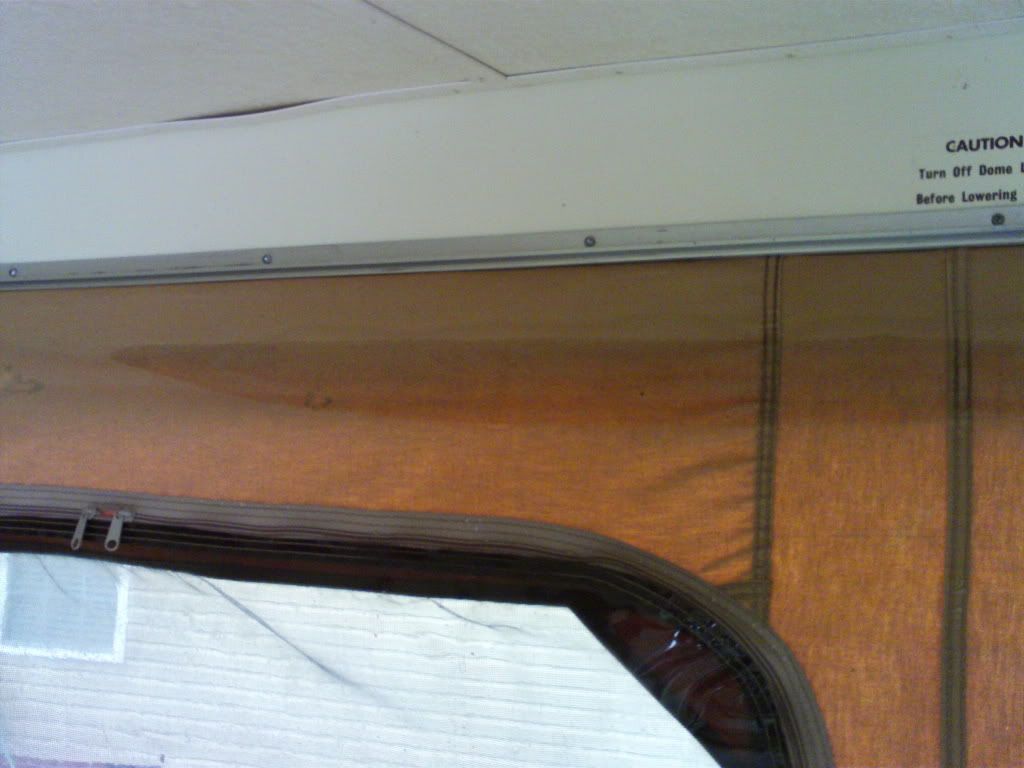
I examinted the inside ceiling very closely.  The vent was dry inside and around it.  All the edges and seams above that area were also dry to the touch.  In fact the entire ceiling was dry and I couldn't find any water damage like discoloration so I *hope* that it hasn't been leaking long.  There was a spot on the upper canvas wall that was wet.


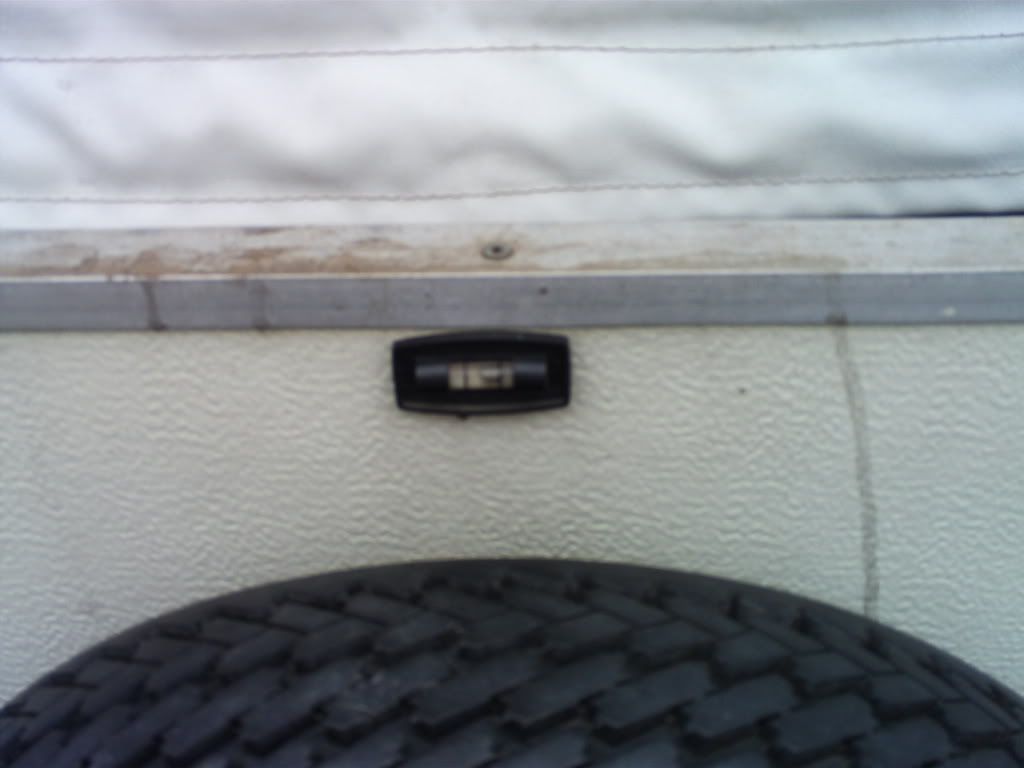
It was obviously the middle man for the roof leak but, despite my efforts, I was unable to locate where in the roof the water came from to get the canvas wet here.  I did notice that the leak was on one side of the camper probably due to this:


As you can see here, the camper is not level side to side and the leak was located over the low side.  I examined the outside where the canvas meets the roof.


It was dry to the touch all along the edge where the canvas attaches to the roof.  I did not see any type of "gasket" nor did I see any evidence of there ever being any type of gasket here.  There was no hardware that I could identify onto which a gasket could be attached.  I figure this couldn't be the source of the leak anyway since it is unlikey that water entered here underneath the edge of the room.

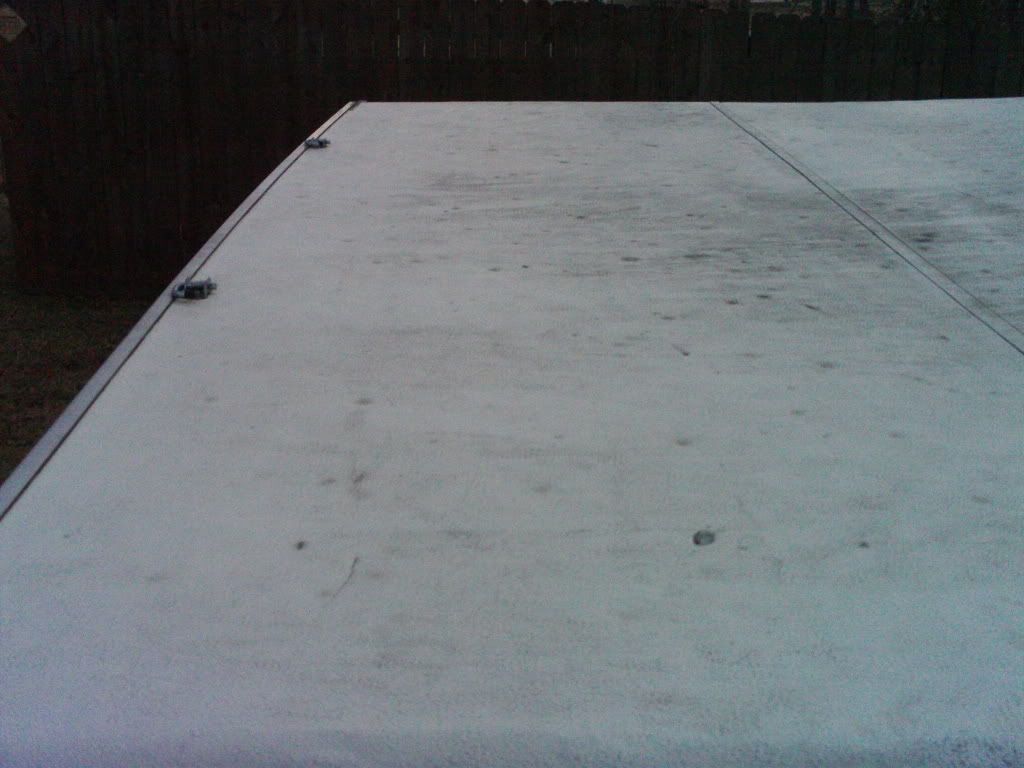
No, the leak has to originate somewhere on here:


I've already fixed that hole you see here.

It's no good to patch the ceiling anyway since the roof itself is getting water into it.  THAT is what has to be addressed.  In the above pic you can see a seam going down the center of the roof.  Why did they put a seam down the middle of the damn roof?  Anyway, the caulk is old (black), cracking, etc.  The caulk along the edges of the roof is in the same condition.

I'd like to think that the repairs I've already done on the roof contributed, at least a little, to limiting the leak.

My plan of action for this weekend is now going to be recaulking this entire area.  I'll wait for another rain, which won't be long I'm sure, and hopefully get better results.