Yesterday I did manage to get Frostbite popped up and finish putting down the floor. I think I might have bent the stupid safety hook again. As I was cranking her up, about halfway, I hit a wall. Trying to be careful not to crank it too hard I pulled against the blockage and it wouldn't budge.
I lower her back down and tried again.
Same thing.
I had been meaning to hook Frostbite up to Bluebell and pull her up a few feet as she has been ever so slowly slipping down the hill since I've been working on her. Now, when I pull out the bunkend at the end of my driveway, the tent hits my pear tree. Since I was getting nowhere with cranking her up, I decided to hook her up and move her back up the driveway a bit. I was hoping the problem would magically fix itself as I did this.
Once Frostbite was moved and unhooked, I tried to crank her up again. This time, success. However, the safety bar was definately not the same as before. It still hooked but I had to push it down with my hand. I also suspect that this is causing the roof not to close all the way as I had to push down on a corner to latch it when I was done for the day. I'm afraid that I will need to remove it again and use my metal bending technique to straighten it out again. This time, I will figure out some way to keep the thing from getting stuck when it is being raised.
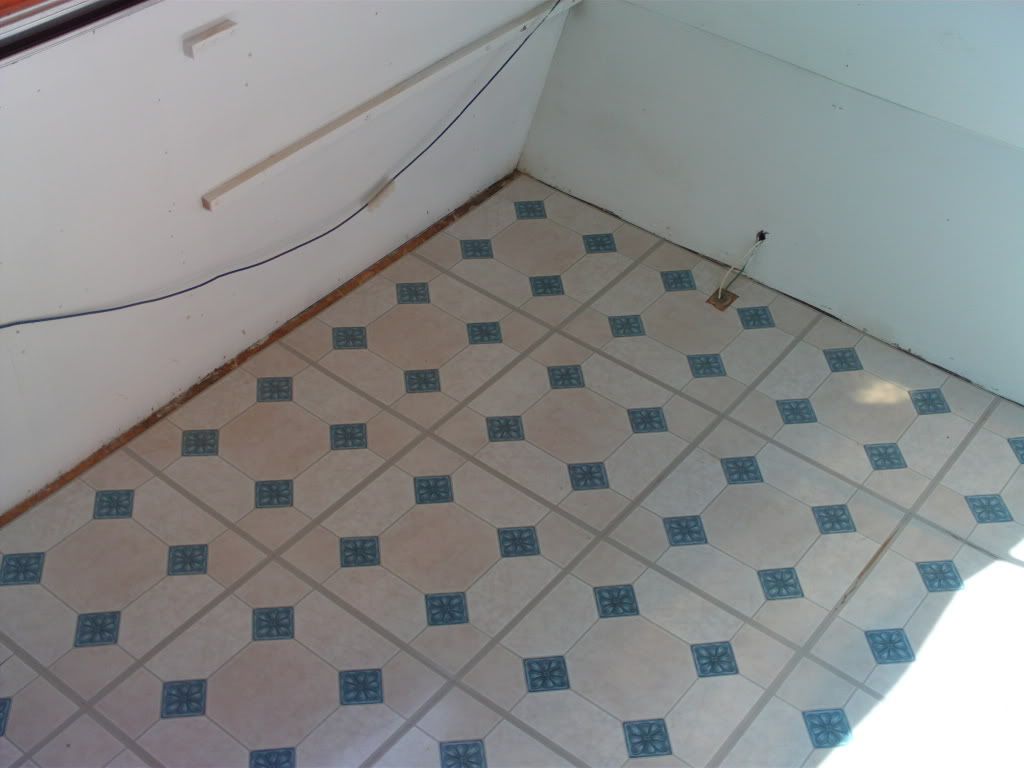
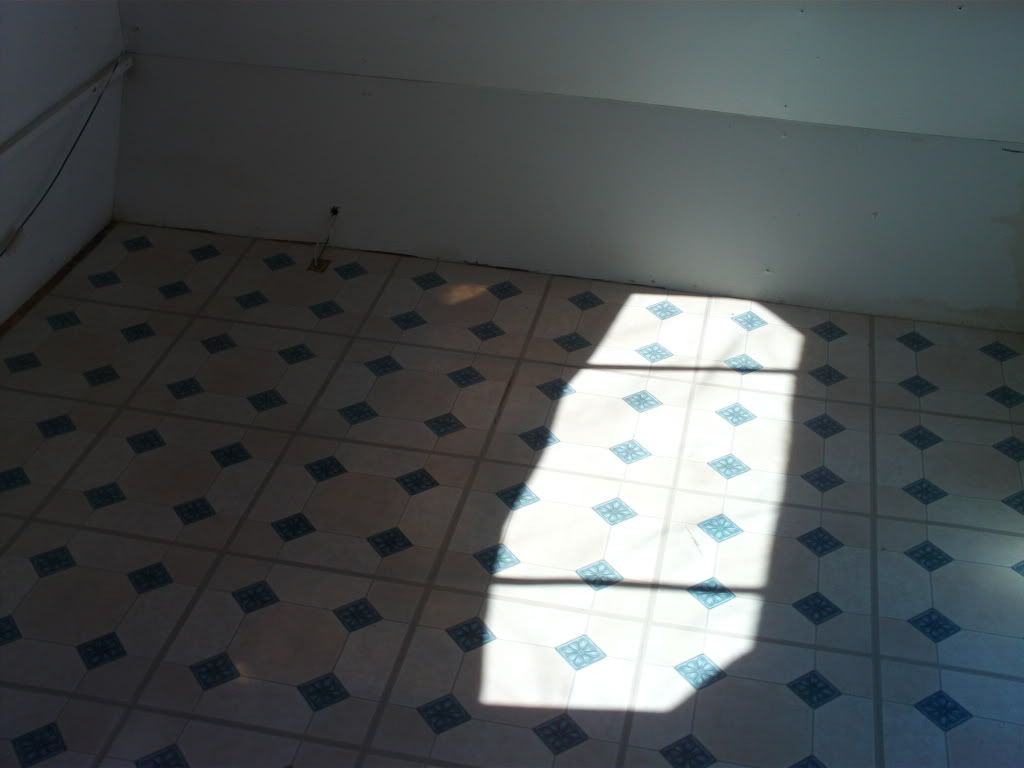
Despite all that, I got the floor in and, at least I think so anyway, it looks great!
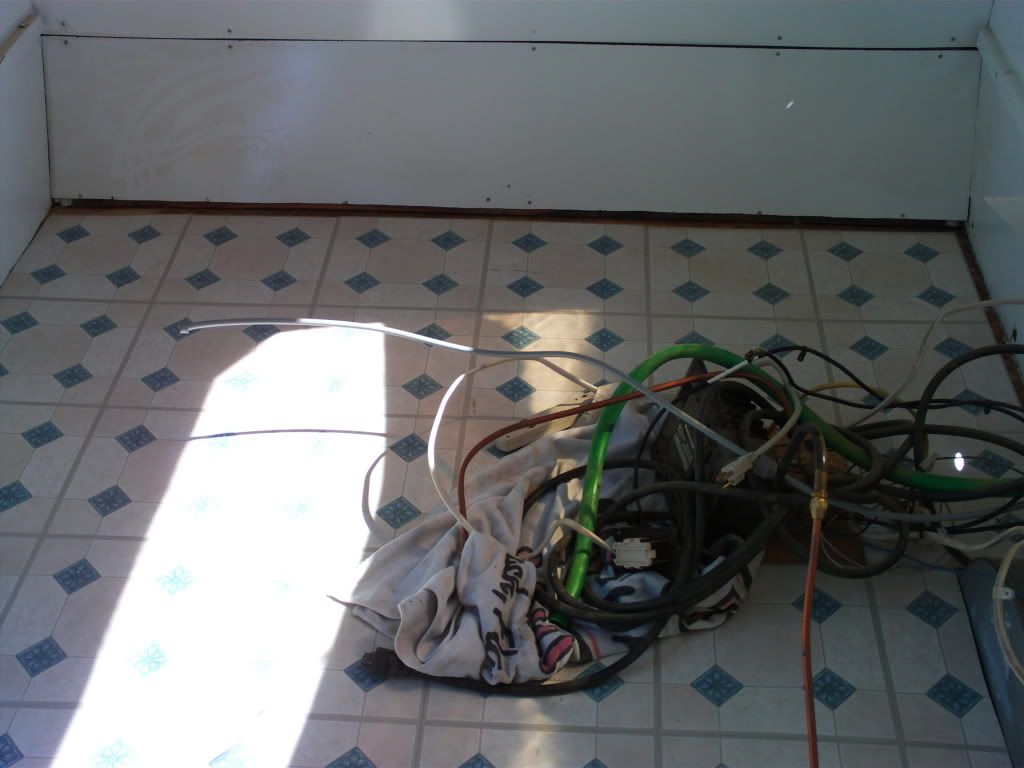
That mess of wires is the gas and electric that comes in from the floor.
Yes, there is a small gap against the wall but it will be underneath the galley and noone will know it is there but me. Just accept it!
I will find some edging to install over the gaps under the bunkends once the boxes are installed.
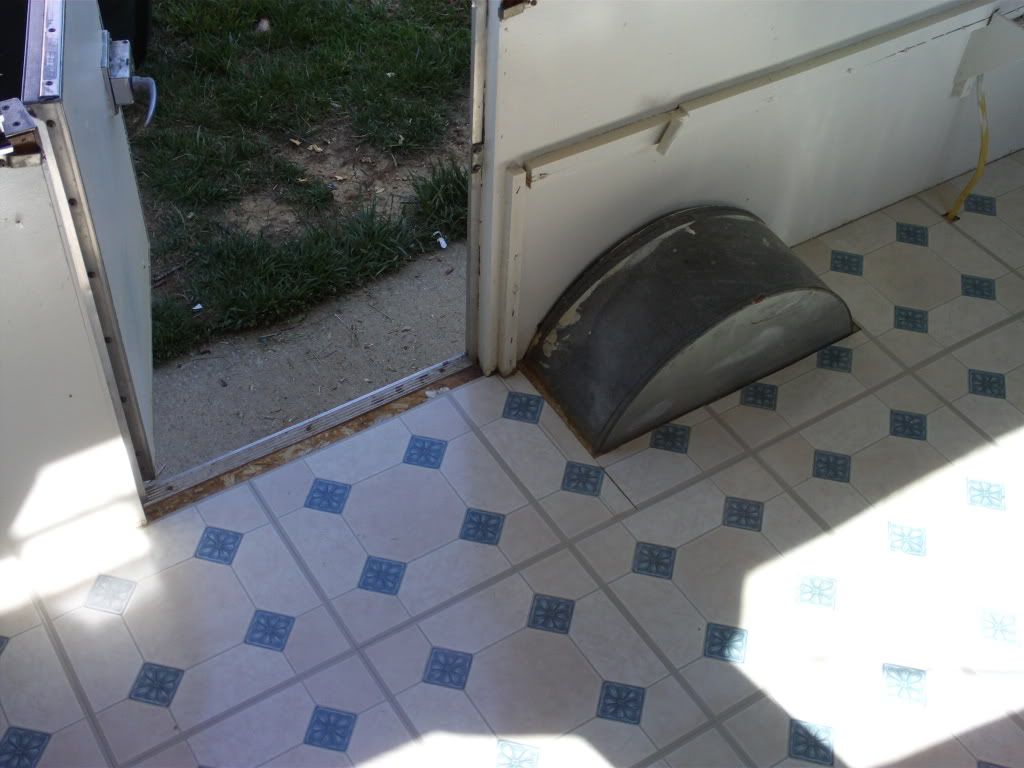
Notice that there is a 1 inch gap between the tile and the door threshold. I plan to get a wider threshold that will cover the gap and put it down on top of the current threshold. I checked and there is enough of a gap between the door and the floor to do this. * I hope* anyway. I didn't measure.
Taking the current threshold off would be a major pain as it is underneath the door jamb hardware and all of it would have to come off first.
Now it is finally time to start painting and reinstalling the inside boxes. Some parts of the boxes will need to be repaired and rebuilt and I already have the wood and paneling necessary to do this.
I also went by the Tool Box and picked up my $40 per gal special paint for the outside. I'll need a full day to paint that so maybe next Saturday. We'll see. Hopefully, I can get started painting the boxes this week in the afternoons.


No comments:
Post a Comment