Monday, September 27, 2010

Another Success!

We survived the weekend at Paris Landing.  The weather was wonderful; there was not even the hint of rain.  Despite issues with the campground itself, Frostbite performed wonderfully.

We arrived around 4PM on Friday and chose a campsite.  The pickings were pretty slim not because the campground was crowded but because the campsites were so poor.  They were small.  The pull ins were in terrible condition and we had trouble finding one that was somewhat level and in good enough shape for me to be willing to back Frostbite into.  We eventually decided on one that was in semi-good shape, close to the playground, and semi-close to the restrooms.

Of course, I only realized AFTER setting Frostbite up that the @$%^ water was AGAIN too far away from my water hose to reach.  This water hookup was actually meant to be shared by two campsites.  We didn't have any neighbors and the camp host told us that he would get a Y connection for us if neighbors did arrive but it was still an unnecessary pain.  Another night with no water.

Also, my hope that the lift cables would magically retain their adjustments after being removed and put back on last week was dashed when I realized that the front left lift pole still had a couple of inches to be raised to full height.  I'll have to crawl underneath the camper next week and try to adjust the cables.

The pad for the camper was very short.  The bunk end end went over the concrete picnic table a couple of feet.  And also, of course, the stupid safety bar jammed while trying to raise the camper.  I slid underneath on the rocks and lined the bar up the with lift cable and the roof raised fine.  Man, I wish I could devise a way to fix that!


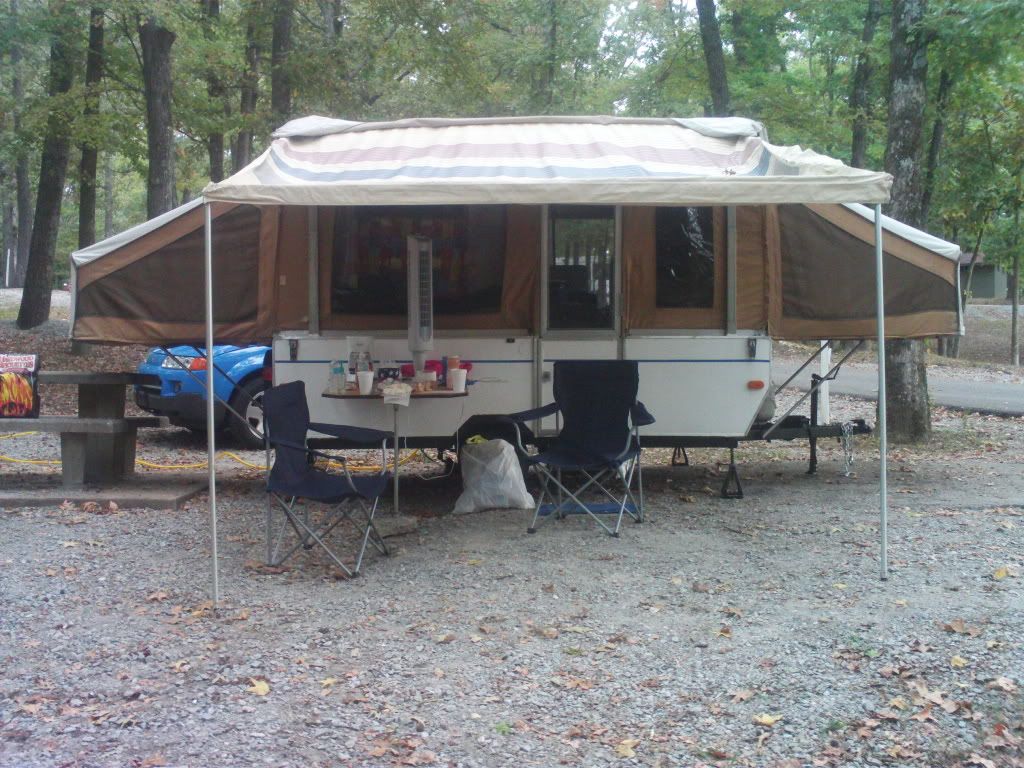
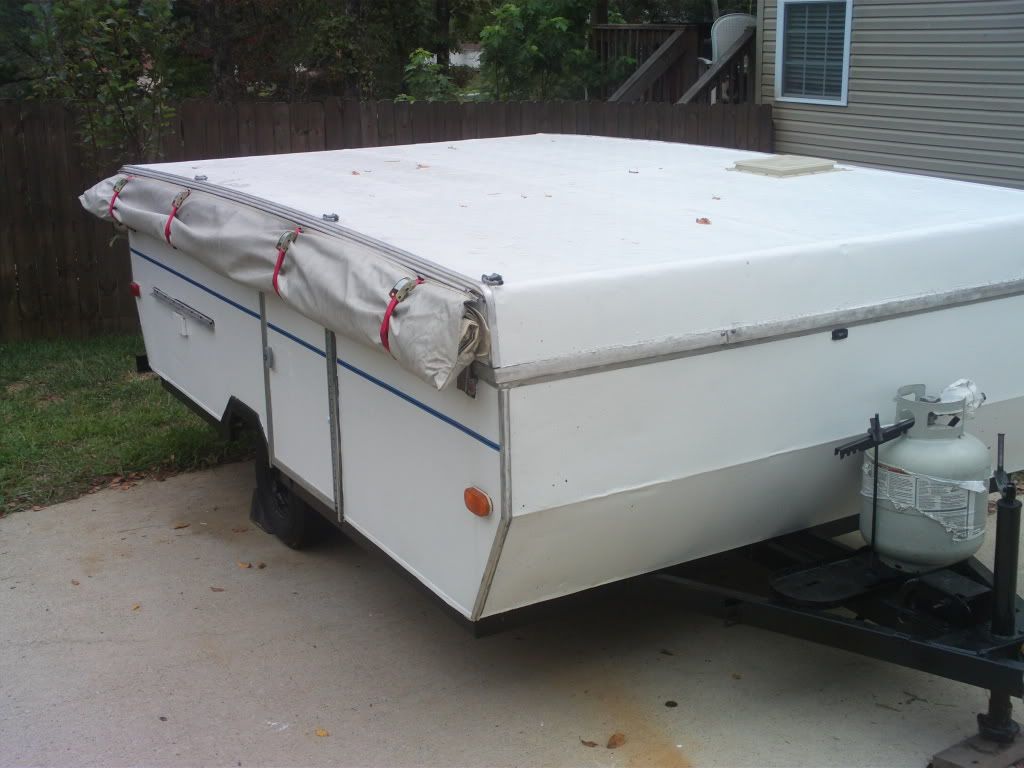
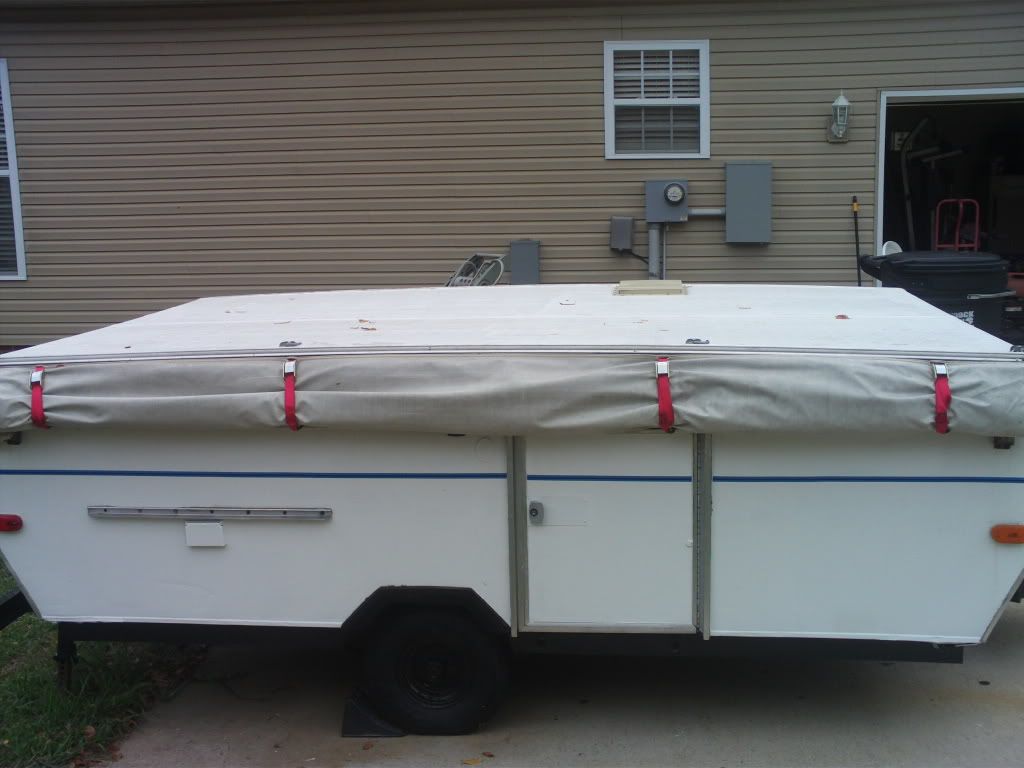
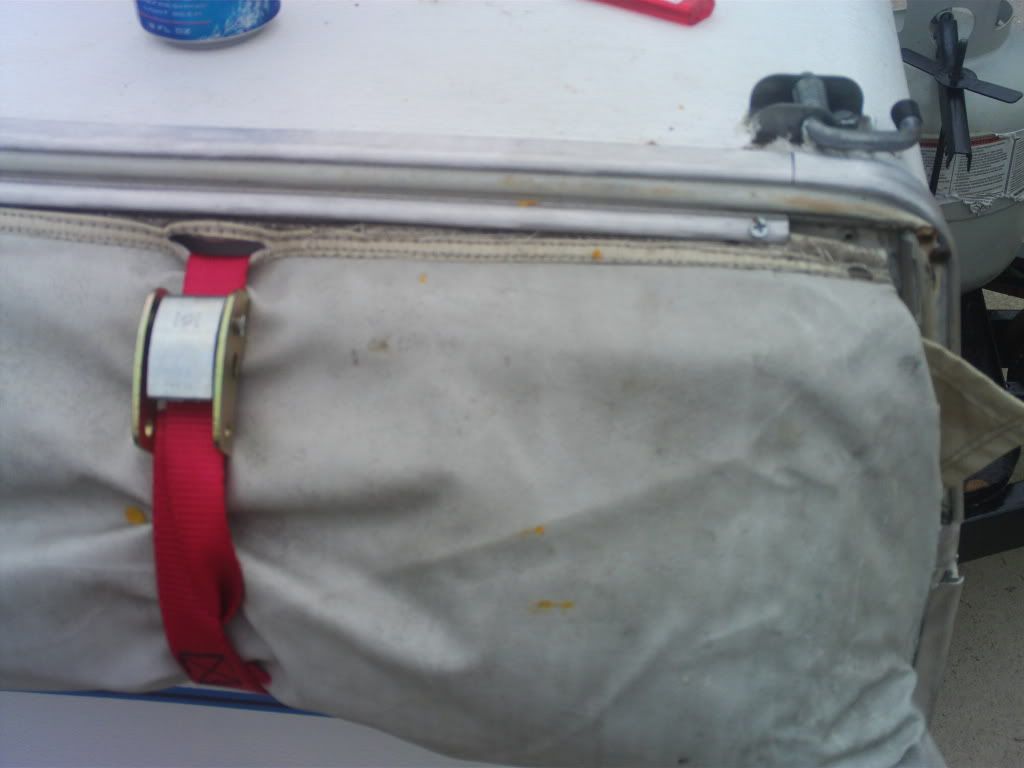
Frostbite set up at the campsite

The site was not level either.  Not even close to level actually.  I rolled Frostbite on a 1/2 inch board and then added a piece of 2x4 on top of that and she still wasn't level.  It was close enough for government work though and made me vow to get a BAL leveler before the next camping trip.

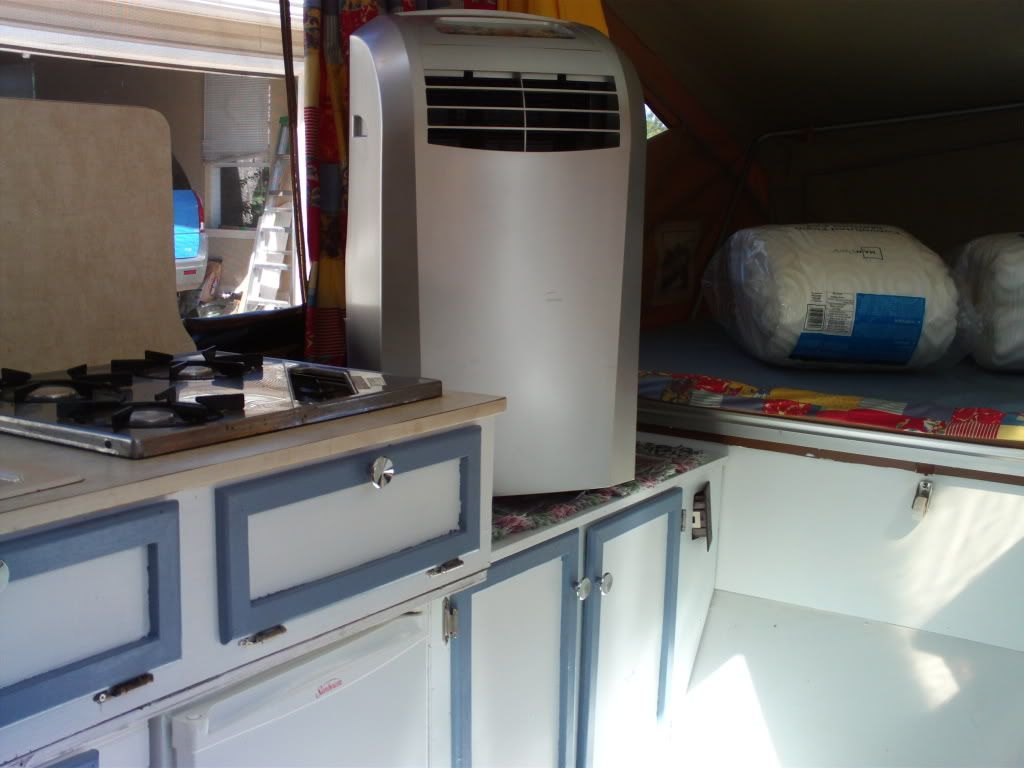
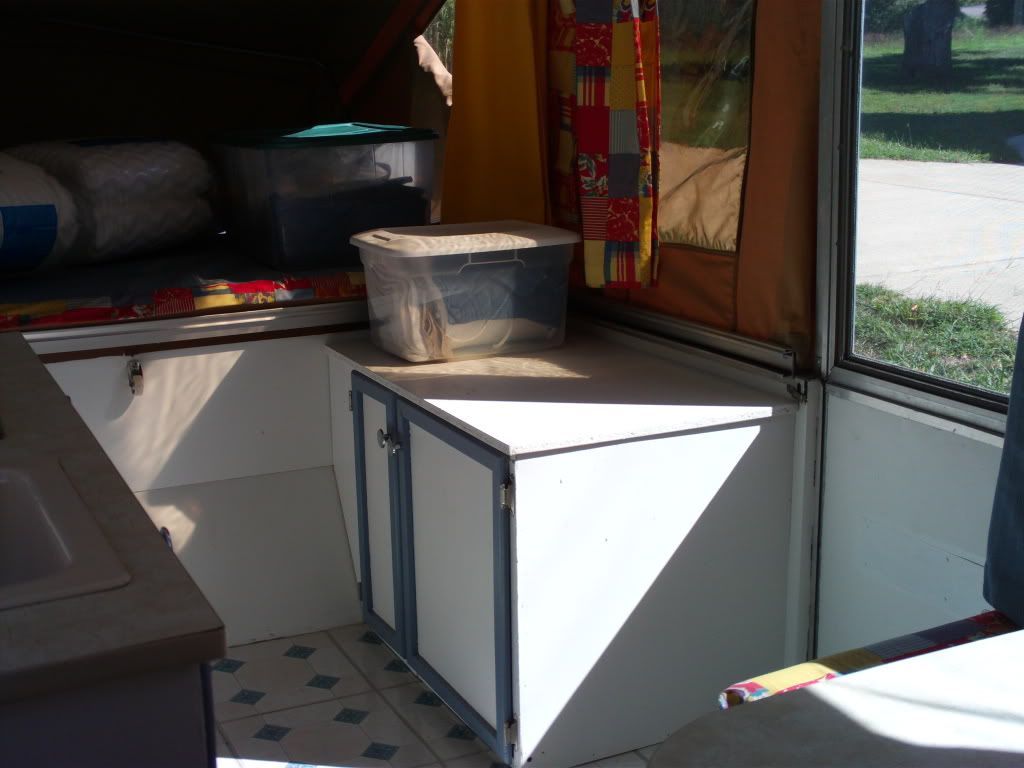
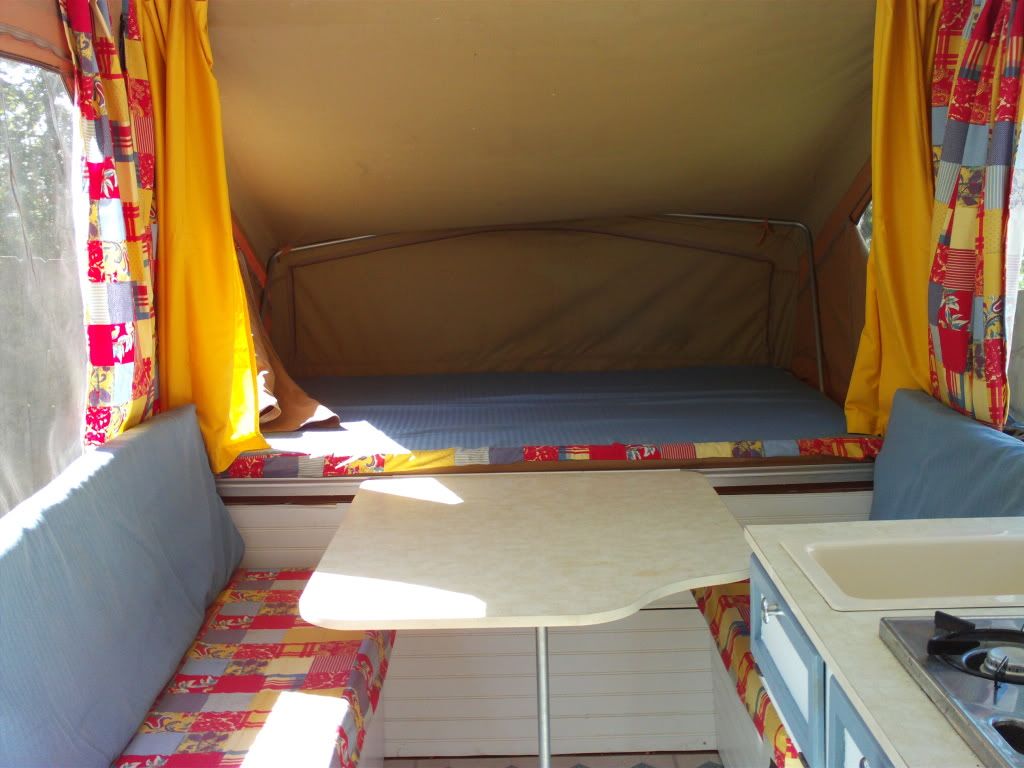
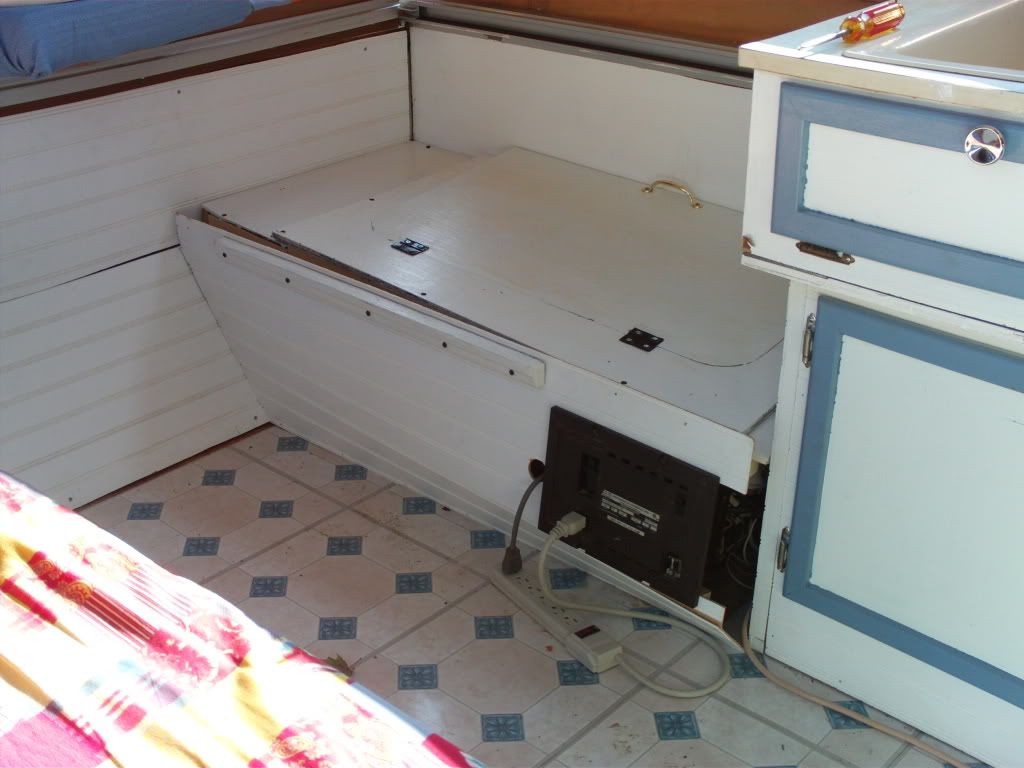
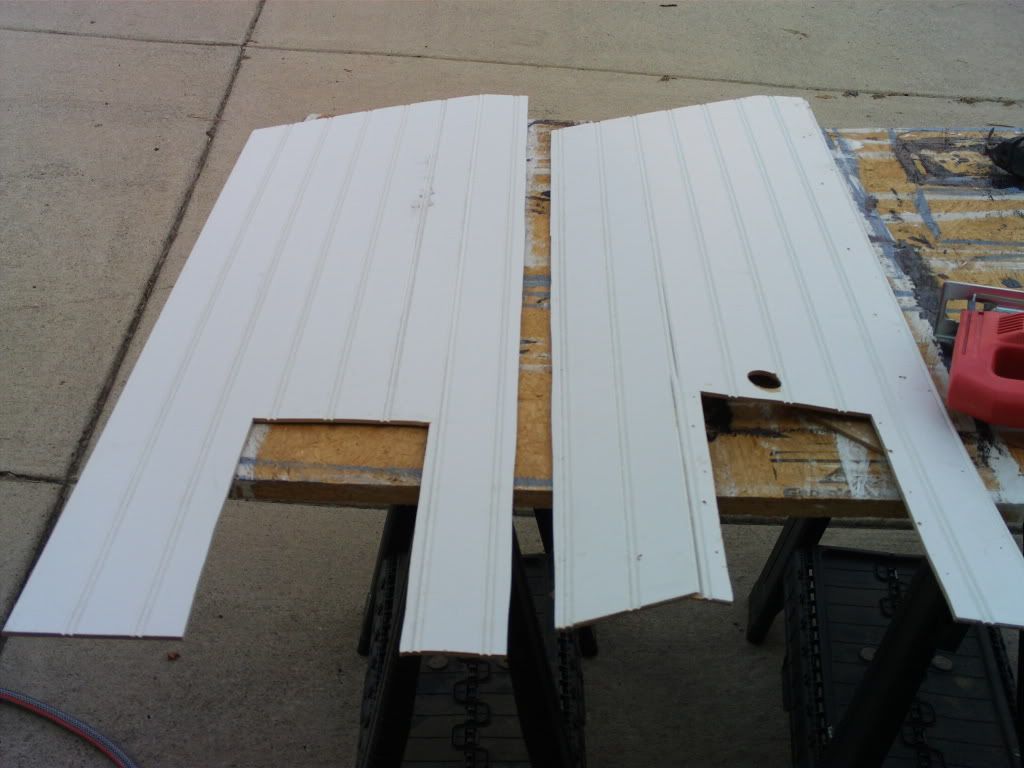
The weekend was not without damage either.  My wife put her knee through the door side bench while trying to put the curtains up.  It wasn't really her fault.  Inspecting the damage, I realized just how flimsy the lid to the storage area actually was.  The wood didn't crack, it just broke the plastic (yes, plastic!) hinges that held the lid on and pulled out a support brace.  I could fix it fairly easy and will try to make it even stronger after the fix but, for this weekend anyway, it would mean another camp-out where we just get to use one side of the dinette.  This time, though, we get to use the short one that I fixed from the last camping trip.  Oh, the joy.

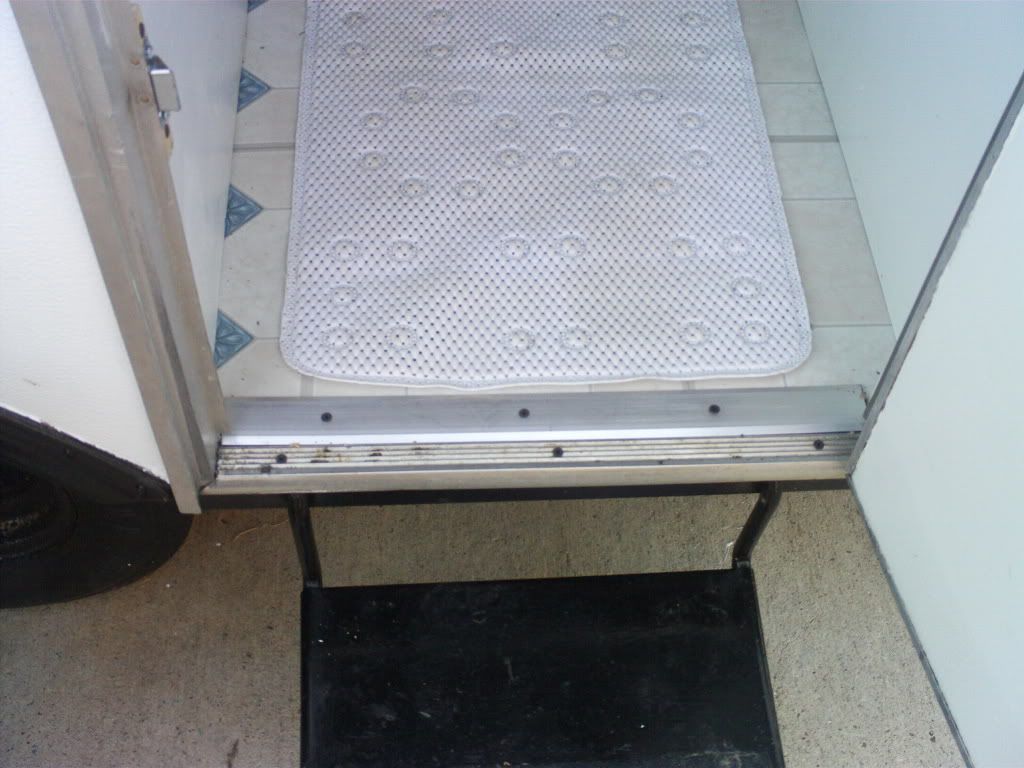
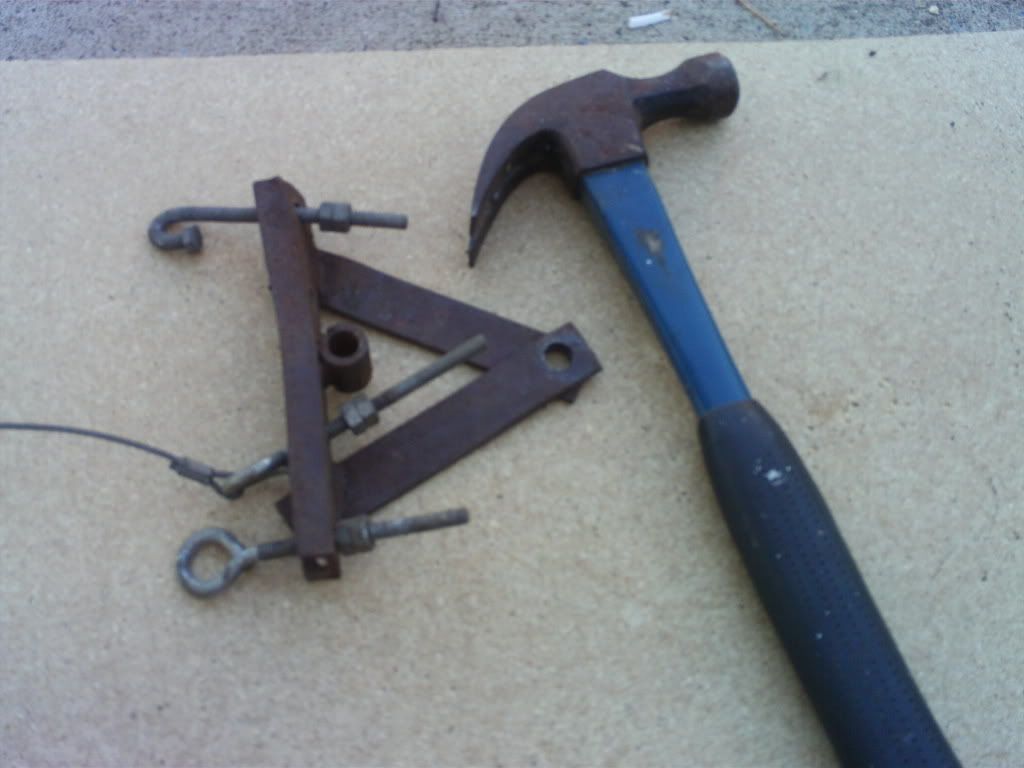
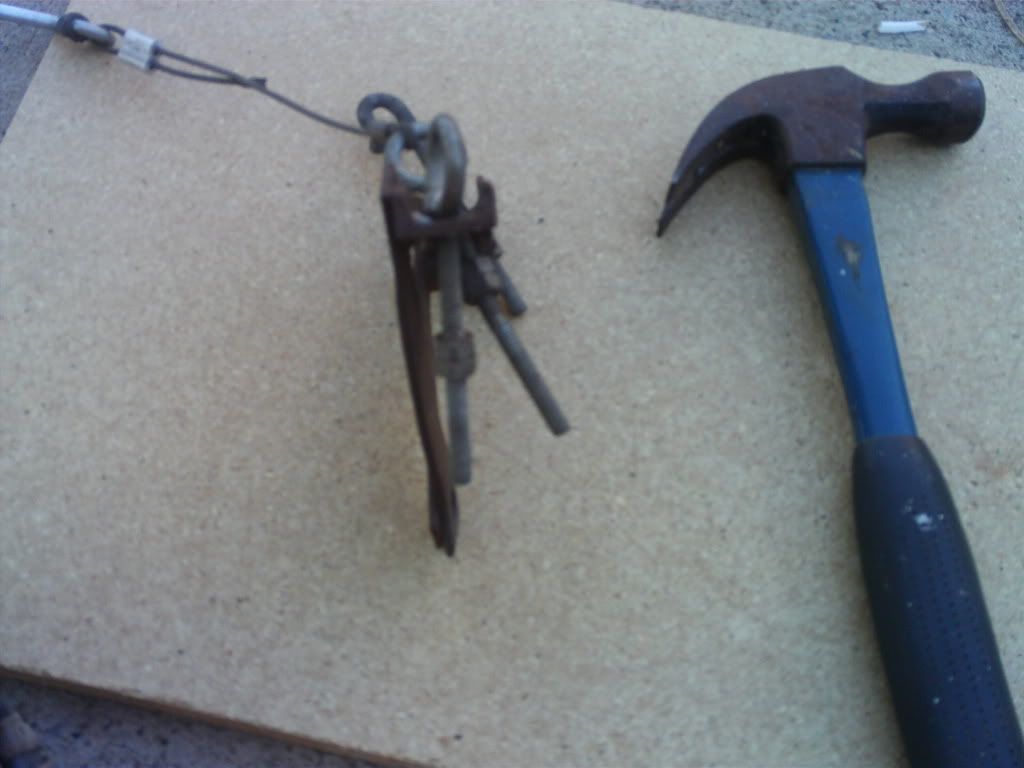
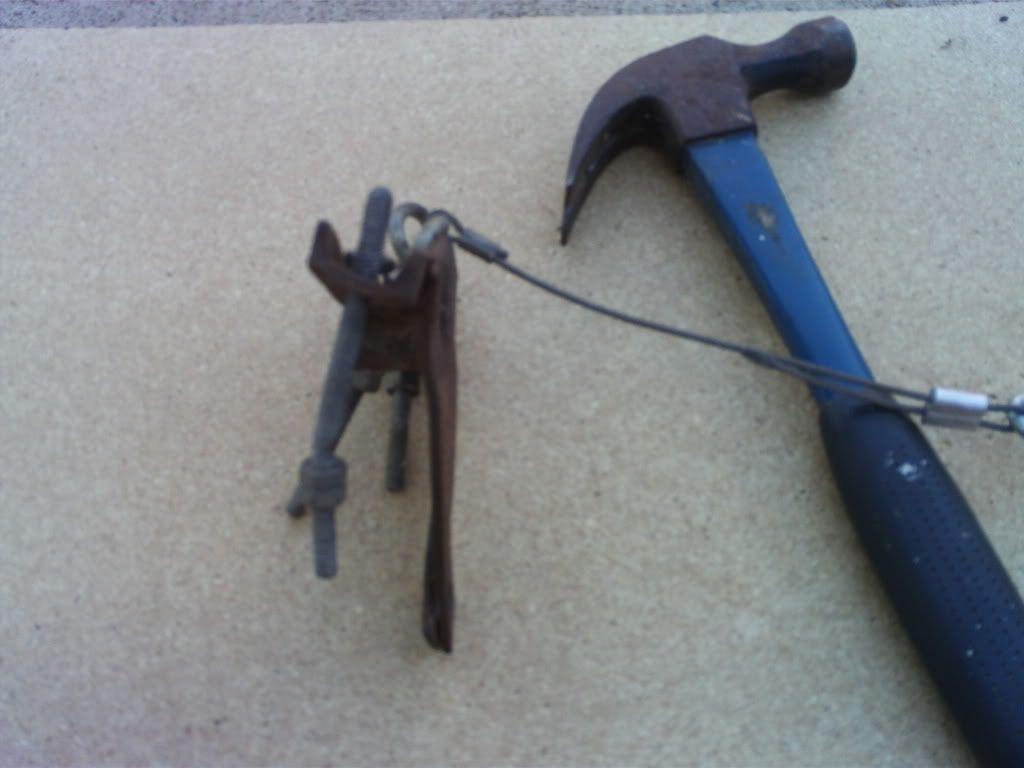
More serious damage was done while trying to break Frostbite down on Sunday.  The outside table hooks onto the camper by sliding into a piece of metal nailed to the side.  It was difficult to slide in and it was almost impossible to get it to slide out at the end of the weekend.  I beat and tugged on it and managed to bend it up pretty good.  I'm not even sure if I can repair the connections good enough to use again so I may have to devise a completely new way of attaching the table to the outside.  I do like having the table outside so just leaving it off isn't really an option.

We ate that the park restaurant on Friday night and I was shocked by a $15 seafood buffet.  It was pretty good but not $15 good.  We ordered water to drink with the meal and vowed to pack food for Friday nights on future trips.

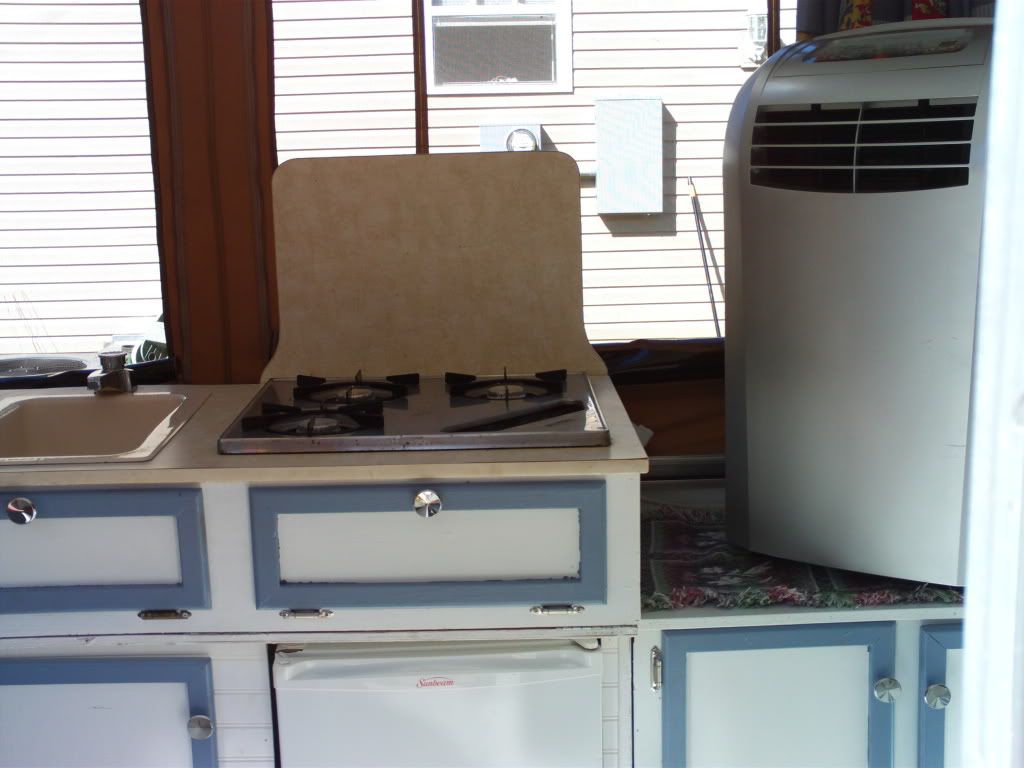
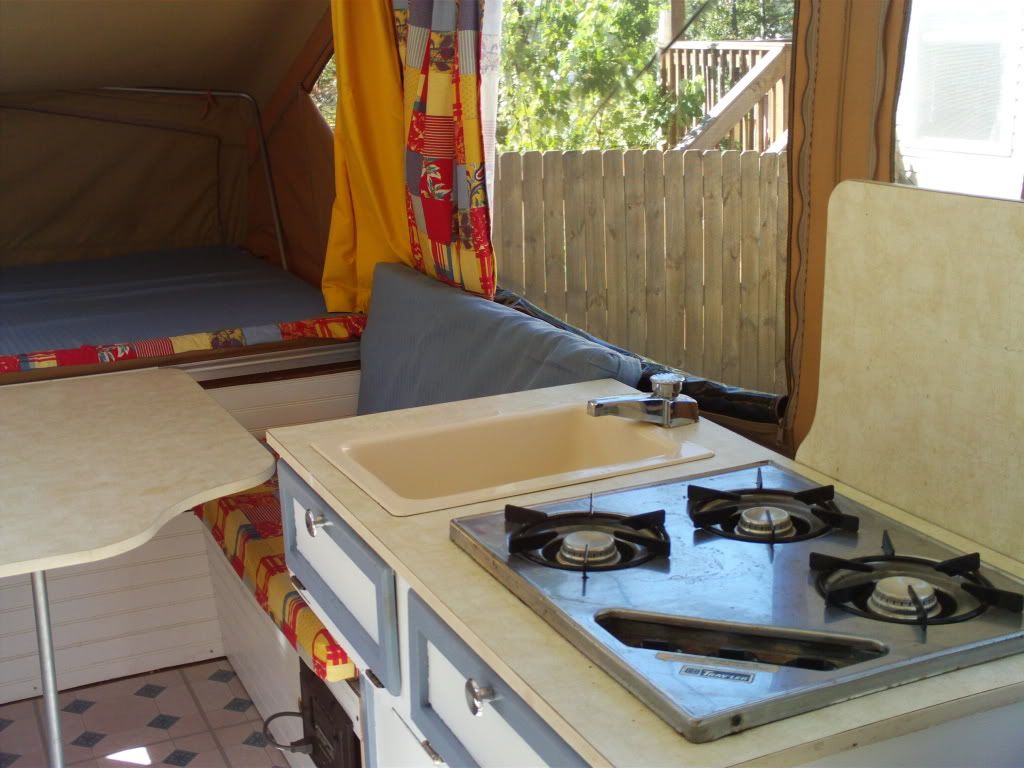
Saturday morning we fried up some bacon, scrambled some eggs, and toasted some bread all on Frostbites galley stove.  It was wonderful.  After that we went into town a bit and visited with my friend Tom and his mother.  They had some pizza delivered and my wife, hell-bent on a weekend of destruction, broke one of their plates before we left.

After the visit, we hit Wal-Mart.  Determined to actually use the sink in Frostbite, I picked up a 50ft water hose (actually one of the last two they had in the store) and a 7gal water container that I planned to use for gray water.

Back at the campsite the hose worked fine and the tank collected the gray water perfectly.  I heated up a pot of water on the stove and washed dishes for the first time in Frostbite.

We were much better organized this trip and had most if not all things we need for camping.  My daughter exclaimed at one point "This is the best camping trip ever!"  Now, we've only had 2 camping trips so far so she doesn't have much to compare with but she did seem to have fun and we had some great campfire time together as a family on Saturday night.  My wife seemed to especially enjoy the evening.  Believe it or not, the evening was exactly as we imagined last fall when we started thinking about getting a camper.

That afternoon, my daughter met a friend she called Steve.

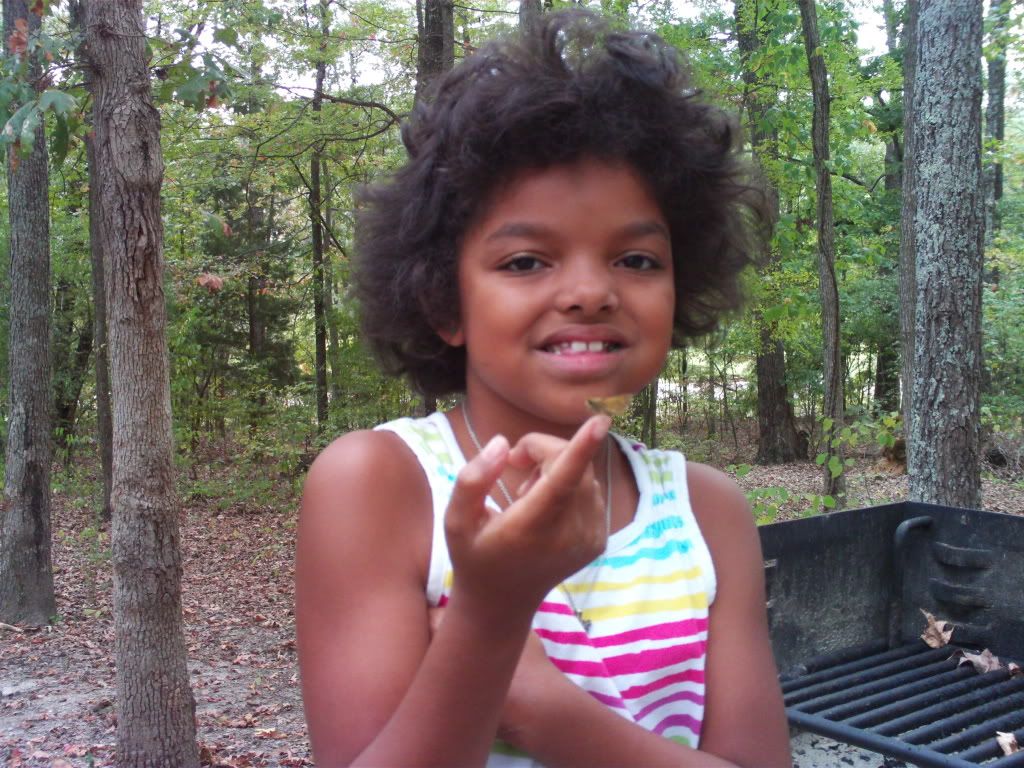
    My daughter holding Steve

Also on Saturday afternoon, we drove and walked around the park a bit.  My daughter especially liked collecting shells around the lake.  I snapped a picture of the park Inn from across the lake.  I'm no photographer but this one accidentally turned out pretty good.


As I mentioned earlier, the weather was great for the weekend and on Saturday morning we opened all the windows on Frostbite.  We left them open all day and all night and yes, we actually turned off the AC.  With such perfect camping weather, I wonder why the campground was so sparsely populated.  There were two large 5th wheels, three or four tent campers, and a single small travel trailer camper.  No other popups.  Where were all the campers?  This is a fairly big tourist area with the lakes and there were numerous private RV parks and campgrounds we passed on the way in.  Surely camping season is not over for everyone.

Heck, for us, it has just started.

We made it home around 2pm on Sunday.  We raised the garage and were treated to the smell of rotted food and a puddle of nasty water around the freezer we keep in the garage.  The circuit breaker had popped over the weekend and everything inside had thawed and was ruined.  We spent the next hour cleaning up the floor and the inside of the freezer.  All of the food had to be thrown away.  The large bag of fish that my sister's boyfriend gave us was the primary source of the smell and nasty water. 

I'm not sure why the circuit breaker clicked off.  The freezer is pretty old and could be on it's last legs but we cleaned it up anyway and I plugged it back in empty to test it out and see if it continues to work.

My next few posts here will address the damage to Frostbite I need to fix before the next trip in October.  I'll also need to order a BAL leveler before the next trip because the boards I used to somewhat level the camper are still at Paris Landing since I stupidly drove off and left them where they sat.

Friday, September 24, 2010

Green for launch - Paris Landing State Park!

My wife and I both are only working a half-day today so we can get home and pack our weekend bags, feed/water the animals and pick up a few supplies for the trip so we can get an early start to Paris Landing State Park.  Once packed and ready, I'm going to pick my daughter up from school early so we can go ahead and leave.  I wanted to leave early so that I would get to the park and be able to set Frostbite up before it gets dark.

I'm going to bring a cooler with some bacon and eggs for Saturday morning breakfast but that's all the food we are taking with us.  Friday night we will be eating at the Park Inn.  Saturday we are going to visit my friend, Tom, who lives in the area and we will pick up something for supper while we are in town.

Frostbite is Go for travel *I hope*.  I'm pretty sure I can deal with any jams while raising and lowering the roof and I'm fairly confident that I tightened the lift cable connections to the whiffle tree enough so that the roof won't come crashing down on us.  Since the last trip, I've packed Frostbite with camping staples like bedding, cooking utensils, pots, pans, towels.  Since I've fixed the galley side bench we will get to use both sides of the dinette this time.  I also packed up both table legs so we will get to use the outside table this trip as well.  I still don't have a weather radio just for Frostbite though so, hopefully, I'll remember to grab the one we use in the house.  I would like to get a wind up radio just for Frostbite so we can keep one in her.  I have one for the house but we do use it from time to time and I don't want it to be packed up in the camper when I want to use it.  Maybe I'll try to pick one up this weekend during the trip.  Fred's has wind up radios for $10.

I also hope to actually use Frostbite's water system this trip.  If you remember, I screwed up on our last trip and chose a campsite that was too far away from the water hookup for my water hose to reach.  I cut a 2 foot piece of hose off of an old hose to use as a drain for the gray water from the outlet on the side of Frostbite.  I really need a collapsable water tank to collect gray water but I don't have one.  Instead, I'm bringing the water bucket we use to wash cars and such.  Not classy but it will have to do.

The weather is supposed to turn cool this weekend.  We plan to bring some jackets *just in case*.  We may even decide to open up the windows instead of using the AC.  This, of course, is if, and only IF, it gets cool enough.  As much work and money I put into that AC for Frostbite, I have no plans of  breaking a sweat inside her.  In fact, I have no plans of being warm in ANY way inside of her.  A big part of me almost likes Frostbite's AC better than anything else.  However, knowing my wife as well as I do, the heater might even get a first-time use on Saturday and Sunday mornings if the night temp gets cool enough.

I'm shooting for hitting the road around 2pm this afternoon so, right now, we're talking T-5 1/2 hrs.

Wish us luck and let's hope that this weekend is thunderstorm free!

Thursday, September 23, 2010

Well, at least the roof goes up and down

Wednesday afternoon, I decided to tackle Frostbite's latest troubles.  I tried raising to roof secretly hoping that magic faeries had come during the night to fix the roof raising problem. 

Nope.

I squatted and looked underneath.  The safety bar, which is not rigid in the track that the lift cable runs, was pushed to one side.  I reached in and simply pulled it even with the cable and tried raising it again.

Success!

It raised up fine and hooked onto the frame where it was supposed to.  I wish I could think of something to ensure that the safety bar stayed centered as the rood if being raised but at least I know I can do it myself by hand as necessary.  I chalked this fix up as completed.  Hopefully, I'll be inspired later as to how to permanently fix it.

With that problem solved, I then set out to install the shelves and door threshold which were little projects that needed done since the rebuild but were not critical enough to stop us from camping. 

The threshold went down fine.  It would have been better if I had screws with rounded heads as there is the potential to cut/scrape bare feet but I didn't have any.  I decided to use what I did have and pick up some replacements at a later date. 

I actually had to use 2 thresholds on the door.  Due to the way I laid down the tiles, there was a gap exposing the floor that was about an inch wider than the threshold already in Frostbite.  I had intended to replace the original with a wider one which would have solved the problem.  However, the wider one that I found turned out to be too tall for the door to close over it.  The 2nd and shorter one I got was not wide enough to cover the gap between the tiles and the edge of the camper.

I opted to put the original one back on and the new threshold over the exposed gap.  It doesn't look as bad as it sounds.  * I hope *

yea, I guess it does look as bad as it sounds

I will keep my eye out for a better fitting threshold but until then this will have to work.

I then turned my attention to the shelves.  There is a shelf that goes underneath the sink and over the wheel well.  I decided to start with that one.  The other "shelf" in the door-side cabinet is much more complicated.  It is actually a couple of plastic tubs which sit on metal runners in the cabinet and act like drawers.  Installing them will require installing the metal brackets properly which will require accurate measuring and such.

I'll save those for next time.

The sink cabinet shelf went in fairly easy.


After getting the shelf in, I goofed with the fridge so that it set correctly without wobbling.  It needed to sit more inside the opening than I had it.  Eventually, I found the perfect resting place.

During this process, I opened the fridge door to get a better hold of the thing and was immediately hit with a funky smell.  I thought at first that we had stupidly left food in it from the last trip but I couldn't find any.  There was some water in it though and that had gone sour.

I left the door open for a while to let it air out.  I need to remember to clean and dry it out before packing Frostbite up to return home from a camping trip.


All in all, the evening was a great success.  I packed up Frostbite for our trip this weekend and she won't be raised up again until we arrive at the campsite on Friday.  THIS time I tried to organize things much better and hope that Frostbite is loaded with everything she needs.

We'll see.

One thing leads to another

I had great intentions this Monday of opening up Frostbite and installing the remaining shelves and the door threshold.  However, when I was cranking her up, it stopped just short of being about to hook the safety bar to the frame.  I tried it a few times and was careful not to apply too much pressure so the cables or anything else wouldn't break or bend.  the mechanism that lifted the roof was hitting something that didn't allow it to raise all the way.

I lowered the roof and crawled underneath.  Looking at the so-called whiffle tree, which is the gizmo that that the 4 roof cables attach to and is itself attached to the main lift cable, it appeared bent and I suspected that part of it was hitting the frame somewhere along the path as it was being lifted.  In fact, I noticed that it was digging a groove into the floor along the raise path.  Remembering that I didn't tighten the metal bar that holds the safety bar to the whiffle tree the last time I worked on it so I decided to try tightening that up first. 

It was a pain as it took 2 pairs of pliers and working around the lift cable but I eventually got the screw nut turning.  I kept this up until, to my surprise, it fell apart in my hands.  It turns out that I was actually loosening the screw instead of tightening it.  I briefly tried to re-attach the bolt but it was difficult due to the previously mentioned bend in the metal.  I decided to take the whole thing off and try my patented "smack it with a hammer until it looks straight" method that has worked successfully for me in the past.  Besides, at this point it was much easer to take apart than put back together and I was getting tired of lying underneath the camper.

I had to unattach the corner lift cables from the whiffle tree to get the thing off.  Realizing that this would destroy any special adjustments made keeping the roof lifting evenly, I figured I was already committed to this thing and forged ahead anyway.  Here is the piece in question:


The bend is easier to see in this photo.  Where the two metal strips come together is bent upwards and was digging into the floor when the roof is raised.

I got my trusty hammer and whacked on it for a while.  Eventually, I got the piece to look like this:


Still bent but not nearly as bad

With this done, I then spent the next hour putting the thing back on the camper.  I won't bore you with the details except to say that I was glad my daughter was not outside to hear my commentary during the process.

Daylight was quickly slipping away.  I had to get a flashlight to finish.  Once it was all back together, I gave it one last try before calling it a night and tried to crank up the roof.

About halfway up, it wedged and would go no further.

@#$%


Monday, September 13, 2010

It may not be pretty, but it works

Last week I fashioned a way to secure the awning for travel.  Like the title says, it may not be pretty but at least it will work.  I picked up some tarp straps for $10.  Cut some small slits in the awning and attached the straps so that they go around the entire awning and bag. 


I no longer have to worry about the awning coming undone while on the road and ripping violently off the camper.  You can't tell from the pictures but the 2 ends on each of the straps are connected by large hooks underneath the awning bag.  This is definitely not the best solution but the best I could come up with right away. 

The weakest point is probably where I cut the slits for the straps.  I tried to cut them in the thick seam where the bag and the awning is connected to the camper.


I realize that there is a potential for these slits to continue to rip down the seam but I figure that it would take a while to do that and there really wasn't any other option.  The bag/awning combo is in pretty bad shape since the bag will no longer zip closed around the awning.

This will have to work until I either think of a better solution or replace the entire awning.

This past weekend I did manage to clean out the garage.  One evening this week I will raise Frostbite and pack her for our 2nd trip this coming weekend to Paris Landing State Park.  I intend to do a better job pre-packing than I did last trip.

Tuesday, September 7, 2010

Phase One Renovation Complete

Over the weekend, I installed the new, much stronger, front for the galley side box.  It went in without a hitch and was tested a bit over the weekend as we showed off the camper to my in-laws and my mother in law and daughter were sitting on the bench and it didn't cave in.

I'm calling Phase One complete since the camper is now perfectly "campable" even though there are still things I wish to do.  I still need some type of moulding in several places along with a final coat of paint and clear coat on the counter tops.  There are several other improvements on my list that are mainly cosmetic which I will do as I get time and money.  I'll be sure to detail all my changes here.

I did pick up some straps to use on the awning bag and I'll try to get those installed this week.  The only color I could find for the straps was red which sorta sucks.  However, if I can get that bag closed tight, secure, and easy to open and close, I'll be happy.

The weather was perfect for the labor day weekend so I took some pictures of the inside of Frostbite just for comparison.  You also get a chance to see the new curtains.  My seamstress did a most outstanding job!


This is the closest shot I got of the rebuild face for the galley side bench.  You can see most of it in the lower right of the above photo.  Notice that the bunk end curtains are now yellow which matches the other material perfectly. 


Here is the AC installed.  The exhaust runs down through the box it is sitting on and then underneath the camper.  We just had it on fan since it was so cool outside already.  Actually, this is the first time Frostbite has been set up with all the screen windows open.


Perfect camping weather is upon us and Frostbite is ready for action.  Next trip is planned for Paris Landing State Park later this month.

Friday, September 3, 2010

Repairing the Damage from the Maiden Voyage

I did find some time this week to address the damage to the galley side bench that happened during Frostbite's first outing.  Here is a shot of the damage:


The front face of the bench, which obviously wasn't strong enough to use, cracked in half nearly along it's entire length just underneath the converter box.  The caused the nails to pull apart from the top board that serves as the seat.  The entire face would have to be rebuild.

Using the broken piece as a pattern, I cut out a new piece from a large piece of bead board left over from the renovation.  Lucky I saved that! 


The new piece is on the left


another angle

I then reattached the inside dowels making it exactly the same  as the original. 


Here is a shot of the original supports for comparison. 

The one on the right was the original pre-renovation part from Frostbite.  The one of the left is the rebuilt one that broke.  The original, of course, didn't seem to have enough support so I added three vertical support dowels.


Hopefully, much stronger now!

I opted not to drill the large hole near the converter box opening since, and I can't remember exactly why now, I wondered during the trip why I had a hole there in the first place since it wasn't needed.  I'll cross that bridge later.  If I do need a hole there, I can add it later.

One important piece that is not in the picture is another vertical support dowel that will go at the very end after the converter box is installed in the hole.  I'll add that one as I am installing the bench back in Frostbite.  This is the piece that I neglected to add prior to our first voyage and was probably the cause of the damage in the first place.  I figure the extra 3 vertical supports couldn't hurt.

At this point, I was satisfied with my work.  However, I don't work very fast and, with the days starting to get shorter, I ran out of daylight.  My frequent beer breaks didn't help either.  I hope to raise Frostbite this weekend and install the newer and better bench this Sat.

My next project is figuring out a system for keeping the awning bag closed.  My in-laws are coming for a visit this weekend so they will get a chance to see Frostbite firsthand in all her glory.  I hope to solicit some advice about the awning bag from them as well.