Wednesday, July 21, 2010

Rebuilding the complicated boxes #3 - The Final Chapter

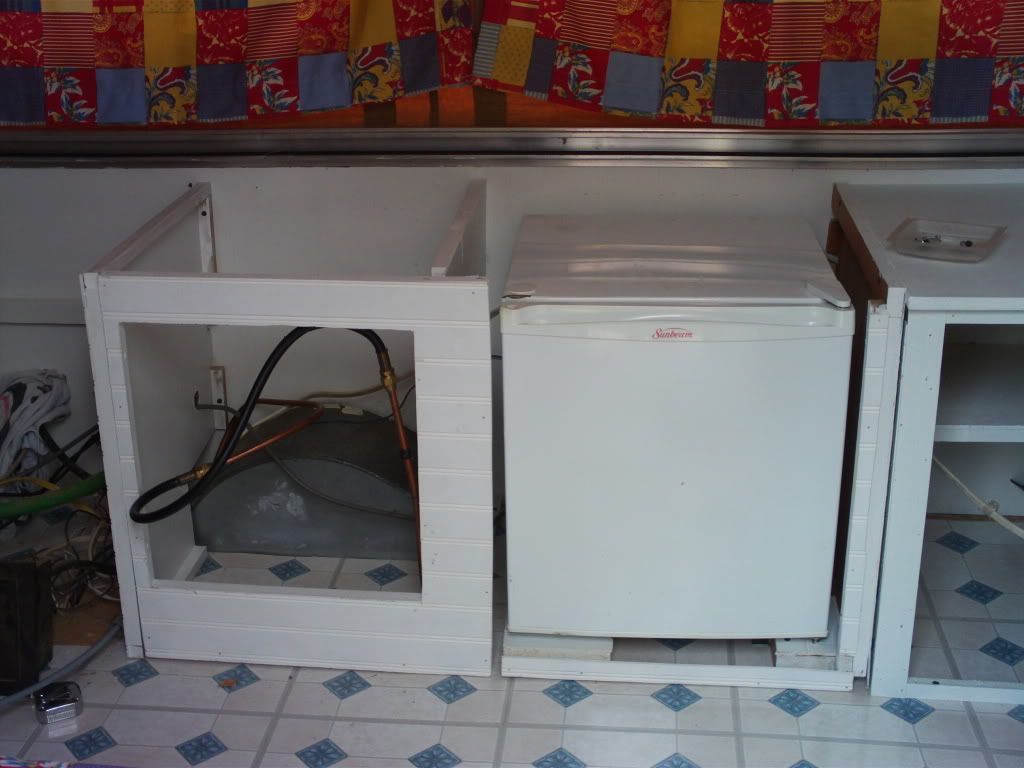
Ok, we're down to the final two boxes left to be re-installed in Frostbite.  With the middle galley box completed and the fridge installed, I hoped it would be all downhill from here.

I ran the water/gas/electric lines through the middle box where they needed to be before attaching the top.  It went on without a hitch.
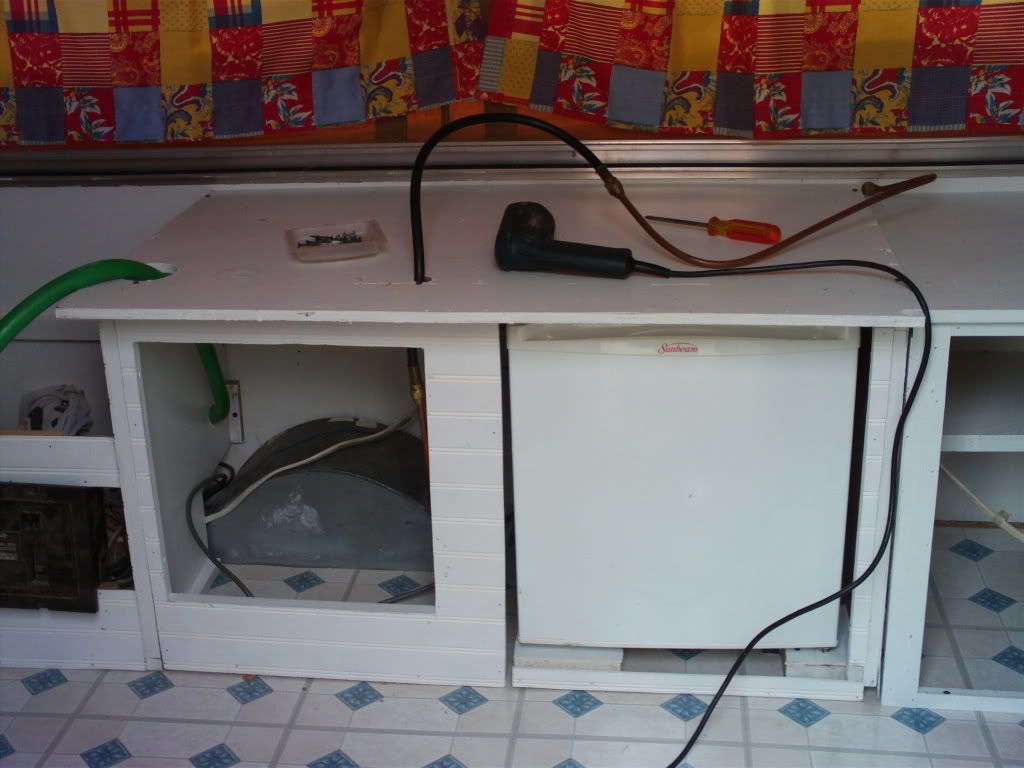

I then attached the newly rebuilt end bunk and the braces.  Again, no real problems.
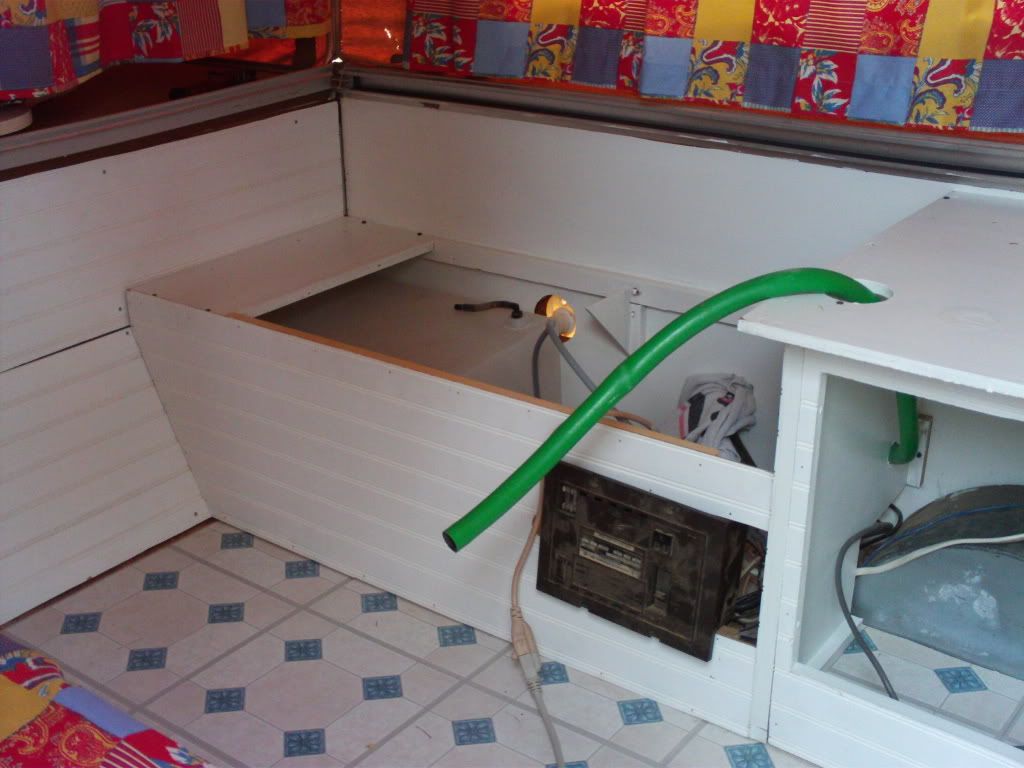


The day after taking this pic, I noticed that the converter box is upside down.  Surprisingly, I was able to pull is out enough to flip it.  Notice that the water tank is installed inside the box.  It was all sort of a puzzle.  I initially installed the water tank first and screwed the box in around it. 

I then realized that I could not reach the holes to attach the box to the back wall because the water tank was in the way.

I took out the box and removed the water tank.  I then attached the box to the walls and floor.  I then realized that I could not install the water tank with the box already installed because there was not enough room to turn it so it could attach to the outside receptical. 

I took out the box and reinstalled the water tank.  I then reattached the box to the floor and walls and just managed to attach it to the back wall by shoving my had between the box and the top. 

Upon describing all this, I now realize that had I removed the top brace against the back wall and left the face attached it would have been much easier.  Dang it!

Anyway, I attached the top hindged bench cover and put the covers on the cushins and the table just to see what it looks like.
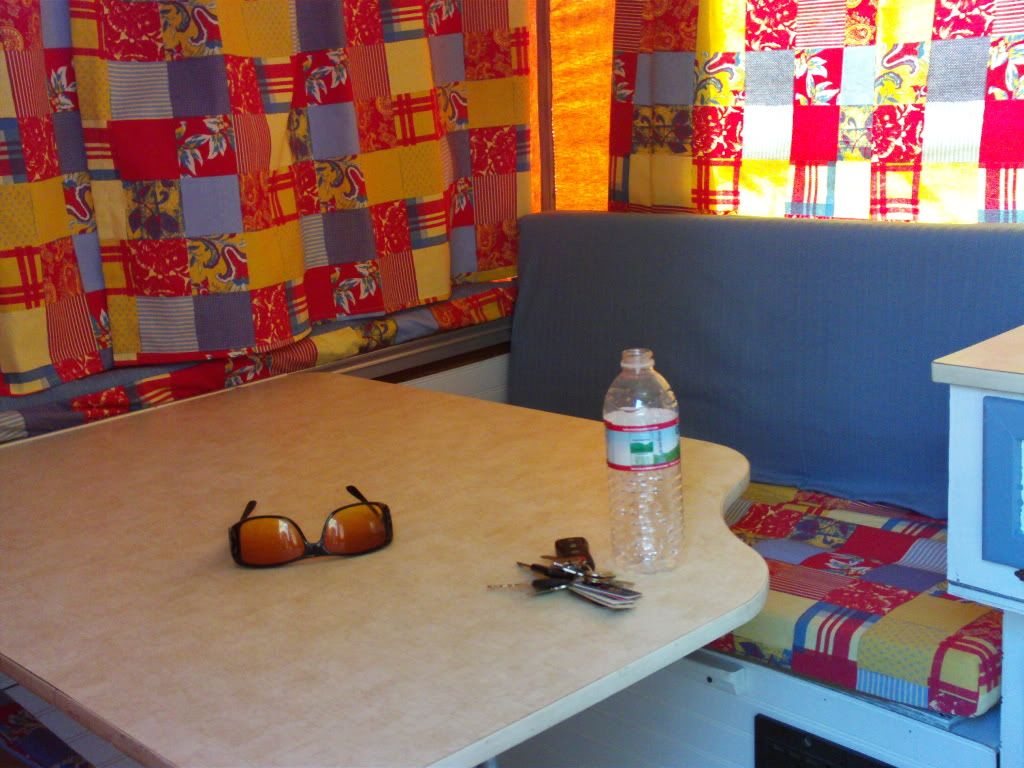

pretty snazzy!
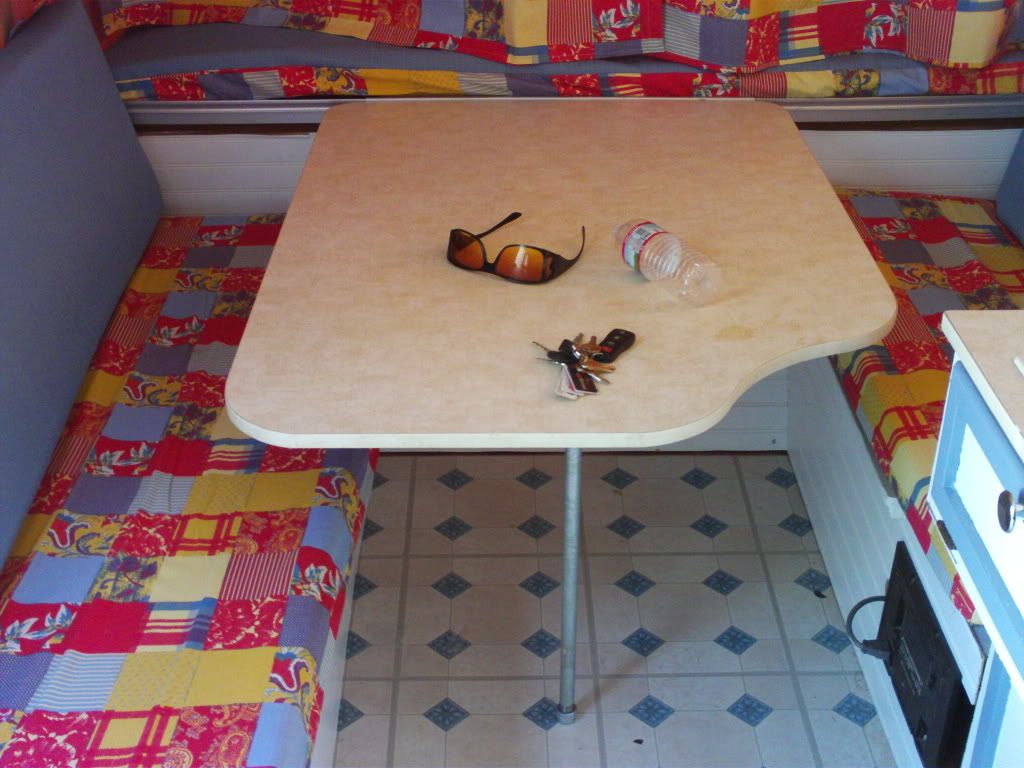
another angle

Next, I needed to attach the sink and stove to the middle galley box.  I had feared this job since I took the thing apart.  It was maddening trying to get the stove apart and the gas line threaded out of the stove at the time.  Getting it all back together was surprisingly and strangly simple.
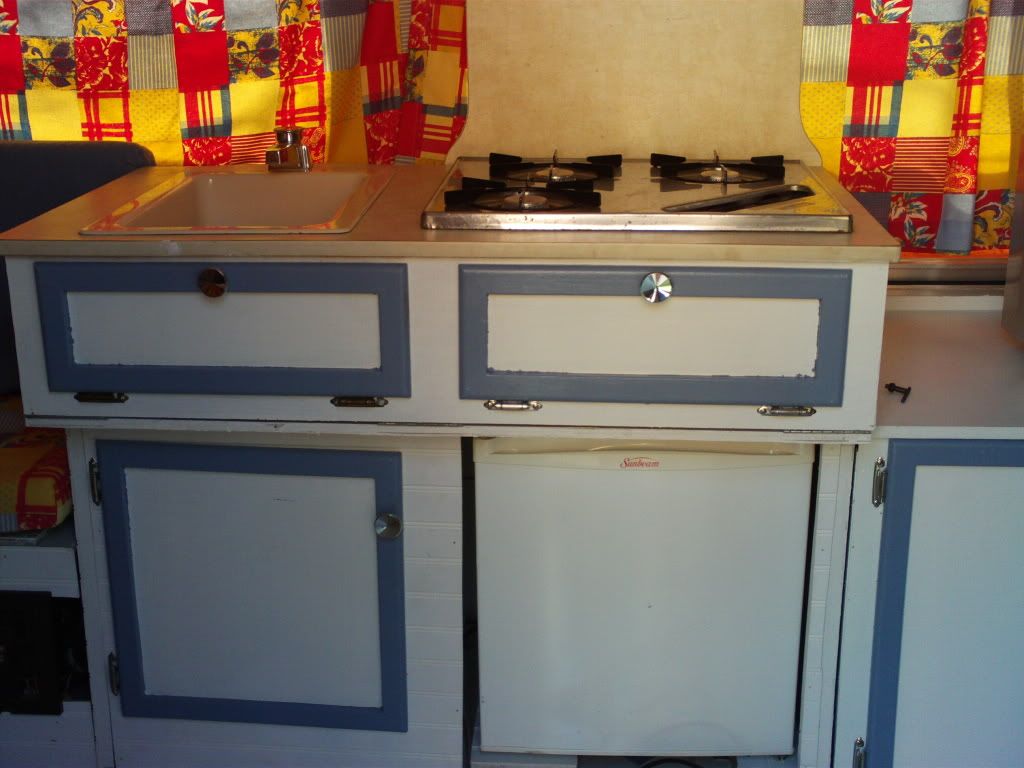


Of course there is no guarentee that the water and gas will actually work when I turn them on but it sure looks pretty good.

At this point, ALL of Frostbite's boxes have been reinstalled.  Remember that Bluebell has been sleeping outside because I took over the garage while painting all of the boxes.  My goal was to get the garage emptied and cleaned out enough for Bluebell to return home.  I went ahead and put the new matress covers on the foam matresses which was an excercise in frustration.

I eventually got them to basically fit.  Here is a matress in one of the bunkends:
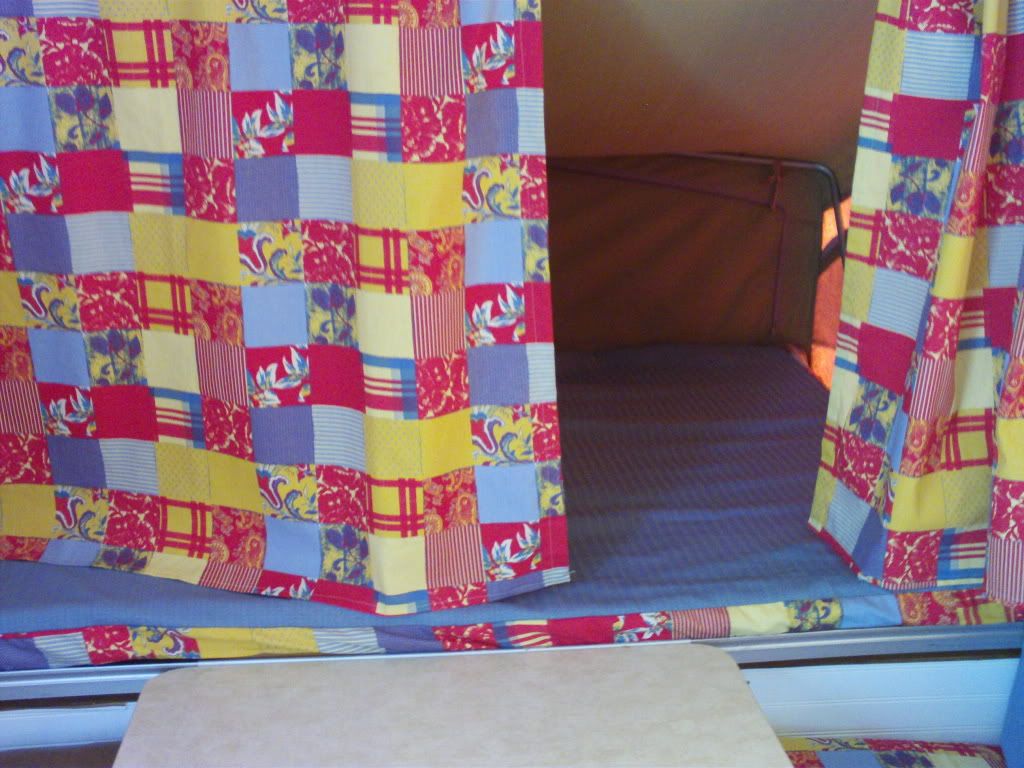


Here is Bluebell back at home in the garage:
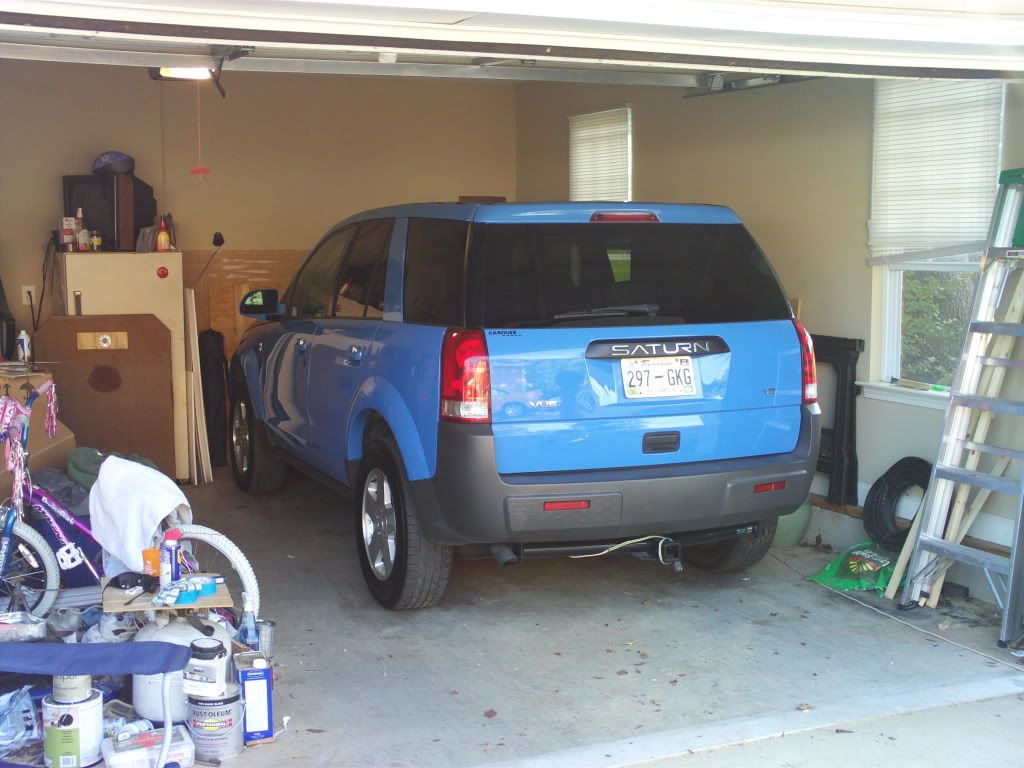

Safe and sound

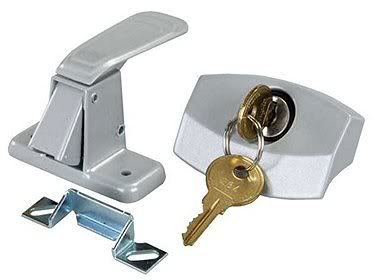
A new door lock/latch is on its way

I found a lock that *I think* will work.  You know how well that has been working for me so far. 

Here it is:


It has all the mechanics outside the door itself like the current broken lock has so I'm hoping it will be an easy install.  Don't laugh! 

It has a key too so we can lock it.  Now I know this is no real deterrant from someone intent on breaking into the camper.  Pulling the canvas away from the door where is attached only with velcro will allow a crook to just reach in and open the door from the inside.

However, a locked door is a clear and precise message to anyone that I do not want jokers to come inside.  One would have to actually break in like a crook.  It's a psychological thing.  Plus there is a chance that folks might notice someone clearly breaking into the camper while we are away whereas someone simply opening the door wouldn't attrach attention.

Who cares anyway?  Most all campers have locks.  All new popups have locks.  I want one too!

I found one place out of state that had these for $18.  However, the only shipping method they had was UPS which was $14 (Total $32).  I searched around a bit and found one here in TN also for $18 and their shippping (FedEx) was $9.  Unfortunately, since it was in TN I had to pay tax which brought the part up to $20 (Total $30).  Not much difference in price but I should get it faster from the TN company.  Possibly even 1 day as claimed by FedEx.

I ordered it from:

Adventure RV Center
2910 Newport HWY
Sevierville TN 37876
 
Let's just hope the stupid thing fits!

Trouble with the cabinet hardware

This, believe it or not, is my 100th post on this blog.  Jeez, you'd think more work would have been done by now. 

Yet another 15 minute job that stretched into over 2 hours due to my oversight.  You should be getting used to this by now. 

I am.

I purchased all new hardware to reconnect the cabinet doors to the boxes in Frostbite.  I was very careful to make sure that the outside attachment to the box was thin enough to fit.  I was not concerned with the attachment of the hindge to the back of the cabinet itself. 

It *seemed* like there was plenty of room.

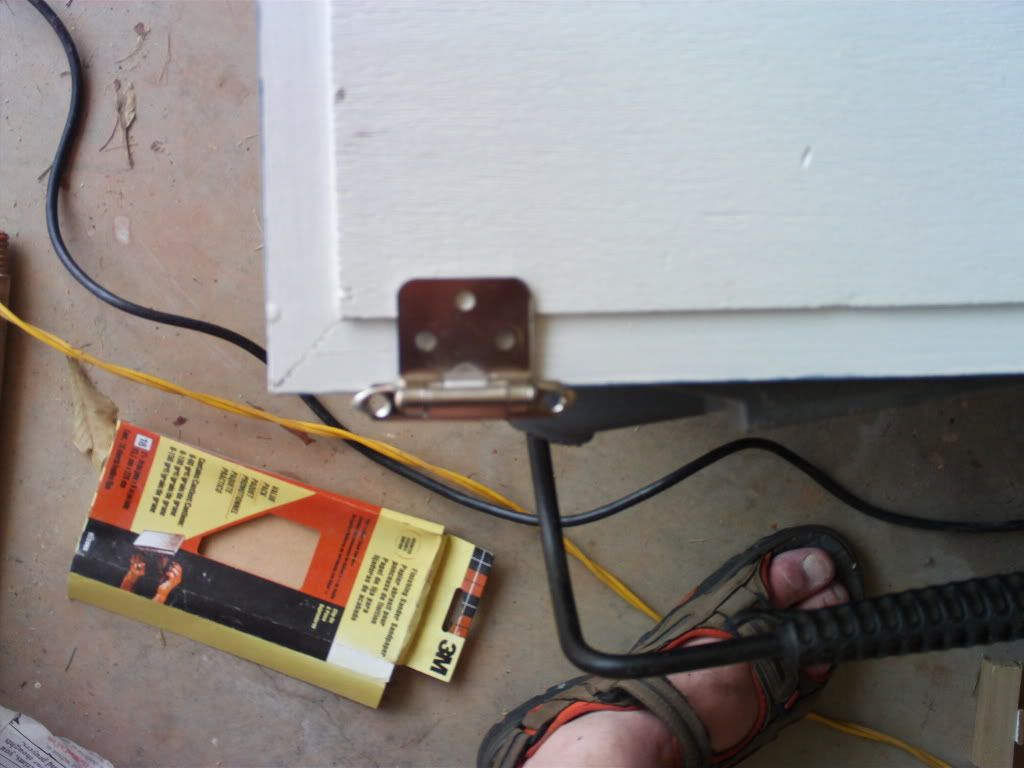
However, the panel of the cabinet does not cover the entire back, just this inside of the trim.  This was more than enough for the hardware I purchased in pairs for $3 each (7 doors x $3 = $21 dollars total)  not to fit.

You can see the problem here:


Yep, pretty obvious.  Had I bothered to actually check the back of the doors before I bought all the hardware, I probably would have noticed this.

I was faced with 2 choices:  drive 20 miles to Lowes and buy all new hardware or somehow try to make it work anyway. 

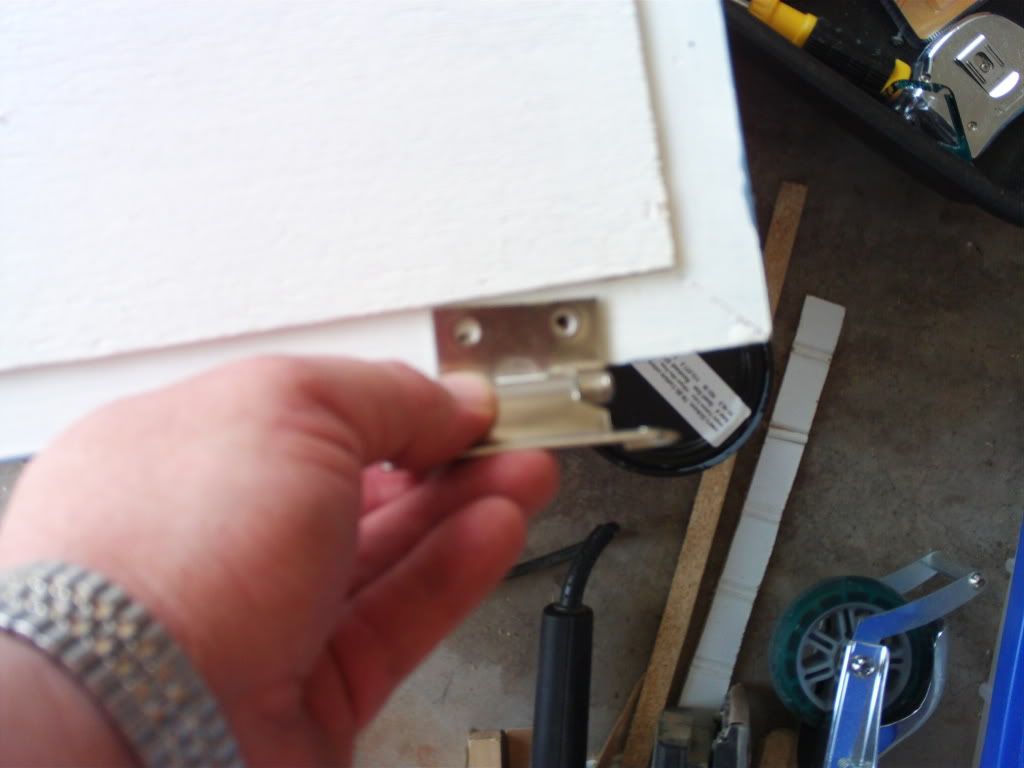
Of course, I opted for the latter.  I thought "Maybe I can cut off that third screw hole."  I made a quick trip to the Tool Box and bought a hack saw.  I also bought an attachment for my rotary tool that cuts metal.  All this cost me $15.

I worked on all the pieces for over an hour and managed to get the pieces cut to size.  Here is one of the cut pieces:


success!

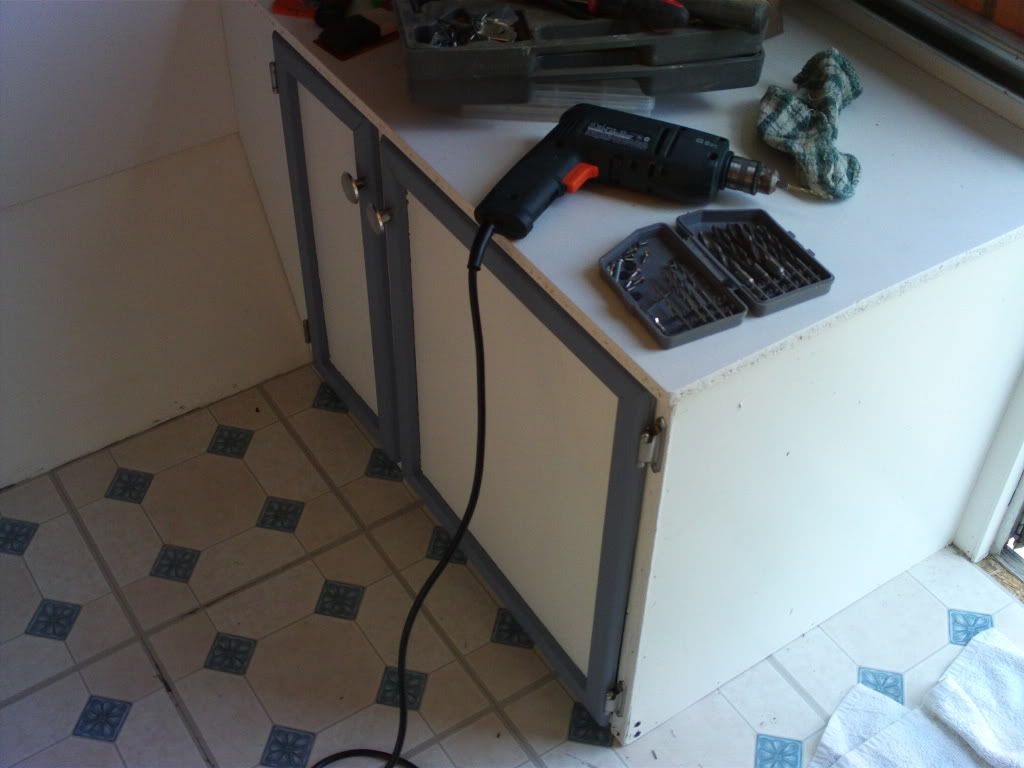
This fix actually worked!  I attached all the new pieces to the doors and got them all installed inside Frostbite.

Two hours after I started.


Looking good!

Tuesday, July 20, 2010

Getting fancy now!

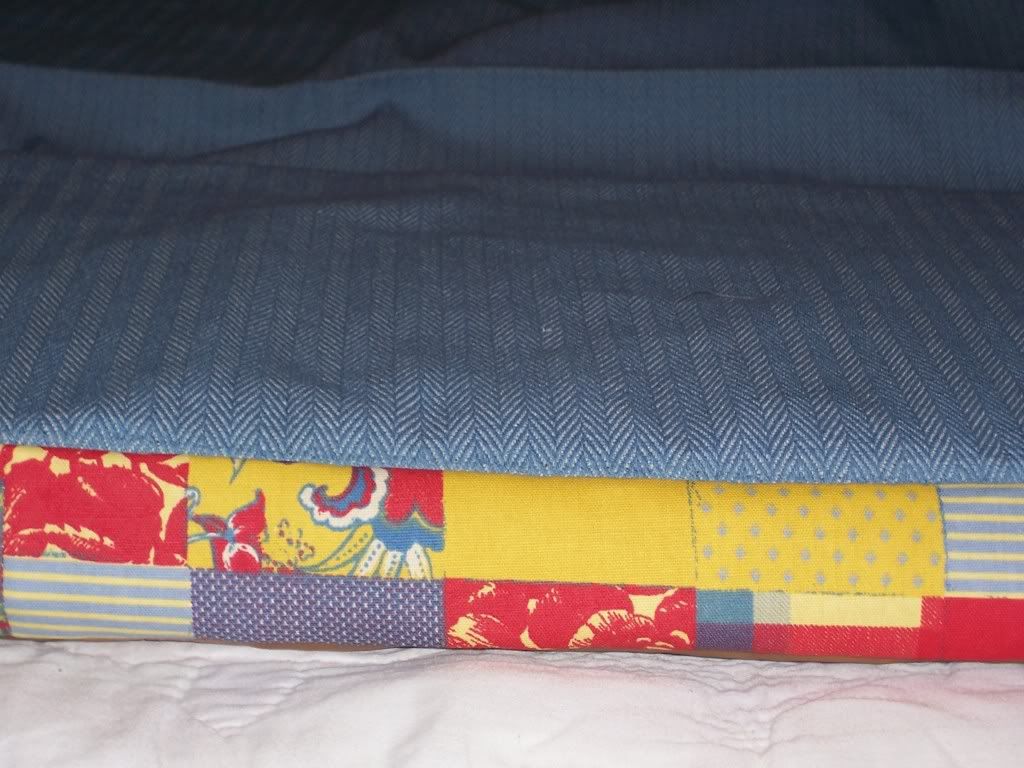
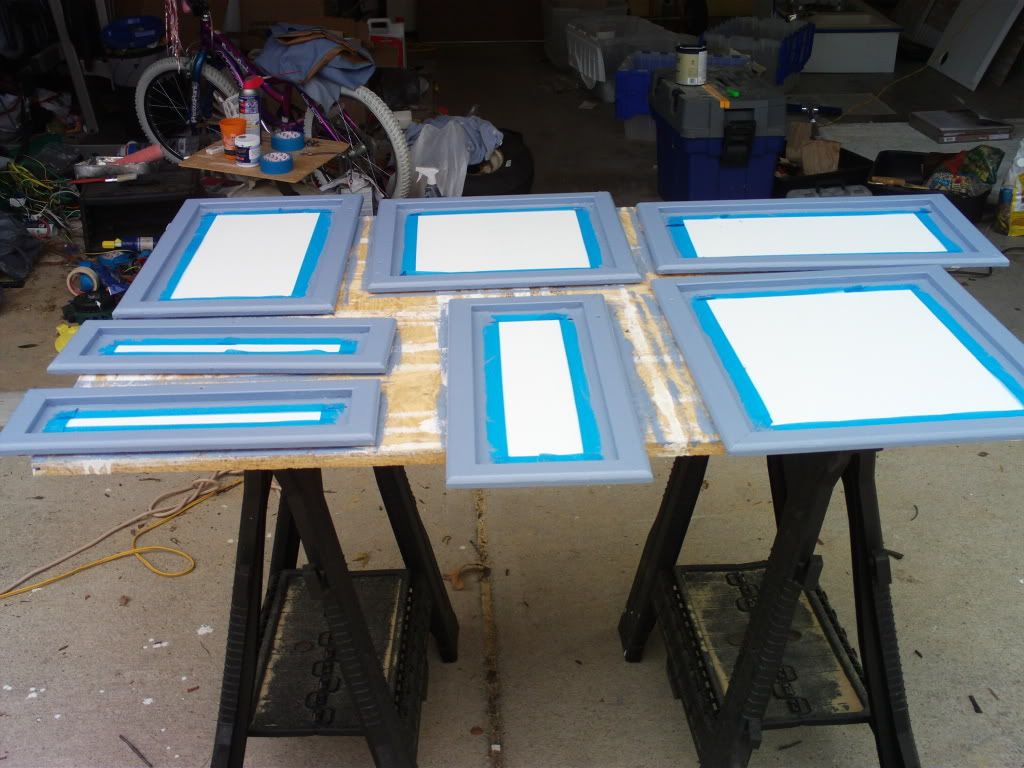
I had an idea regarding the cabinets that I've kept to myself for the past few weeks.  I was inspired by a Lowes commercial where they bragged that they can match the color of anything you bring in.  I thought it might be neat to break up the all white interior boxes by painting a trim on the cabinet doors.  I sought my wife's input as to what color we should try to match and we both agreed that the light blue material the makes up the top of the matresses would be best.  Here is a photo:


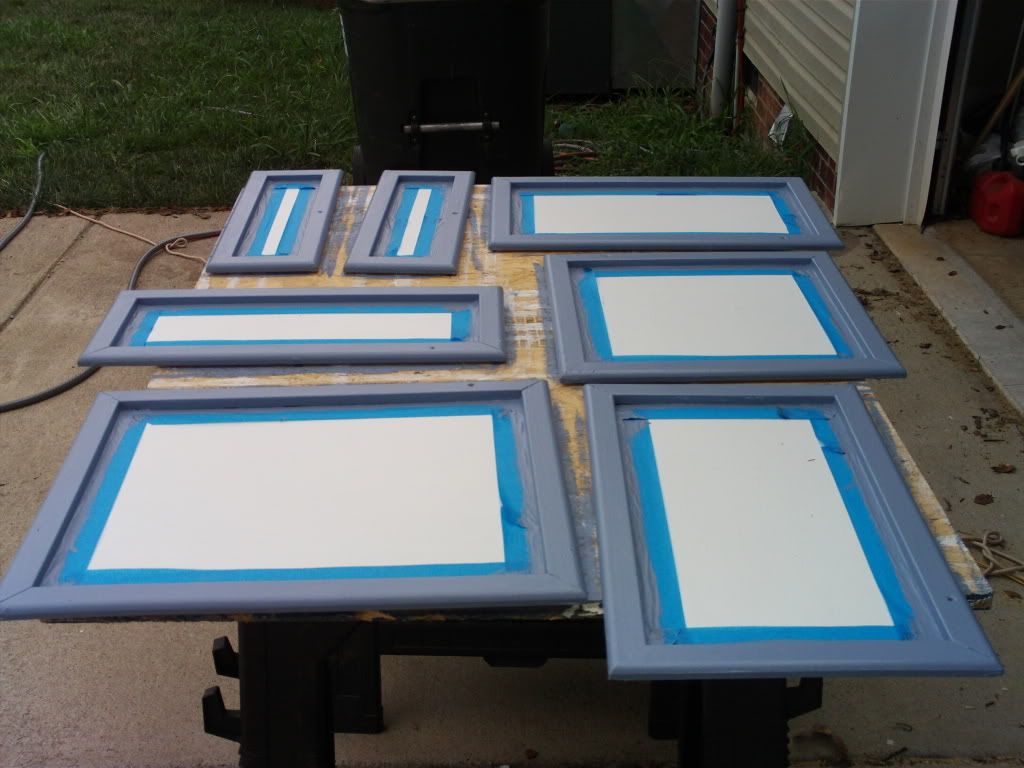
I took a smaller cover to Lowes and they scanned it and made me some paint.  I thought it was a perfect match although it does, when removed from the mattress and curtains in the camper, look a little gray.  Inside the camper, though, it looks great!  I taped up the cabinet and put on two coats.


another angle

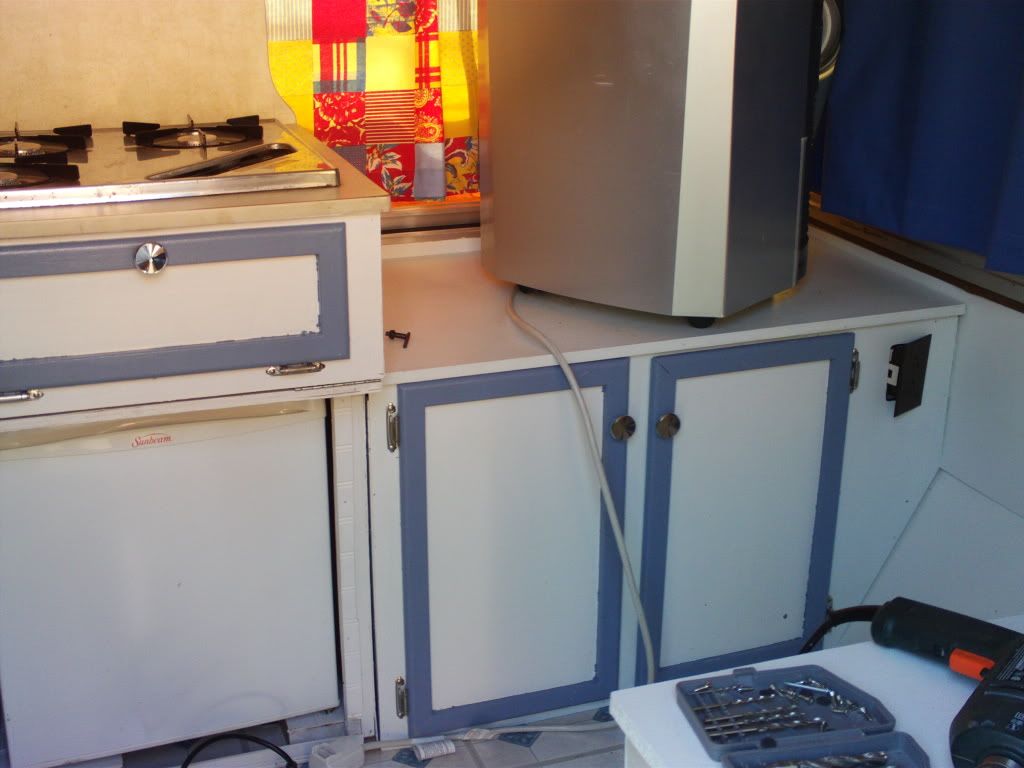
And here is how they look in Frostbite:


I still need to touch up the paint job a bit

Updated the Expenses List. Yikes!

Finally got around to entering all the receipts from the last few months into the expenses total.  Man, over 24 hunderd so far.  I was quietly hoping that Frostbite would come in under 2 grand but I think we're still in pretty good shape. 

I suppose I would have to determine what type and how good of a camper I could get used for the same money.  Based solely on my luck in such matters, I am far better off with the route I've taken with Frostbite. 

When she is done, and that time is quickly approaching, I will have personally taken her apart and put her back together.  I'll be able to repair anything to happens to her.  I can get to any part of her simply with a screwdriver.  Remember, I had to physically rip her apart the first time because many things were stapled together.  It really wasn't meant to be taken apart like I've done.  Now that I have done it, however, it can be taken apart as needed without having to destroy things.

I think I'll still be happy with under $2500.  I don't forsee any more expenses as I have already obtained all the supplies needed to finish her.  I think she would compare well with ANY other 30 year old camper out there. Heck, I'd be willing to compare her with the brand new ones since it seems they are slapping these things together more and more sloppy each year.

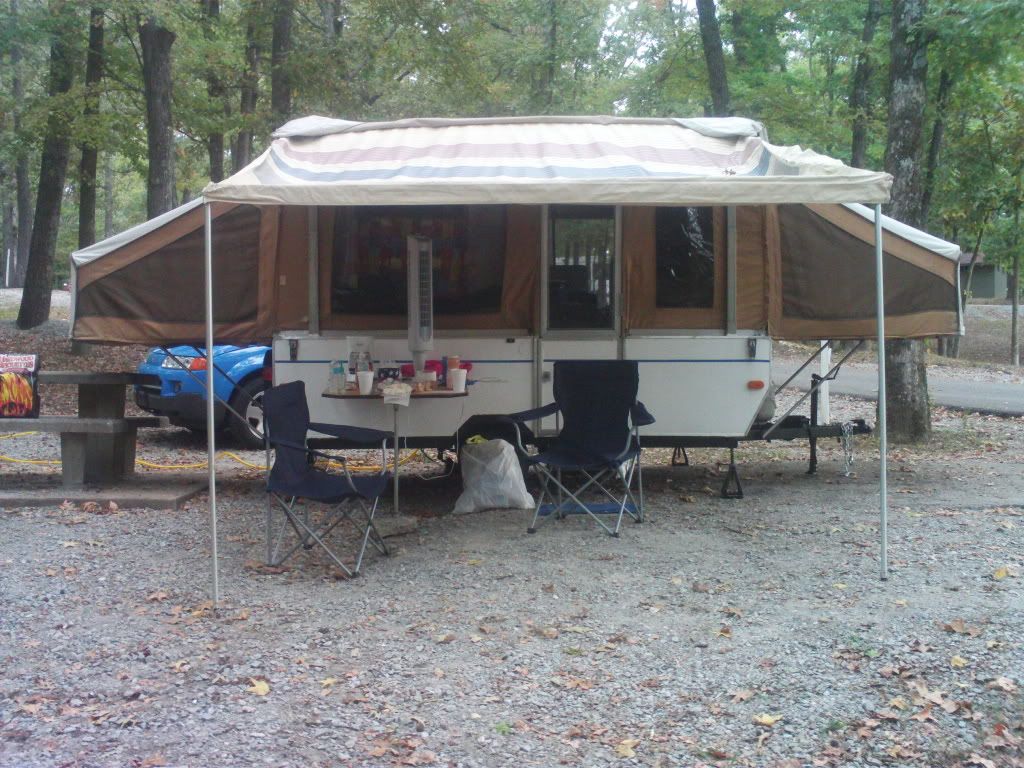
A new chapter is about to begin in the life of Frostbite as she is wrapping up the renovation phase and soon to embark on the camping phase. 

She looks pretty good.  She will be perfectly functional. 

Best of all, she is 100% paid for.

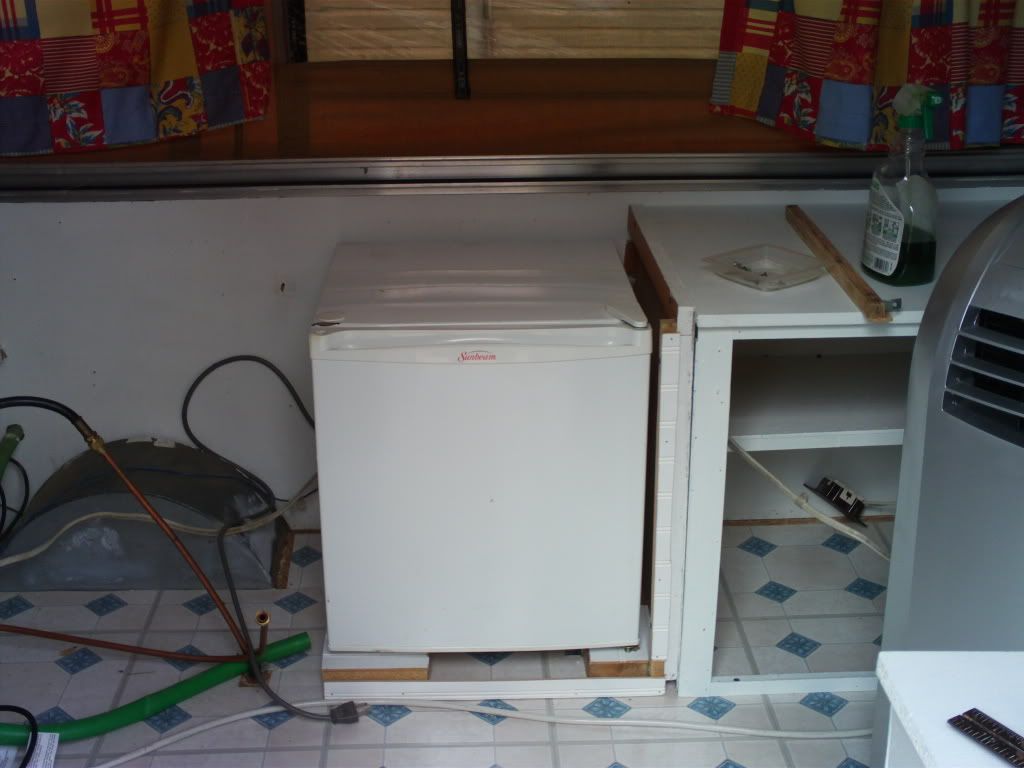
Installing the fridge - It was harder than it looked

After trying to get the lower galley box installed in Frostbite, I realized after much frustration that I need to install the fridge first and build the box around it. 

The previous owner did a homemade job on the fridge.  I'm not sure what was in that spot originally.  I suspect it was what they call an "ice box" for pop-ups which is really just a fancy name for a built-in cooler.  Using "ice box" instead of "cooler" gives the impression that it is different and better than a cooler.

It's not.

Anyway, the previous owner had an array of 2x4s attached to the floor in a strange pattern that served as a sort of riser for the fridge to sit on.  Except for one, I found uses for all of those boards in other places around Frostbite.  Unwilling to re-requisition the boards, I figured I would build a riser from all the scrap flooring wood that was now starting to fill my garage.

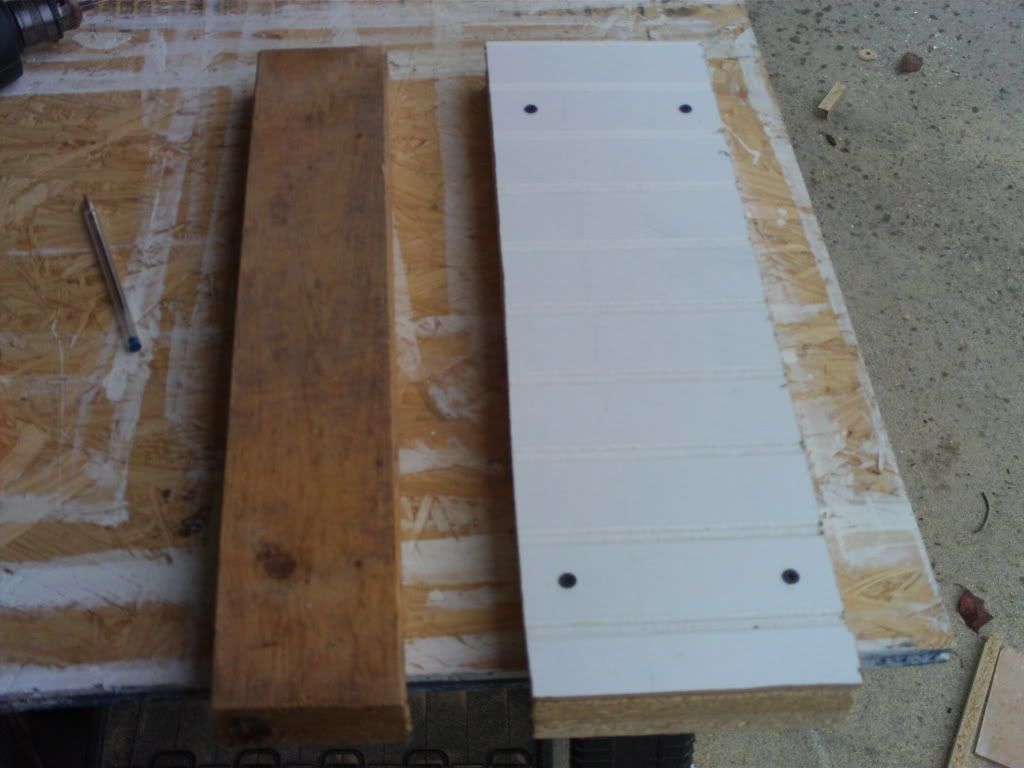
I came up with this:


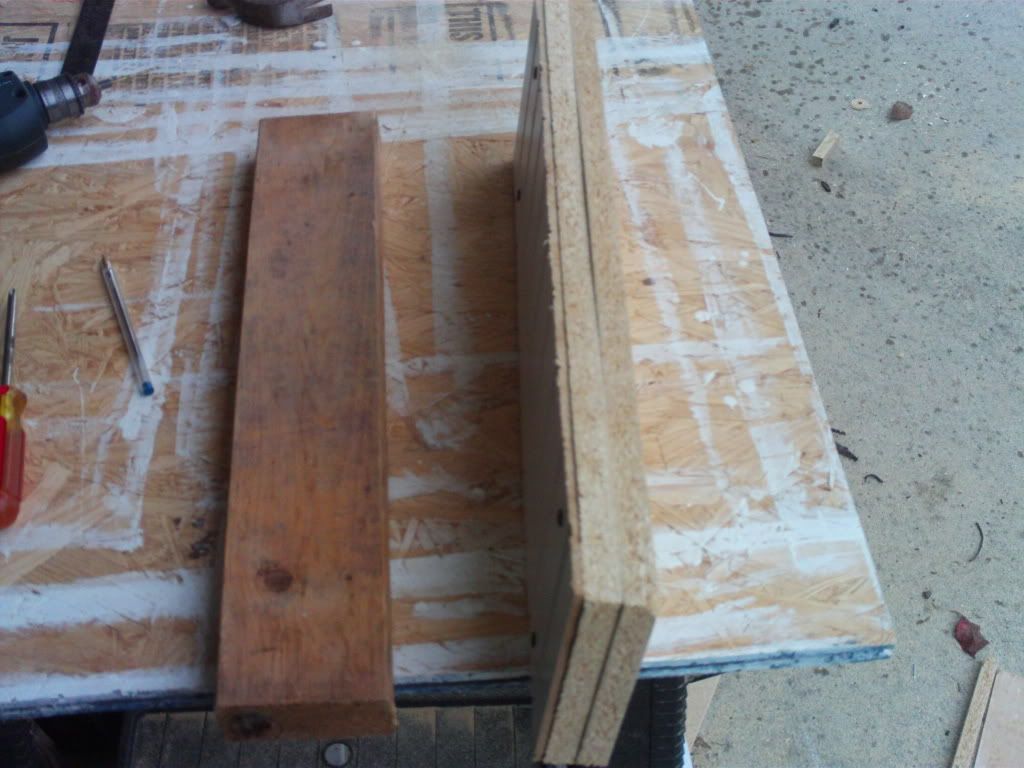
I took two pieces of flooring and a sheet of bead board and screwed them all together.  It came up to the exact same height as the 2x4 next to it.


a shot from the side

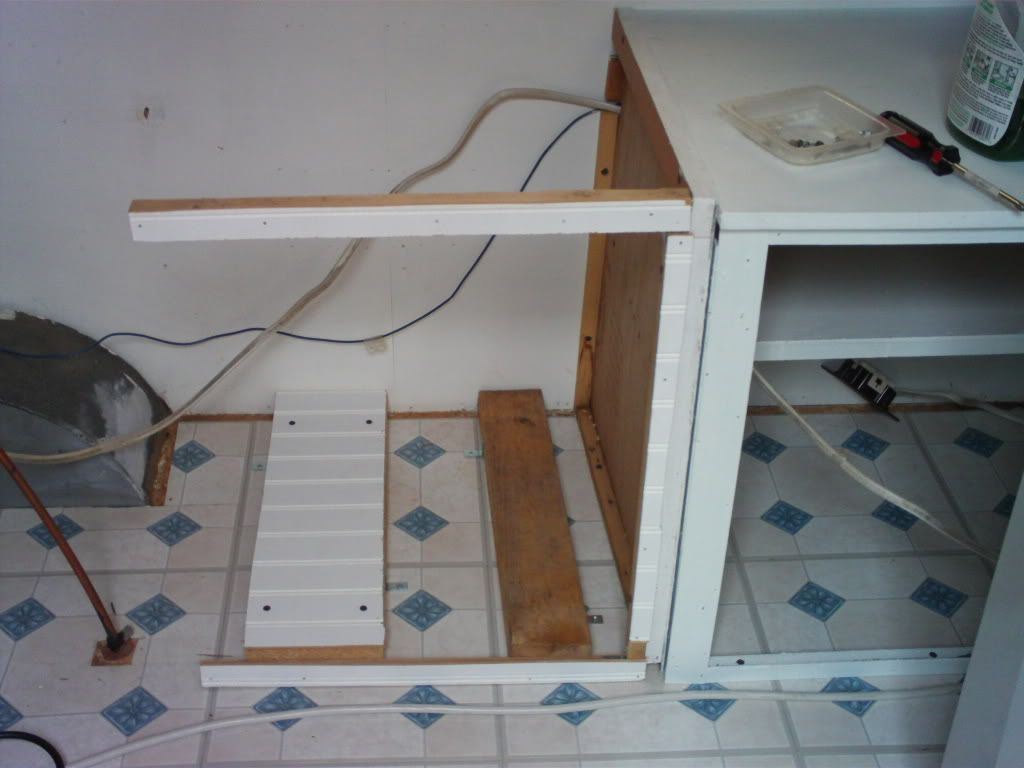
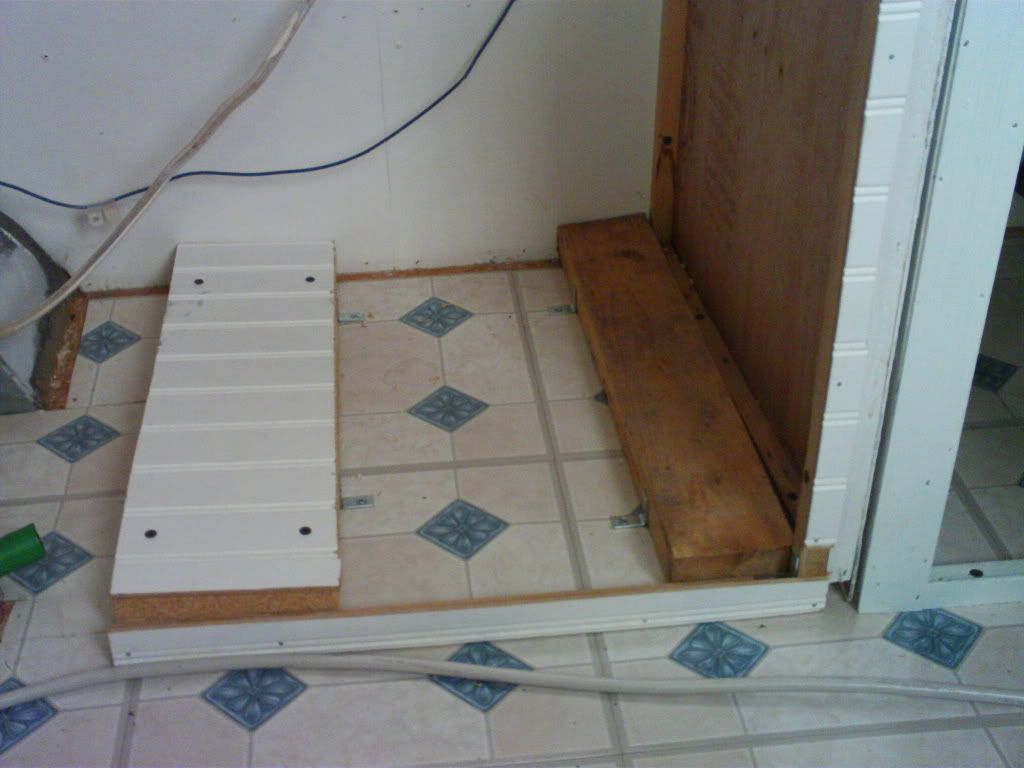
Feeling pretty good about this I (without measuring anything beforehand) attached them to the floor using L-brackets where the fridge was to be placed.


Easy enough.  When I actually attempted to sit the fridge on the new risers, I broke off the top thin piece of dowel that I had rebuilt already twice now.  Remember the whole frame fell off my work area and broke and I had to rebuild it using L-brackets?  Well this is the new rebuilt one that now has to be redone a third time.

As if to rub it in, I also noticed that the risers I attached to the floor were too close together and the feet of the fridge could not sit square on both at the same time.

*sigh* I'll have to redo the risers as well.  I grimly started to realize that I was actually moving backwards.  My work session resulted in me tearing up more things than I built.

Determined to make at least *some* progress, I did get the risers in the right place eventually (nope still didn't bother to actually measure first).


This time the feet of the fridge sat squarely on the risers.  No question about that.

. . . but it still wobbled when you pressed on a corner.

It was only then that I noticed that the fridge was missing a "foot" for lack of a better term.  It had a screw for a leg like all the others but not the round flat foot.  Now my perfectly level risers did not serve to make the fridge level.  I scrounged around a found a scrap piece of beadboard to attach to the top of the 2x4.

Finally, I could check the fridge off as "installed."


I went ahead and painted the front of the risers white and attached the rest of the lower galley box to the floor.


This ten minute job actually took over 2 hours


Friday, July 16, 2010

When I said complicated, I meant it!

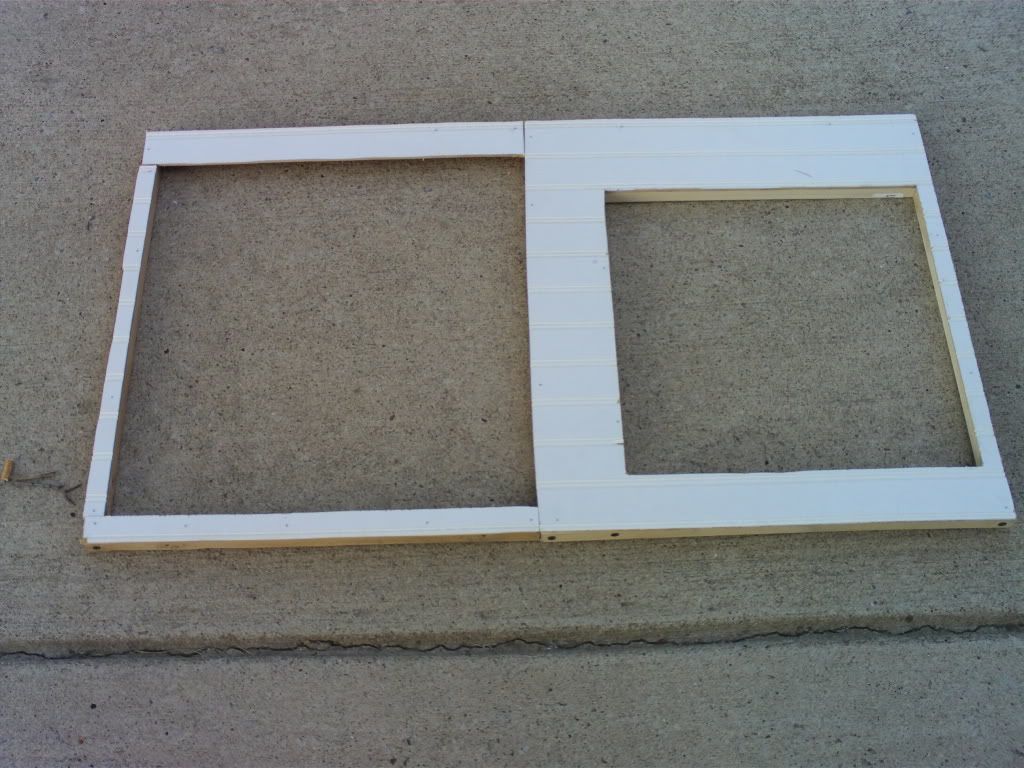
Worked for over two hours yesterday evening but not a heap of progress to show for it.  Things started wonderful.  I'm working on the frame that will be the front face of the galley box.  I finished the frame itself yesterday and today I intended to attach the paneling to it.  I carefully cut out the paneling so that the beadboard lines will line up visually.  It actually looked pretty good.


Now, all I had to do was attach the inner boards and the counter top.  Unfortunately, it was like a puzzle.  I had to go inside to my main computer to look at pictures I took of the original box so I could figure out how it went back together. 

This I had to do over and over and over again.

Also unfortunately, I didn't take very good pictures of the stupid box so the details I really needed were always just out of the picture frame.  Also, there was no good way to set the pieces up so that I could at least see how they were put together before attaching them with screws.  Nothing would set up by itself and I could only hold two pieces at a time.

In the course of this goofing around, the stupid newly built frame (pictured above) fell off my sawhorse table and two of the corners I screwed together were ripped apart stripping the screw holes. 

Once I finished cursing my bad luck, I reattached them enough to continue but they are now wobbely which made it even harder to try to set them up to see how they went together.

Frustrated, I decided to unhook the frame that was barely attached with the brackets and the newly stripped screws and take it all inside Frostbite to see it I could figure out how they went together on the wall.  I did get a better picture of the whole thing but the tangle of electric, gas, and water lines made it more difficult.

I realized that the fridge needs to be installed so that the box can be built around it.  Originally, the fridge was sitting on a couple of pieces of 2x4s to raise it up enough for the door to clear the bottom lip of the square.

These are the same 2x4s that I am now using for other things.  One is under the trailer hitch to protect the concrete and another is being used to chock the camper wheel.  The one used to chock the wheel is too short anyway.  I have another I can use but not a fourth that is the same size so now I'm going the have to figure out how to raise the fridge a couple of inches.  I have plenty of scrap counter top material so I'm hoping I can fashion a couple of lifts for the fridge.

It was starting to get dark at this time and, even though I have AC in the camper, I do not have any lights.  I decided to put it off until this afternoon and see if I can't make more progress.  I'll need to stop at the Tool Box to pick up some L-brackets and 1/2 inch screws so I can put the large square back together and try hard not to drop it again.  I also need some L-brackets to attach whatever I build to raise the fridge to the floor so it will not slide around.

A final disconcerning point:

There is more than a good chance that I built the front face with one of the two squares upside down.

Stupid pictures!

*sigh*  For this galley box, nothing is going to be easy.