I've separated all the work into two major phases:
Phase 1: the inside of the camper
Phase 2: the outside
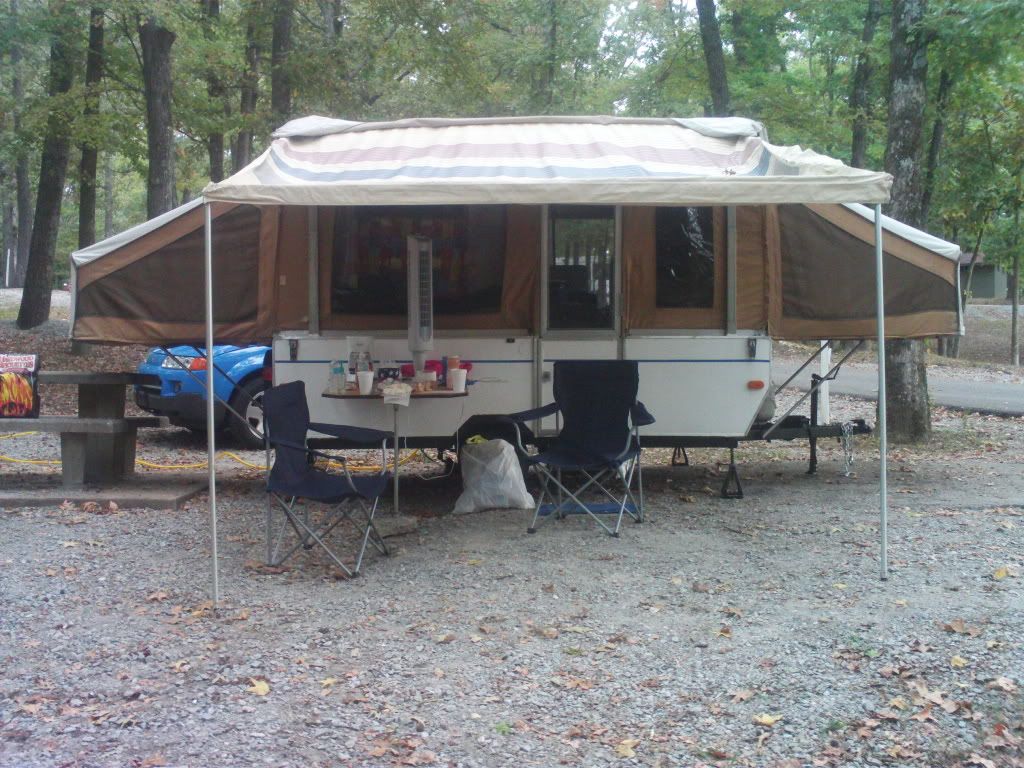
My goal in this is to get Frostbite "campable" meaning that I can take my family out camping for a weekend in it and enjoy the new "dry" and comfortable inside. The outside might still make us look like the Beverly Hillbillies when we are traveling but who cares about that?
Unfortunately, I will have to initially address the roof problems. That would be sort of a "Pre" Phase 1 fix. Obviously, I don't want to get the inside fixed up and have the new stuff water damaged.
Here is what I am going to do on the inside:
1. Cut out and replace the 1 to 1 1/2 ft square of wood in the back corner that is definitely water damaged. If you remember, I poked right through with a wall scraper. Not 100% sure how to best do this but I'll get a piece of wood similar to what is already there and hope to be inspired.
2. Fix the lighting. With all the inside paneling out, the wiring to the trailer lights will be exposed and I hope to take the opportunity to get the wiring correct and actually running inside the camper. Currently, *someone* rewired the outside lights by running the wires outside the camper. From the connection on my tow vehicle (Bluebell) the wires are bundled and run hanging underneath the length of the camper to the back where each wire is run outside into each of the lights. Here is what I am talking about:
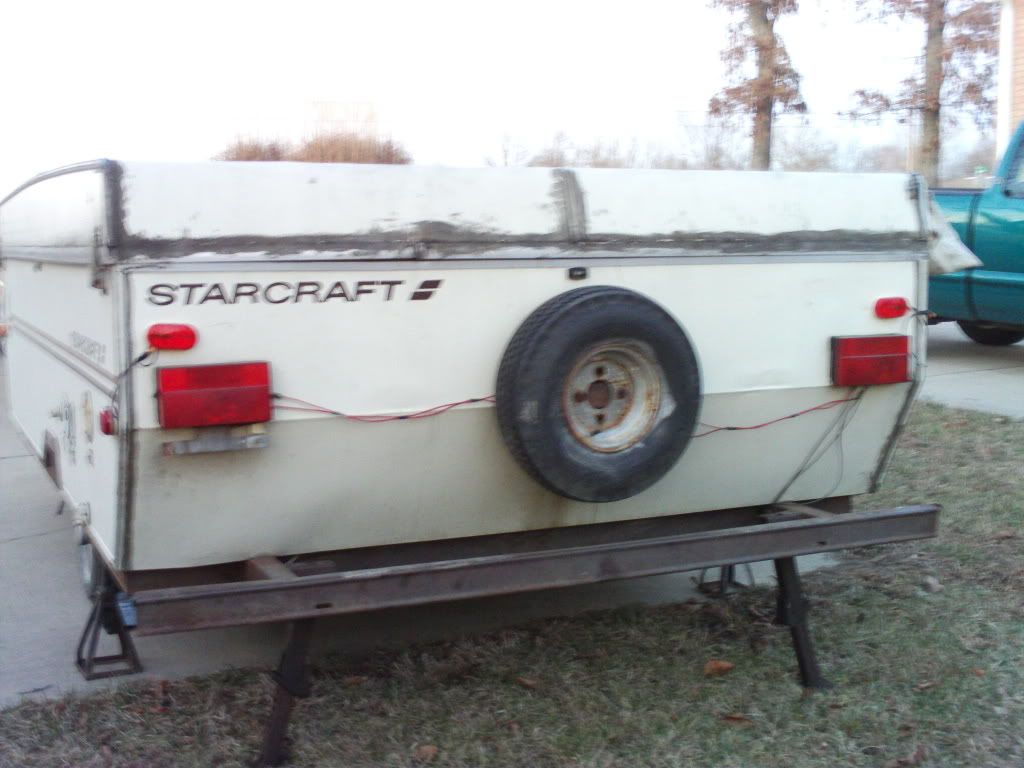
Man, there has to be a better way.
2. Replace all the wood paneling surrounding the box. I had originally planned on just painting the paneling white but since I found some water damage at the back, I figured I may as well go ahead and rip it all out so I can then rip out all the insulation. I'm going to clean the area first with a bleach solution to kill any mold then paint the inside of the outer wall with some type of mold resistant paint like you would use in a bathroom. I will then replace the cheap cardboard insulation (currently water damaged in parts) with something else. Not sure what I need here but I'm going to go to Lowes and hopefully be inspired.
I am also going to clean and repaint all the wood braces. Some of the inside wall braces "appear" to be water damaged but they are actually just water stained. The wood itself seems very solid.
With that done, I'll attach new white paneling around the box.
3. Paint the ceiling white. I'm thinking of getting a paint sprayer because I pretty much suck at painting. I can do a roller ok but usually pretty sloppy regarding edges and such. I'll definitely get some painter's tape and a drop cloth and we'll see what happens.
4. I'm thinking of using some type of clear coat inside just for the shininess aspect and to give extra protection to the paneling from spills and such. I have no idea how many coats of paint I'll need or how many coats of clear coat. Definitely more that one, of course. I suppose it will make itself obvious how many as each coat dries. Hopefully.
5. With the inside box complete and the ceiling painted, I'm going to attempt to fill in all the screw holes in the floor that I can find with wood filler. I'm thinking of attaching the boxes to the inside with L-brackets instead of using screws directly through the wood so the old holes won't match the new boxes anyway which brings me to my next improvement.
6. I am going to rebuild the inside boxes. The boxes themselves are made from paneling and dowels. Some of this paneling is water damaged and stained. All of the table tops have a bit of water damage in the corners and would need replaced anyway. Using the existing boxes as patterns for the new, I think I can do it. Additionally, I think I will also replace the cabinets underneath the sink and create a space for a small microwave to be permanently installed. I intend to use a standalone air conditioner that is vented through the floor and there might be a way to build a permanent place for it to be as well.
There is also a jerry-rigged space under the stove for the fridge (BTW, I finally took it inside and plugged it up. It works!) that I hope to improve upon.
7. As the boxes are built, I will paint them white and clear coat them while they are still outside the camper and install them as they are finished.
8. Now I realize that this one is technically "outside" work but it really needs done before I tug Frostbite anywhere. I think I will replace the tires with new ones. I've checked and this is not all that expensive. Additionally (I know I am crazy for thinking I can do this) I plan on replacing and repacking the wheel bearings. I've printing out a step-by-step how-to from the internet and I think it is something I can do. I also hope to get underneath with a wire brush and scrape the rust from the axle and lift bars. Hopefully, they won't disintegrate on me and I'll find real metal underneath. After that I will paint the axle and lift rods with some type of rust replacer or something. I figure that has to be better than just leaving them rusted.
That would take me through Phase 1.
There is, of course, the "Pre" phase one where I need to remove existing caulk and then re-caulk the roof, corners, and any other seams I can find outside. Dusty also pointed out something that I didn't even know existed, a Roof Gasket. I haven't checked it yet but I am pretty sure just based on everything else in this camper that it needs replaced as well. I'll have to research and see if I can get a replacement or if there is something else I can use in its place.
Coming up next: The outside


I think you're going about this the right way. It's good that you made a list of repairs, and have figured out that some repairs might effect other repairs, and it looks like you've got things sorted into the right order. I do have a couple of suggestions for you that might help out.
ReplyDelete1. The floor is most likely made of OSB (Oriented Strand Board.)It looks like particle board that's made of huge chunks instead of sawdust. Lowe's sells it in 8' x 4' sheets, but you obviously don't need that much. Check back in the wood cutting area, as they often have pieces they've cut for other customers. They might have a small piece they'll sell you for a few cents, or even give you for free.
2A. Wiring. I assume you have the flat 4-pin connector that hooks Frostbite up to Blue Belle. Wally World sells a flat 4-pin trailer wiring harness for less than $20 that will replace the trailer light wiring from stem to stern. It uses the standard trailer color code, so you can match up the colors with the wiring on Blue Belle. The wiring normally runs under the trailer, along the frame, attached with zip-ties, and tuck up into the rear wall through a hole in the floor. Some people tuck the wiring into corrugated wire loom (also sold at Wally World and most auto parts stores) and attach that to the frame with zip-ties instead of leaving the wiring unprotected. Corrugated wire loom looks like flexible black tubing with a corrugated surface, and has a slit running along the length of it. (Pop the hood on either of your cars and you're sure to see some of it in there.) You tuck the wires into the loom through that slit. Now is the perfect time to replace the trailer wiring - or even the tail lights if you want to.
3-7. I'm going to be doing this too as soon as our tax refund gets here (and the weather clears/warms up.) I've found everything I need to do this at Lowe's. Back in the Lumber department, where the molding and millwork are, they have several types of paneling and trim molding. The trim molding comes in 3 styles - an H channel for joining 2 panels together, a C channel to apply to the edge of a panel (like at the bottom of the wall,) and a corner molding, that joins 2 pieces of paneling on an inside corner. They run about $3 for an 8' stick. We've decided on primed bead-board for about $20 a sheet. I'll cut it to size, lightly sand it with 220 grit sandpaper, then paint it with a white tinted marine polyurethane (sold in spray cans or by the quart in the paint department.) We're going for a semi-gloss, but they have high gloss too. The marine polyurethane is made to be used on the exterior of boats, so it'll certainly withstand anything we can dish out in the camper.
For insulation, check out Styrofoam board, sold at Lowe's in the insulation dept. That's what I'll be using - it's the same insulation that's in your pup's roof. Just cut it to size and slip it into place. Be careful about what you use to glue it into place with, if you choose to do so. Most glues will melt it. Ask the rep there for a glue that's safe for Styrofoam.
I had to split this up because it’s so long. Sorry about that.
ReplyDelete8. Take it from a guy who's been there - get the grease seals for the hubs before you take them out of the hubs. Get new cotter pins at the same time. Take an old one with you so you can get the right size. That means another trip to the Starcraft dealer's parts department, or any RV parts house. If they don't have them, sometimes you can get the seal at a Napa auto parts store. Carefully remove the seal from the hub, trying to keep it as intact as you can, clean it up, and take it with you to Napa, and see if they can match it up.
You may not need to replace the bearings or bearing races. If they're in good shape, not discolored due to overheating, or rusty/chipped/pitted/just plain worn out, clean them up (I use brake parts cleaner in a spray can) and re-use them. Wipe off as much of the grease as you can, then put the straw on the brake parts cleaner can, and spray it into the bearings. It'll blast away the yuck, and melt away the old grease. It also dries within just a few seconds, then you can repack the bearings.
Overall, I think you're going about this the right way. If looked at in total, it looks pretty overwhelming. Taken in parts, though, makes it a lot more manageable. Keep up the good work!