Here is the face of the box that goes to the gally side bench. The converter and connections to the outside hookups are contained inside this box.
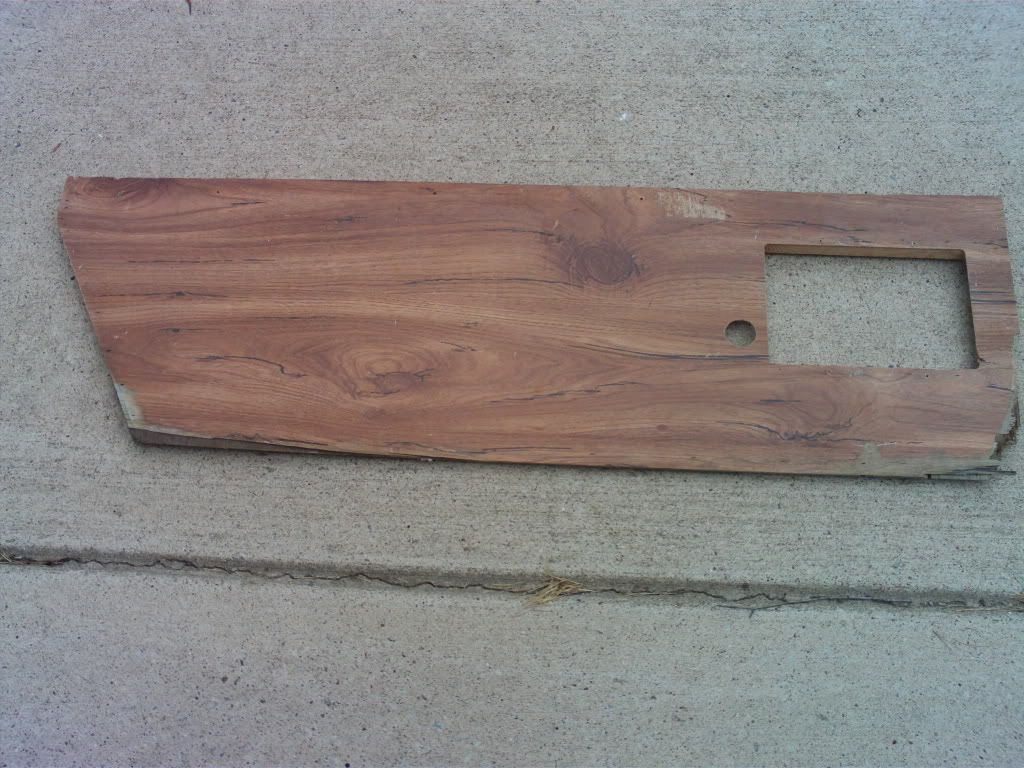
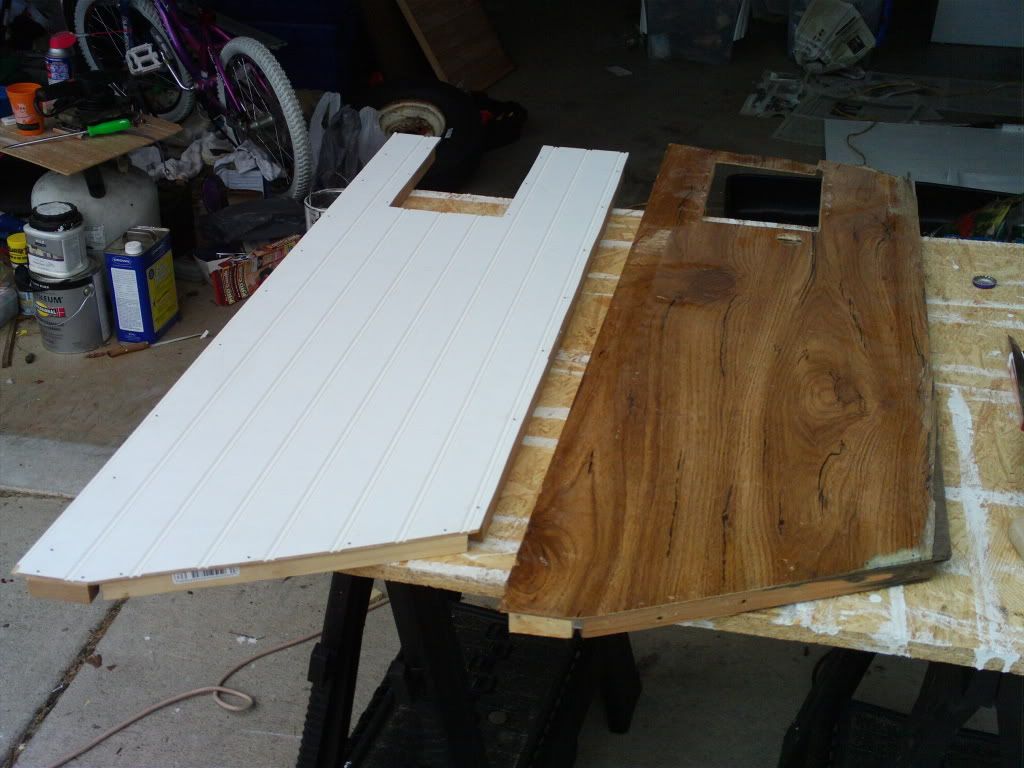
I copied the panel and the wood supports and build a copy.
The back side shows all the supporting wood dowels.
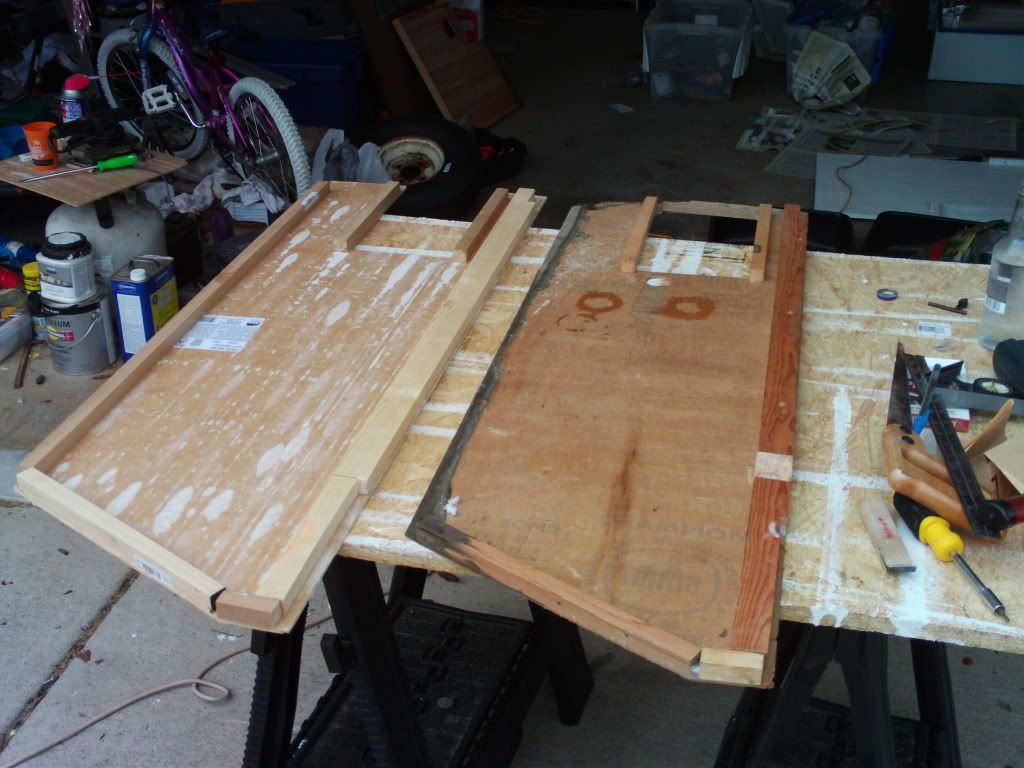
Notice the notches cut into the dowels on the right side. Since my $15 jigsaw has already tore up (imagine that?), I had to cut those notches by hand with a 10 year old dull handsaw which was a major pain in the butt.

Notice in the last pic that I left the end open. This is where the converter box goes and the box was meant to be slipped in the open square and the face of the converter is larger than the open square which keeps it from going all the way through. However, on my converter, all the wires are already connected to the box. Rather than unhooking all the wires, installing the box in the square, and then reconnecting all the wires, I opted to simply slide the already connected converter box into the groove at the end and then install a piece of beadboard at the end using brackets and screws/bolts.
It *should* work anyway.
Not happy with doing a job somewhat perfectly, I managed to do something idiotic when drilling the 1 inch hole through the beadboard. I used one of those drill bits that is for drilling the latch hole in doors when installing a door knob. It's the only drill bit I have that is capable of making a circle.
I started drilling from the back of the beadboard and, just when the hole was almost complete, it ripped through at the end and ripped off a bit of the white surface of the bead board. Had I started drillling from the white front of the bead board, this wouldn't have happened. This is probably obvious stuff to all the rest of you but I have to learn things the hard way. Hopefully my touch up paint won't be that visible. This part sits on the floor underneath a bench.
I have completed three of these "complicated" rebuilds so far but left my camera at home this morning so I'll update progress on those tomorrow. So far, I am still on track to have all the inside boxes rebuit and installed by the weekend.
On a slightly more depressing note, the inside doorknob on Frostbite's door fell off. The pin it connects to pushed inside somehow and I cannot reconnect it. The door is still *usuable* but I need to find a replacement. I'll try to search today. The thing is sort of odd, though, as the door knob mechanism is not inside the door like most door knobs. It is all contained in a box on the outside of the door itself (on the outside of the inside door if that makes sense). I suspect it can only be replaced with something similar. My limited searching so far has only turned up door knobs that have the mechanism "inside" the door itself like all the doors in your house.
Hopefully, something will turn up. I haven't had much luck with the Starcraft company having what I need.


No comments:
Post a Comment