
I had bought some adhesive that worked with foamboard but the pieces I cut fit into the squares so tightly that I opted not to bother with it. I hope this wasn't a mistake but I couldn't think of any added bonus of having the stuff glued in. If I should ever need to get to the taillights again, I would have to rip out the insulation and destroy that piece if it was glued in. Remember, my goal in this is to have Frostbite fairly easy to take apart again if I need to. Right now, I can get to the taillights simply by prying out the insulation piece that covers it and pop it back in when I'm done.
Next, and this was the tricky part, I had to cut two panels to fit over the wall. Armed only with a jigsaw and a toolbox, plastic bin, and my foot as a sawhorse, I measured and marked the back of the panel very, very carefully and managed (just!) to get two pieces that fit on the first try.
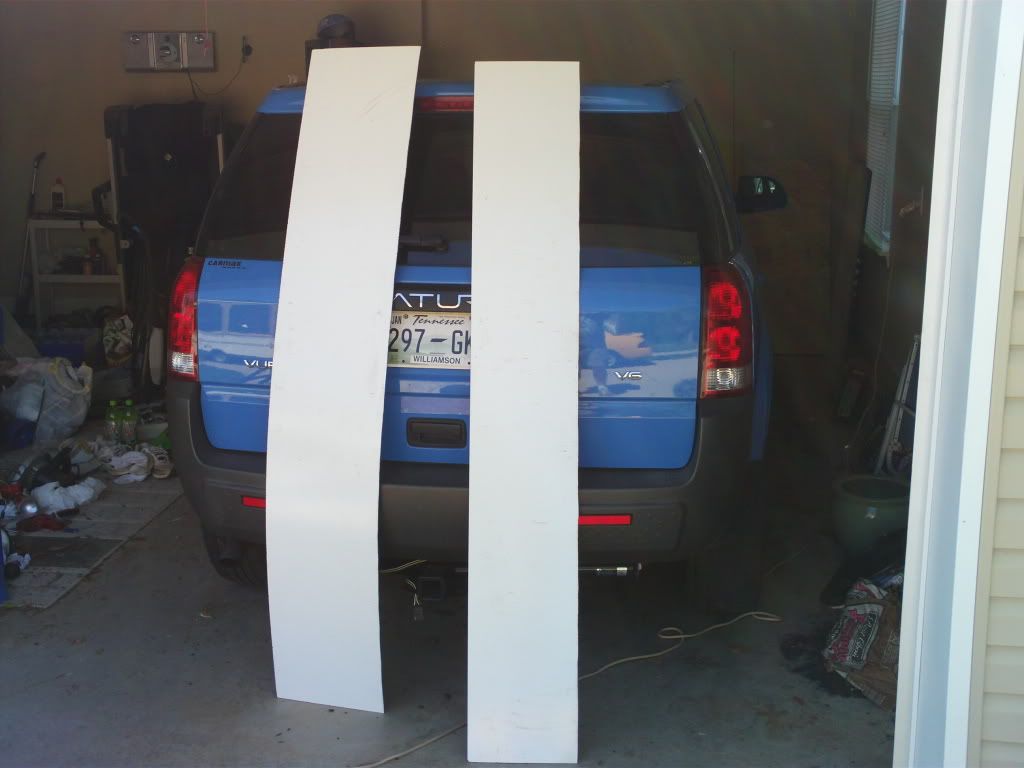
It's not a perfect edge by any means but close enough for government work. They fit nicely onto the wall:

I installed them with some wood screws. The bottom edge *could* have been a little taller. It barely made it to the wood bar that was just above the floor. I am not sure, though, that I have any more paneling cut at the necessary 73 inches to try again. Unless, of course, I opted to use two parts and have a hotrizontal seam somewhere along the width of the thing.
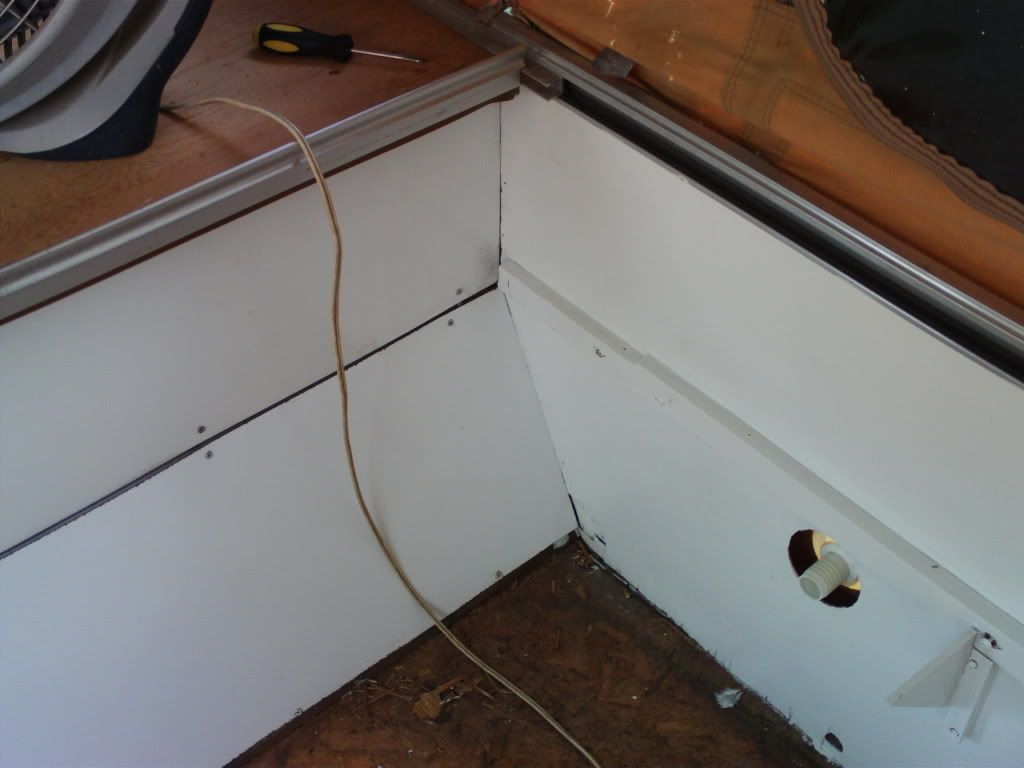
I hope to get some edging type material to fill in the center seam and the bottom seam. Surely they make such a thing.
Here are a couple of close ups of my work:
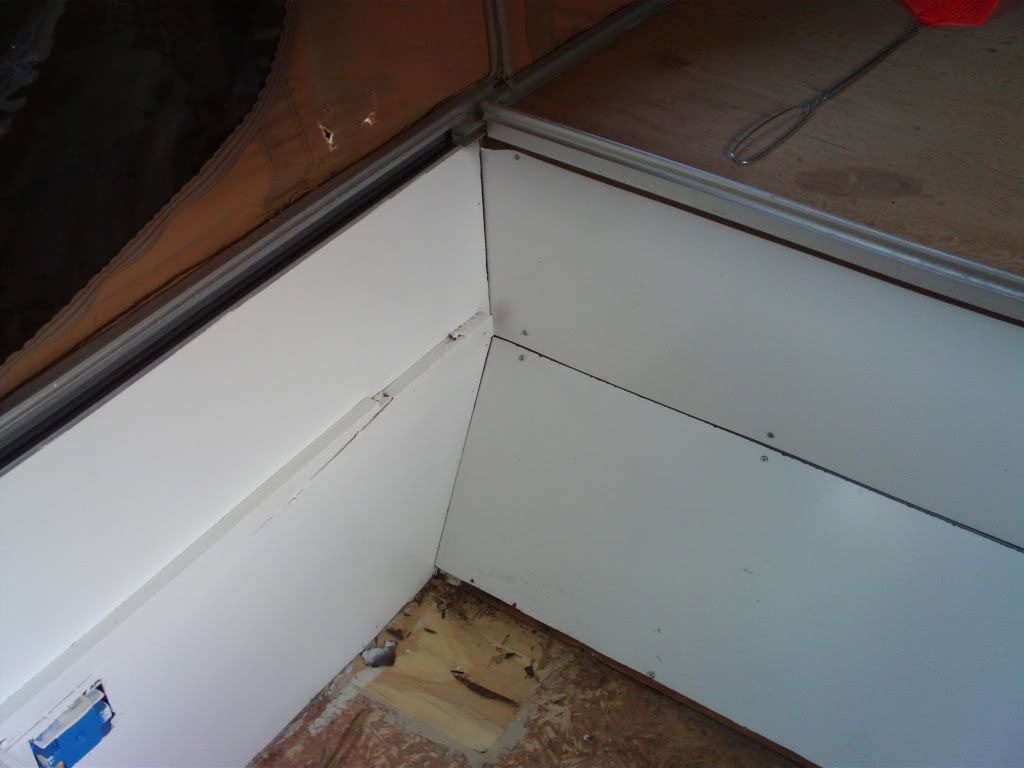
Notice how the white paneling and the white painted wood paneling look perfect together. This was a complete accident as I never even thought to try and match the two. Yet another lucky break for me!
** Next up: A gross miscalulation/underestimate regarding the floor


No comments:
Post a Comment